F99 GE dishwasher error code: A troubleshooting guide
Steven E / Friday May 3, 2024
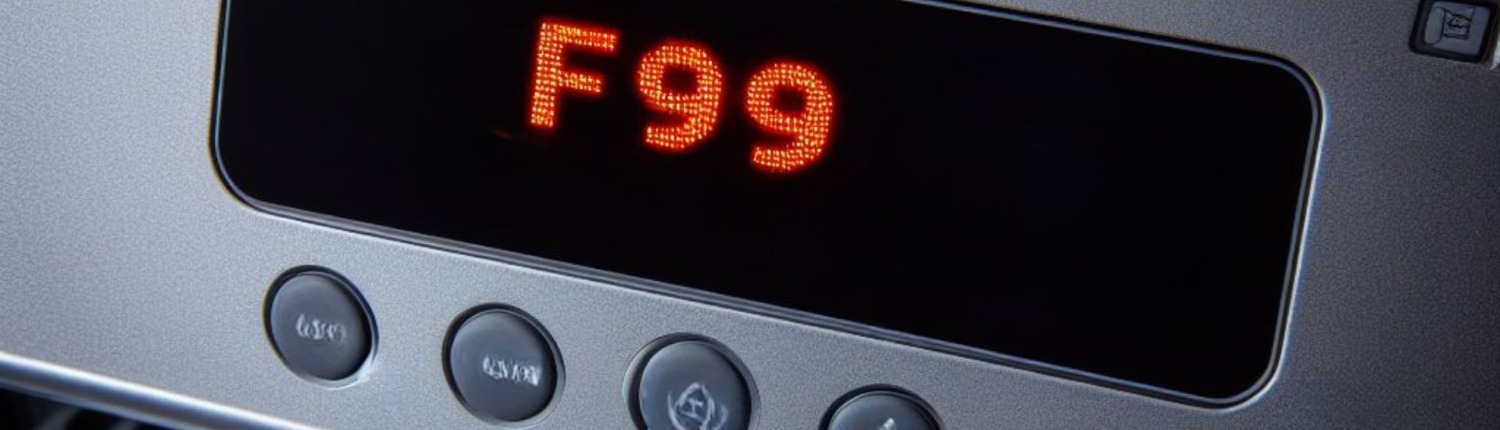
Many GE dishwashers are equipped with a system that displays fault codes if something goes wrong during operation. One of these errors – F99 – typically indicates the minimum wash temperature wasn’t reached during the main wash cycle.
Before you start screaming and throwing things at your dishwasher, take the opportunity to troubleshoot the machine yourself so you can save time and money.
If you find out that you need any replacement parts for your GE dishwasher while you’re troubleshooting, you can enter your model number at AppliancePartsPros.com to order them. Most orders arrive in just two business days, and we have thousands of free guides to show you how to install your new parts.
Disclaimer: The error code information provided in this article is based on general service manuals and may not apply to your specific appliance model. While we strive to offer helpful advice for DIY appliance repairs, variations in models and configurations can lead to differences in troubleshooting steps, error codes, and part replacements. For the most accurate guidance, we strongly recommend consulting the technical sheet for your specific appliance model.

What does the F99 code mean?
During the main wash cycle, GE dishwashers heat the water to a minimum temperature of 120°F to properly wash dishes. The F99 code gets triggered when the control board detects that this minimum temperature wasn’t achieved in at least 3 of the past 5 wash cycles.
The control monitors the wash temperature with a thermistor that’s located on the outside of the dishwasher tub. The thermistor changes resistance as the temperature changes so the control board can interpret the water temperature. For example, if the resistance readings from the thermistor indicate the temperature only reached 118°F, then the control will log this occurrence and throw an F99 code if it continues to happen.
Read more: My part is no longer available! What do I do now?
Safety precautions
When working on any appliance, remember to keep safety first. Here are some tips to keep in mind:
- Always power off and unplug your appliance or switch off the circuit breaker before you attempt any maintenance or replacement work. This keeps you safe by preventing any risk of electric shock.
- Turn off the water supply at the outlet before beginning repairs. Keep towels ready to catch any residual water in the system when removing parts.
- If the appliance has recently been used, give it plenty of time to cool down before working on it.
- Take your time while working to prevent accidents and personal injuries. Rushing is the enemy of precision.
- Work in a well-lit area so you can see and access appliance parts.
- Keep your workspace free of clutter and other obstacles. Keep children and pets away from the work area.
- Never work on internal parts with wet hands. Make sure the work area is completely dry.
- Check the user manual to see if there are specific installation or safety instructions related to your appliance or replacement part.
- Be gentle when handling or removing parts. Excessive force might damage the appliance or cause personal injury.
- Wear insulated work gloves to protect your hands from sharp metal parts and debris.
- When working with wires, avoid touching any exposed wires or terminals. If you need to touch a wire, use a non-conductive tool or wear insulating gloves to prevent electrical shock.
- Always take photos or make a note of wiring terminals or other connections before disconnecting them to make reassembly easier.
- Don’t test live voltage with a multimeter if you’re unfamiliar with how to prevent short-circuiting.
- Consider wearing safety glasses and/or a dust mask when working with chemicals, dust or a large amount of debris to prevent irritation or injury.
Read more: Dishwasher Not Fully Cleaning Dishes: Top 5 Reasons & Fixes
How to troubleshoot the F99 error code
Follow these steps to troubleshoot & fix an F99 error displaying on a GE dishwasher.
Step 1: Enter service mode
GE dishwashers usually have a service mode (also called diagnostic mode) that unlocks features and manual part activation options needed for troubleshooting.
To enter service mode:
- Make sure the dishwasher is plugged into the outlet.
- Start with the dishwasher in standby mode, with the door closed.
- Press and hold the “Heated Dry” and “Delicate” buttons simultaneously for 3-5 seconds. The dishwasher should beep once and change displays to indicate that it’s entered service mode.
Once in service mode, you can manually activate various cycle parts to test them:
- Press the “Start/Reset” button once to initiate a 60-second fill. Make sure the water reaches a normal fill level.
- Press “Start/Reset” a second time to activate a 2-minute circulation motor and wash pump test. All spray arms will run.
- Pressing “Start/Reset” again will energize the drain pump to empty the tub.
If the dishwasher doesn’t pass these tests, stop and inspect/replace the affected part(s) as needed. If the dishwasher passes the tests, continue troubleshooting.
Step 2: Check the inlet water temperature
Low inlet water temperature is one of the most common causes of the F99 code. The water entering the dishwasher must be at least 120°F for the unit to heat and maintain the minimum wash temperature.
- Make sure the dishwasher is plugged in and connected to the water supply.
- Use a digital food thermometer to measure the temperature of the water at the inlet hose. Insert the thermometer probe into the inlet hose right before it enters the dishwasher.
- Initiate a fill cycle and monitor the reading on the thermometer.
If the inlet temperature is reading below 120°F, you’ll need to check the water heater. The water heater may need to be serviced or the setting may need to be increased to deliver hotter water. The inlet water needs to be 120-140°F for the best performance.
Step 3: Check the thermistor
If the inlet water temperature checks out OK, you’ll need to check the thermistor. The thermistor monitors the temperature changes inside the tub and reports this data to the control board. If it doesn’t provide accurate readings, it can falsely trigger an F99 code.
You can find the thermistor on the exterior of the dishwasher tub, near the bottom on the right side. Make sure to use care when handling the thermistor since it can be easily damaged.
- Unplug the dishwasher from the power outlet.
- Remove the bottom panel or toe kick.
- Make sure the thermistor connections are clean and secure.
- Set a multimeter to the resistance setting (Ω).
- Use the multimeter probes to check the resistance of the thermistor at room temperature.
- Consult the temperature/resistance chart in the service manual to determine if the thermistor reading matches what is expected for the current ambient temperature.
If the thermistor reading is significantly different than the acceptable value in the service manual, it will need to be replaced.
Read more: Surprising Things That Can & Can’t Go in the Dishwasher
Step 4: Check the heater
If the inlet water temperature and thermistor check out OK, you’ll need to investigate the dishwasher’s heating system. GE dishwashers typically use a dual-wattage Calrod heater to heat the water during cycles. This heater cycles on and off to maintain the target temperature set by the control board.
To evaluate the heater:
- Make sure the dishwasher is plugged in.
- Enter service mode and initiate a 60-second fill cycle. Allow the tub to fill up.
- Once the tub has filled, initiate the circulation cycle test in service mode. This will energize the wash pump and heater without running a full cycle.
- Place an accurate digital thermometer in the bottom of the tub to monitor the water temperature. Allow the water to circulate for 5 minutes.
- The heater should turn on and off repeatedly during the circulation test. Watch for the temperature on the thermometer to rise about 1 degree per minute while the heater is on.
If the temperature doesn’t increase after about 5-10 minutes of circulation, it likely means there’s a failure in the heater circuit.
If the heater doesn’t appear to be turning on:
LIVE VOLTAGE WARNING: Please be very careful to protect yourself from electric shock, which has the potential to cause serious injuries. Don’t ever test live voltage if you’re uncomfortable using a multimeter.
- Set a multimeter to VAC.
- Use the multimeter probes to check the voltage to the heater at the main control board.
If 120V is present at the main control board’s heater terminals, replace the main control board. If voltage is not present, trace the heater wiring back to diagnose the point of failure.
Step 5: Check the tub thermostat
GE dishwashers have a high-temperature limit thermostat attached to the outside of the tub. This is commonly referred to as the tub thermostat, and it cuts power to the dishwasher if it detects excessively high water temperatures. This prevents a runaway heater from damaging the unit or contents.
The tub thermostat has a one-time fuse design. If it’s tripped, it will disrupt heating during cycles and need to be replaced or manually reset, depending on the specific dishwasher model.
To evaluate the tub thermostat:
- Unplug the dishwasher.
- Find the tub thermostat on the right side of the tub, near the bottom.
- Disconnect the two wires from the tub thermostat.
- Set a multimeter to measure continuity.
- Use the multimeter probes to check the thermostat for continuity.
If the tub thermostat shows an open circuit (no continuity) when it’s checked alone, it needs to be replaced or reset, depending on the specific model.
If the thermostat has continuity, re-test the dishwasher. If it heats properly, replace the main control board, which likely has a faulty tub thermostat detection circuit.
Read more: How To Use A Multimeter To Check Appliance Parts
Step 6: Test the dishwasher after repairs
After completing any repairs or part replacements, always re-test the dishwasher to make sure it’s functioning correctly.
- Plug the dishwasher in and make sure the water supply is turned on.
- Run a quick test cycle and use an accurate digital thermometer to verify that a 120°F+ minimum temperature is achieved during the main wash.
- Make sure the F99 fault code has cleared. This should happen automatically once the control sees proper heating across consecutive cycles. If it doesn’t, revisit the above troubleshooting steps.
More information
Thank you for reading! We hope this guide helped you get your GE dishwasher working again.
If you have any other appliance repair needs or projects, don’t hesitate to explore our other troubleshooting guides and videos.
If you need replacement parts or some extra help with ordering them, grab your model number and head over to AppliancePartsPros.com, where you can chat with a pro, read our DIY blog and more.
Don’t forget to subscribe to us on YouTube and follow us on Facebook, Twitter and Instagram!
With nearly a decade of experience in providing top-notch customer service regarding appliance parts and repair, Steven enjoys sharing practical advice, troubleshooting tips, and interesting information to help readers stay informed.