Fix a Laundry Steam Closet with Water Tank Not Emptying or Filling
Steven E / Wednesday July 9, 2025
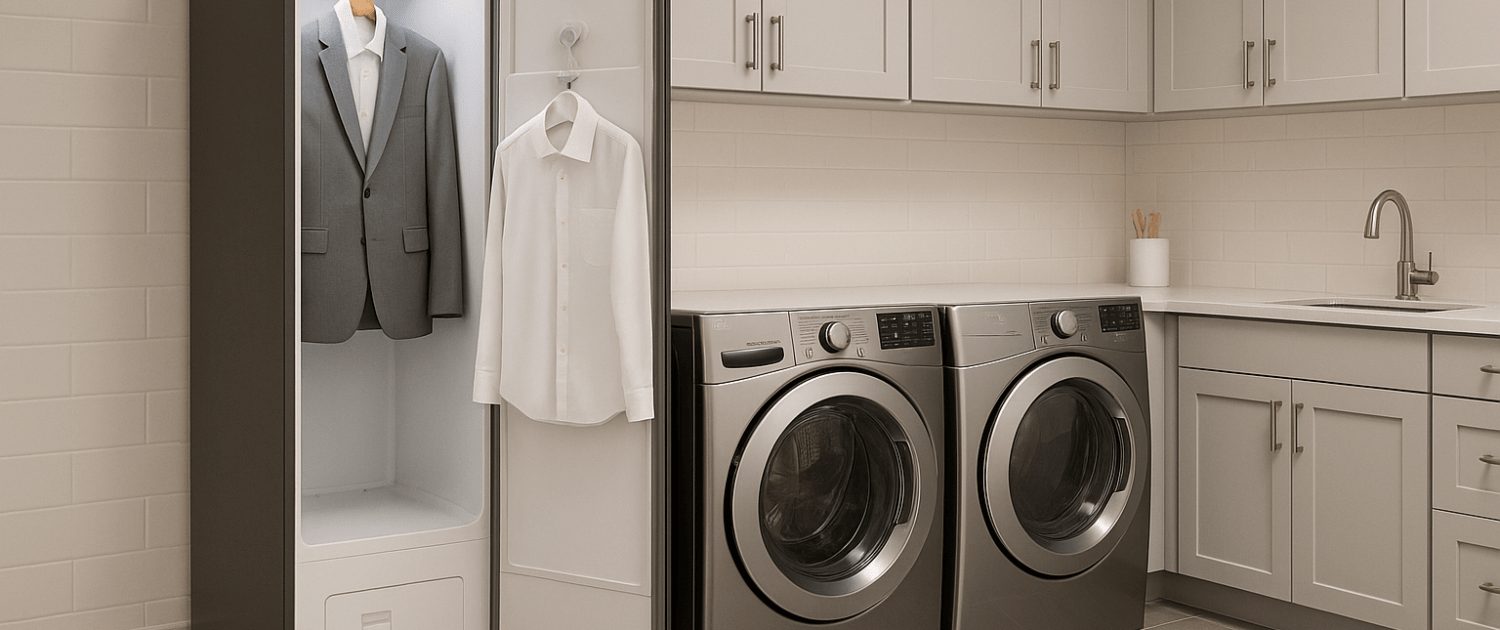
If your laundry steam closet’s water tank won’t fill up or refuses to drain properly, it can throw your whole routine off. Luckily, these issues are usually easy to troubleshoot and fix yourself. Here’s what you can do to get your steam closet’s water tank working the way it should.
The information in this article may not apply to your specific appliance model. We recommend consulting your manufacturer’s documentation or contact us with any questions.
Why Water Tank Issues Happen
Your steam closet’s water tank plays two important roles: supplying fresh water to the steam generator, and collecting condensed water back into the drain tray. When the tank or related components aren’t working right, you may notice:
- The tank stays full, but the closet doesn’t produce steam.
- The tank won’t fill or seems to stay empty even after a cycle.
- The tank overflows or doesn’t drain properly.
- Error messages related to water supply or drainage.
These problems are usually due to one or more of the following:

- Clogged inlet or outlet valves.
- Mineral buildup inside the tank or filter.
- Faulty water level sensor.
- Kinked or blocked hoses.
- Worn or stuck fill or drain pump.
Let’s get started on pinpointing the issue.
Tools and Supplies You’ll Need
Before you begin, grab these basic tools and supplies:
- Microfiber cloths
- Warm, soapy water
- White vinegar (for descaling)
- Soft brush or toothbrush
- Multimeter (for testing electrical components)
- Screwdrivers
- Replacement valve, pump, or sensor (if needed)
- Bucket or towels (to catch water)
Step 1: Safety First
Always unplug your steam closet before you start working on it. You’ll be dealing with water and electrical parts, so cut the power to avoid any risk of shock.
Step 2: Inspect the Water Tank
Start with the obvious: the water tank itself.
- Remove the tank and inspect it for cracks, leaks, or warping.
- Check that the cap or plug is sealing tightly.
- Look inside for mineral buildup, mold, or debris.
- Make sure the tank is seated properly in its compartment and is making good contact with the intake valve.
If the tank is dirty, wash it thoroughly with warm, soapy water, rinse, and let it dry. If it’s damaged, replace it.
Step 3: Clean the Water Inlet Valve
The inlet valve allows water from the tank to flow into the steam generator. If it’s clogged or stuck, your tank may stay full because the water isn’t moving.
How to clean:
- Locate the inlet port where the tank connects to the steam closet.
- Use a soft brush and a little vinegar to clean away any mineral deposits.
- Wipe the area dry and check that the valve moves freely when pressed.
If the inlet valve appears worn, cracked, or stuck even after cleaning, it may need to be replaced.
Step 4: Check for Blocked or Kinked Hoses
Sometimes the problem isn’t the tank or the valve, but the hoses that carry water to and from the tank.
What to check:
- Access the back or bottom of the steam closet and locate the water lines.
- Look for kinks, sharp bends, or pinched areas.
- Inspect for signs of blockage or leaks.
If you find a kink, straighten the hose. If a hose is clogged or damaged, replace it with a compatible part.
Step 5: Test the Fill Pump
If your model uses an electric fill pump to draw water from the tank, a weak or failed pump could prevent the tank from emptying properly.
How to test:
- Unplug the closet and access the pump (usually located near the water tank or steam generator).
- Disconnect the wiring and use a multimeter to test for continuity.
- If the pump shows no continuity or is making unusual noises when running, it should be replaced.
Replacing a pump is straightforward: disconnect the hoses and wiring, unscrew it from its mount, and install the new one in reverse order.
Step 6: Check the Water Level Sensor
The steam closet relies on a water level sensor to detect whether the tank has enough water. If the sensor is faulty, the closet may not “see” that the tank is full, or it may think it’s empty even when it’s not.
How to check:
- Locate the sensor near the steam generator or tank connection.
- Inspect it for corrosion, mineral deposits, or loose wiring.
- Clean it gently with vinegar and a soft brush.
- Test it with a multimeter to make sure it’s working properly.
If cleaning doesn’t help and the sensor tests bad, replace it.
Step 7: Drain System Check
If the tank isn’t emptying after a cycle, the drain system may be blocked.
What to do:
- Remove and clean the drain tray thoroughly.
- Check the drain hole for lint, debris, or buildup.
- Inspect the drain pump (if equipped) for clogs or failure.
If the drain pump doesn’t run or runs weakly, test it with your multimeter and replace if necessary.
Step 8: Run a Test Cycle
After you’ve cleaned, tested, and replaced any faulty parts, plug the steam closet back in and run a short cycle.
Check for:
- The tank water level is dropping as expected during the cycle.
- No leaks or puddles under the closet.
- Clothes are coming out properly, steamed and fresh.
If everything seems normal, you’ve successfully fixed the issue.
Preventing Water Tank Problems
Now that your steam closet is working again, here are a few tips to keep it that way:
- Use distilled or filtered water to prevent mineral buildup.
- Empty and rinse the water tank regularly.
- Clean the inlet valve, drain tray, and drain hole every few weeks.
- Descale the steam generator every couple of months.
- Keep an eye on hoses for wear and replace as needed.
These simple habits can save you from bigger problems down the road.
Where To Find Us
If you need any replacement parts for your appliances, you can enter your model number at AppliancePartsPros.com to locate and order them quickly. Most orders arrive in just two business days, and we have tons of great information in our repair help section and YouTube videos to help you troubleshoot.
Stay connected with the latest DIY tips, tutorial videos, and repair guides by following us on Facebook, Instagram, and Twitter. We love hearing about your repair stories and successes. If you need more help or want personalized guidance, feel free to reach out. We’re ready to help you take on your next project with confidence!
 https://www.appliancepartspros.com/b/wp-content/uploads/2025/09/20250902_1604_Cozy-Country-Laundry_simple_compose_01k460chwnemn9kxzss4s0w8yr.png
1024
1536
Steven E
https://www.appliancepartspros.com/b/wp-content/uploads/2020/11/app-logo-std.png
Steven E2025-09-05 10:33:302025-09-05 10:33:38When and How to Clean Your Steam Closet’s Water Tank
https://www.appliancepartspros.com/b/wp-content/uploads/2025/09/20250902_1604_Cozy-Country-Laundry_simple_compose_01k460chwnemn9kxzss4s0w8yr.png
1024
1536
Steven E
https://www.appliancepartspros.com/b/wp-content/uploads/2020/11/app-logo-std.png
Steven E2025-09-05 10:33:302025-09-05 10:33:38When and How to Clean Your Steam Closet’s Water Tank https://www.appliancepartspros.com/b/wp-content/uploads/2025/09/20250626_1532_Luxury-Laundry-Retreat_simple_compose_01jypvj1sye128rnzdeje9fzse.png
1024
1536
Steven E
https://www.appliancepartspros.com/b/wp-content/uploads/2020/11/app-logo-std.png
Steven E2025-09-05 10:21:462025-09-05 10:21:54How to Fix Lint Buildup in a Laundry Steam Closet
https://www.appliancepartspros.com/b/wp-content/uploads/2025/09/20250626_1532_Luxury-Laundry-Retreat_simple_compose_01jypvj1sye128rnzdeje9fzse.png
1024
1536
Steven E
https://www.appliancepartspros.com/b/wp-content/uploads/2020/11/app-logo-std.png
Steven E2025-09-05 10:21:462025-09-05 10:21:54How to Fix Lint Buildup in a Laundry Steam Closet https://www.appliancepartspros.com/b/wp-content/uploads/2025/09/20250905_1121_Elegant-Laundry-Room_simple_compose_01k4d7e16qe33aqsnbg4pgwtwh.png
1024
1536
Steven E
https://www.appliancepartspros.com/b/wp-content/uploads/2020/11/app-logo-std.png
Steven E2025-09-05 10:13:342025-09-05 10:14:09How to Descale and Flush the Water System in a Steam Closet
https://www.appliancepartspros.com/b/wp-content/uploads/2025/09/20250905_1121_Elegant-Laundry-Room_simple_compose_01k4d7e16qe33aqsnbg4pgwtwh.png
1024
1536
Steven E
https://www.appliancepartspros.com/b/wp-content/uploads/2020/11/app-logo-std.png
Steven E2025-09-05 10:13:342025-09-05 10:14:09How to Descale and Flush the Water System in a Steam ClosetWith nearly a decade of experience in providing top-notch customer service regarding appliance parts and repair, Steven enjoys sharing practical advice, troubleshooting tips, and interesting information to help readers stay informed.