Fix Your Refrigerator Ice Maker Fast with This Simple Guide
Steven E / Tuesday May 13, 2025
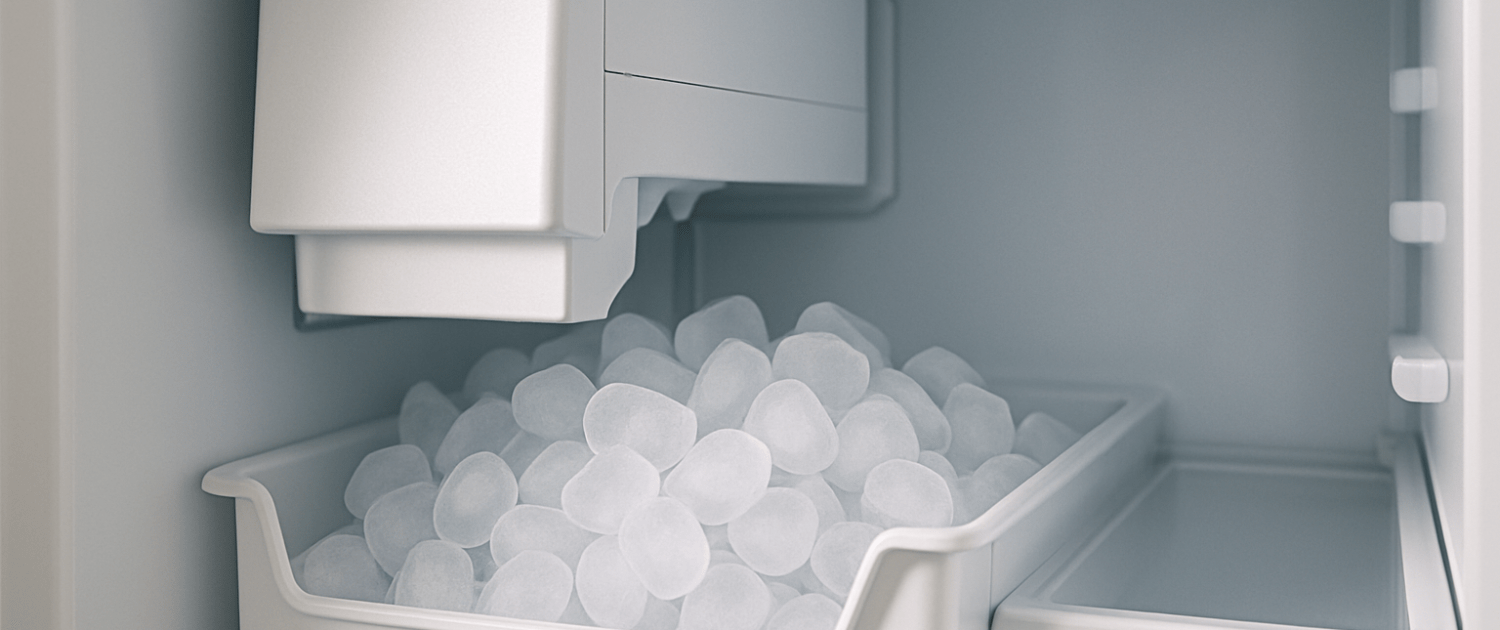
Having trouble with your ice maker? No worries! Before you dial a repair technician, let’s try some simple DIY troubleshooting and testing techniques to identify and fix common issues. With a few basic tools and a bit of know-how, you might be able to get your ice maker up and running without emptying your wallet.
If you need any replacement parts for your refrigerator, you can enter your model number at AppliancePartsPros.com to order them. Most orders arrive in just two business days, and we have thousands of free videos to show you how to install your new parts. So, let’s dive in and learn how to test the key components for reliable performance.
The information in this article may not apply to your specific appliance model. We recommend consulting your manufacturer’s documentation or contact us with any questions.
Why is it important to test?
Having a fully functional ice maker is super convenient, especially during those scorching summer months or when you’re hosting get-togethers. But when it stops working, it can be a real hassle and costly to get it repaired. That’s where testing comes in handy. By checking the different parts of your ice maker, you can quickly figure out what’s wrong and maybe even fix it yourself, saving you time and money. So, let’s get our sleeves rolled up and dive in!

Safety first
Your safety should always be the top priority when performing any appliance repair.
- Always power off and unplug your appliance or switch off the circuit breaker before attempting any maintenance or replacement work. This keeps you safe by preventing any risk of electric shock.
- If the appliance has recently been used, give it plenty of time to cool down before working on it.
- Take your time and don’t rush while working to prevent accidents and personal injuries.
- Work in a well-lit area so you can clearly see and access appliance parts.
- Keep your workspace free of clutter and other obstacles. Keep children and pets away from the work area.
- Never work on internal parts with wet hands. Make sure the work area is completely dry.
- Check the user manual to see if there are specific installation or safety instructions related to your appliance or replacement part.
- Be gentle when handling or removing parts. Excessive force might damage the appliance or cause personal injury.
- Wear insulated work gloves to protect your hands from sharp metal parts and debris.
- When working with wires, avoid touching any exposed wires or terminals. If you need to touch a wire, use a non-conductive tool or wear insulating gloves to prevent electrical shock.
- Don’t test live voltage with a multimeter if you’re unfamiliar with how to prevent short-circuiting.
- Consider wearing safety glasses and/or a dust mask when working with chemicals, dust or a large amount of debris to prevent irritation or injury.
Check power supply
When troubleshooting your ice maker, the first step is to make sure it’s getting power. So before unplugging the unit, check to make sure your ice maker is receiving power. You can use a multimeter to measure the electrical current. Just set the multimeter to the voltage setting and carefully touch the probes to the power source or the ice maker’s electrical connections. If there’s no power, you’ll need to dig deeper to find out why, like a blown fuse or a wonky outlet. Once you’ve confirmed the power supply is good, you can move on to testing each component.
Test the water inlet valve
The water inlet valve controls the flow of water into the ice mold, allowing for the production of ice cubes. To test the functionality of the water inlet valve, follow these steps:
- Locate the valve solenoid coil situated at the back of the refrigerator.
- Using a multimeter, set it to the resistance (ohms) setting and measure the resistance across the valve coil.
- A healthy water inlet valve should yield a resistance reading around 300 ohms, indicating that it is operating as intended and allowing proper water flow.
- However, if you encounter a resistance reading that is notably high, it signifies a defect in the valve coil. In this case, the valve is not functioning properly and should be replaced to restore best ice maker performance.
Check the mold heater
The mold heater is responsible for warming the ice cube molds, allowing the easy release of newly formed ice cubes. Follow these steps to test the functionality of the mold heater:
- Locate the wiring leads of the mold heater within the ice maker’s electrical connections.
- Use a multimeter set to the resistance (ohms) setting to measure the resistance across the heater leads.
- Typically, a properly functioning mold heater will exhibit a resistance reading ranging approximately from 40 to 75 ohms.
- If you come across a substantially higher resistance reading, this indicates a potential malfunction or breakage in the mold heater. In such instances, it’s likely that the heater is compromised and requires replacement.
Test the thermostat
The internal thermostat is responsible for regulating the harvest cycle, which facilitates the ejection of ice cubes. To conduct a test, follow these steps:
- Identify the electrical contacts of the thermostat on the ice maker wiring harness.
- Use a multimeter set to the resistance (ohms) setting to check for continuity across these contacts when the temperature is below 15°F (-9°C).
- If you observe some resistance, it indicates that the thermostat is closed and functioning as intended.
- However, if there is no continuity at colder temperatures, it suggests a faulty thermostat that requires replacement. This replacement is necessary to ensure the proper operation of the ice maker’s ice cube ejection process.
Check the ejector gear motor
The ejector gear motor is responsible for the movement that helps ice cubes come out of your ice maker. Here’s how to test it:
- Find the motor’s wires in the ice maker’s wiring.
- Use a multimeter set to the resistance (ohms) setting to check the resistance between the motor wires.
- A good motor should show a resistance of 300 to 4400 ohms, indicating its proper functionality.
- If the resistance is very high or infinity, it suggests a broken motor that needs to be replaced for the ice cubes to come out correctly.
More information
Thank you for reading! We hope this guide helped you get your ice maker working again.
If you have any other appliance repair needs or projects, don’t hesitate to explore our other troubleshooting guides and videos.
If you need replacement parts or some extra help with ordering them, grab your model number and head over to AppliancePartsPros.com, where you can chat with a pro, read our DIY blog and more.
Be sure to subscribe to us on YouTube and follow us on Facebook, Twitter and Instagram!
 https://www.appliancepartspros.com/b/wp-content/uploads/2021/08/42_refrigerator-won-t-start-top-6-reasons-and-fixes_middle.png
640
1536
APP Expert
https://www.appliancepartspros.com/b/wp-content/uploads/2020/11/app-logo-std.png
APP Expert2021-08-04 10:08:222026-01-20 11:40:59Refrigerator Won’t Start: Top 6 Reasons and Fixes for Kenmore, Whirlpool, Frigidaire, GE, and Other Brands (With Video!)
https://www.appliancepartspros.com/b/wp-content/uploads/2021/08/42_refrigerator-won-t-start-top-6-reasons-and-fixes_middle.png
640
1536
APP Expert
https://www.appliancepartspros.com/b/wp-content/uploads/2020/11/app-logo-std.png
APP Expert2021-08-04 10:08:222026-01-20 11:40:59Refrigerator Won’t Start: Top 6 Reasons and Fixes for Kenmore, Whirlpool, Frigidaire, GE, and Other Brands (With Video!) https://www.appliancepartspros.com/b/wp-content/uploads/2021/07/38_freezer-is-cold-and-refrigerator-is-warm-top-8_top.png
640
1536
APP Expert
https://www.appliancepartspros.com/b/wp-content/uploads/2020/11/app-logo-std.png
APP Expert2021-07-19 12:02:062026-01-20 09:29:54Freezer is Cold and Refrigerator is Warm: Top 8 Reasons and Fixes for Kenmore, Whirlpool, Frigidaire, GE, and Other Brands (With Video!)
https://www.appliancepartspros.com/b/wp-content/uploads/2021/07/38_freezer-is-cold-and-refrigerator-is-warm-top-8_top.png
640
1536
APP Expert
https://www.appliancepartspros.com/b/wp-content/uploads/2020/11/app-logo-std.png
APP Expert2021-07-19 12:02:062026-01-20 09:29:54Freezer is Cold and Refrigerator is Warm: Top 8 Reasons and Fixes for Kenmore, Whirlpool, Frigidaire, GE, and Other Brands (With Video!) https://www.appliancepartspros.com/b/wp-content/uploads/2021/07/37_ice-buildup-in-refrigerator-compartment-top-7_bottom.png
640
1536
APP Expert
https://www.appliancepartspros.com/b/wp-content/uploads/2020/11/app-logo-std.png
APP Expert2021-07-16 10:44:002026-01-20 08:50:05Ice Buildup in Refrigerator Compartment: Top 7 Reasons and Fixes for Kenmore, Whirlpool, Frigidaire, GE, and Other Brands (With Video!)
https://www.appliancepartspros.com/b/wp-content/uploads/2021/07/37_ice-buildup-in-refrigerator-compartment-top-7_bottom.png
640
1536
APP Expert
https://www.appliancepartspros.com/b/wp-content/uploads/2020/11/app-logo-std.png
APP Expert2021-07-16 10:44:002026-01-20 08:50:05Ice Buildup in Refrigerator Compartment: Top 7 Reasons and Fixes for Kenmore, Whirlpool, Frigidaire, GE, and Other Brands (With Video!)With nearly a decade of experience in providing top-notch customer service regarding appliance parts and repair, Steven enjoys sharing practical advice, troubleshooting tips, and interesting information to help readers stay informed.