Fixing a Bathroom Fan That Has a Broken Spring Clip or Hanger
Steven E / Thursday July 3, 2025
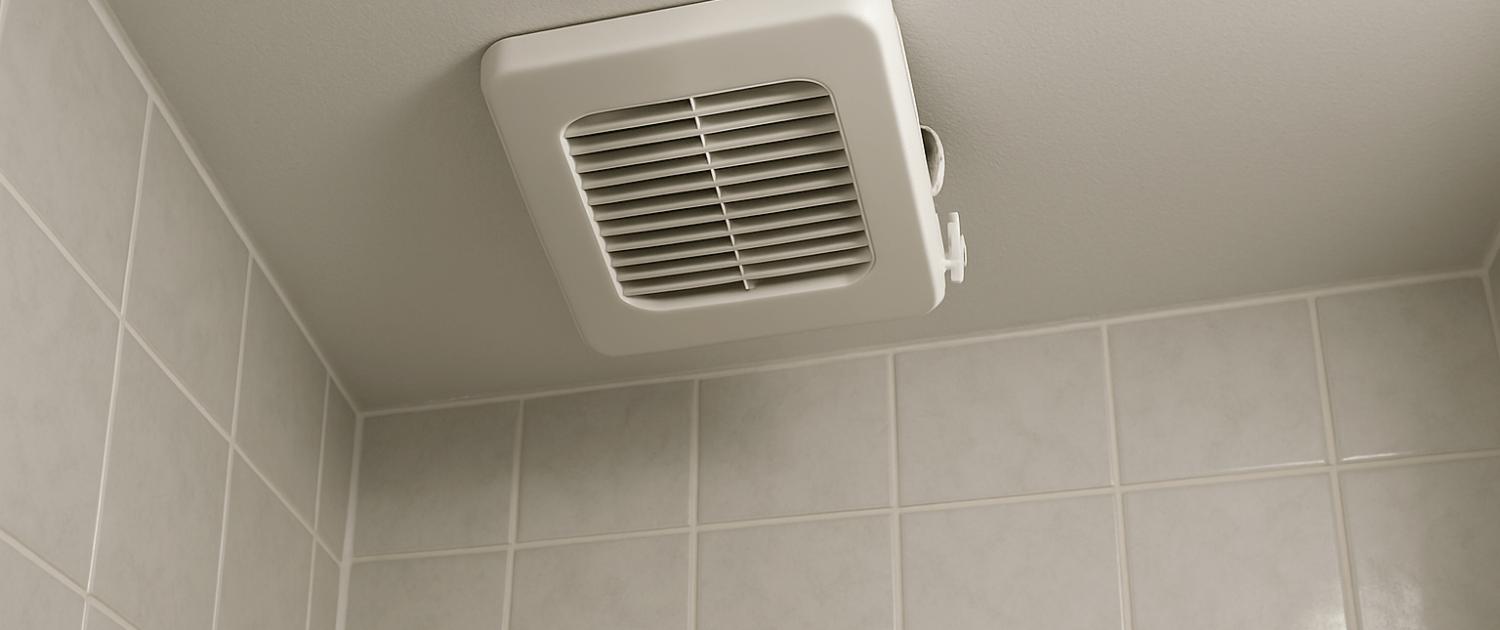
Is your bathroom fan cover dangling or refusing to stay put? Chances are, one of the spring clips or hangers that hold it in place is broken or bent. The good news is, this is one of the easiest DIY fixes you can do, usually in just a few minutes. Here’s how to get your fan cover back where it belongs.
The information in this article may not apply to your specific appliance model. We recommend consulting your manufacturer’s documentation or contact us with any questions.
Why a Broken Spring Clip or Hanger Is a Problem
A bathroom fan uses spring clips or hangers to attach to the ceiling. These parts hold the fan securely in place while ensuring that it doesn’t move around or vibrate excessively when it’s running. Over time, or due to wear and tear, these parts can break or become loose. This can lead to several issues:
- Loose or wobbly fan: A broken clip or hanger can cause the fan to hang unevenly or be unstable, which may lead to additional damage or unnecessary noise.
- Increased vibration: A fan that isn’t properly secured can vibrate more than usual, which can create unwanted noise or even cause damage to the fan motor.
- Fan detachment: In the worst case, a broken hanger or clip can cause the fan to fall out of place, making it inoperable.
Tools and Materials You’ll Need
Before you begin repairing your bathroom fan, make sure you have the right tools and materials for the job. Here’s a list of what you’ll need:

- Replacement spring clip or hanger (specific to your fan model)
- Screwdriver (flathead and/or Phillips, depending on your fan)
- Ladder (if your fan is installed high up)
- Power drill (optional, if screws need to be replaced or installed)
- Pliers (optional, for adjusting the clips or hangers)
- Wire cutters (optional, if you need to work with wires)
- Flashlight (to help you see clearly inside the fan housing)
- Safety gloves (for protection while handling parts and tools)
Steps to Fix a Broken Spring Clip or Hanger
Turn Off the Power to the Fan
Before you start working on the fan, it’s crucial to ensure that the power is completely turned off. This is a necessary safety step to prevent any electrical accidents.
- Go to your electrical panel and flip the circuit breaker that controls the bathroom fan to the “off” position.
- Double-check by using a voltage tester on the fan or the switch to make sure no power is running through the system.
Remove the Fan Cover
- Use a screwdriver to remove the screws that hold the fan cover in place. Depending on your fan model, there may be one or more screws securing the cover.
- If the cover is held in place by clips, gently pry it off using a flathead screwdriver or your fingers.
Examine the Broken Spring Clip or Hanger
- Spring clips are often used to secure the fan assembly to the ceiling frame. If a spring clip is broken, the fan may be hanging loosely or wobbly.
- Hangers are metal brackets that hold the fan housing in place. If a hanger is broken, the fan might be tilting or hanging unevenly.
- Inspect the other clips or hangers to ensure they’re still secure and not at risk of breaking as well.
Remove the Broken Clip or Hanger
- If you’re dealing with a spring clip, use pliers to gently pull it out of its mounting bracket. Be careful not to damage any other parts in the process.
- For hangers, the removal process may involve unscrewing or detaching the metal brackets from the fan housing or the ceiling.
- Keep the screws or clips in a safe place, as you may need them for installing the new parts.
Install the New Spring Clip or Hanger
- For spring clips, slide the new clip into place in the bracket. Make sure it clicks securely into position. You might need to use pliers to gently adjust the clip and ensure it’s firmly in place.
- For hangers, align the new hanger with the ceiling frame and fan housing. Attach it by securing the screws into the designated holes. Use a power drill if needed to tighten the screws, but be careful not to overtighten and damage the housing.
Reattach the Fan Cover
- Align the cover with the fan housing and carefully place it back into position.
- Secure the cover with screws or by snapping it into place, depending on your fan model.
Restore Power and Test the Fan
The final step is to restore power to the fan and test it to ensure everything is functioning correctly.
- Go back to your electrical panel and flip the circuit breaker back to the “on” position.
- Turn the fan on using the switch and check for proper airflow and operation. The fan should run quietly and without any wobbling or noise caused by a loose spring clip or hanger.
Where To Find Us
If you need any replacement parts for your appliances, you can enter your model number at AppliancePartsPros.com to locate and order them quickly. Most orders arrive in just two business days, and we have tons of great information in our repair help section and YouTube videos to help you troubleshoot.
Stay connected with the latest DIY tips, tutorial videos, and repair guides by following us on Facebook, Instagram, and Twitter. We love hearing about your repair stories and successes. If you need more help or want personalized guidance, feel free to reach out. We’re ready to help you take on your next project with confidence!
 https://www.appliancepartspros.com/b/wp-content/uploads/2025/06/20250602_0949_Farmhouse-Bathroom-Fan_simple_compose_01jwredw40ez2rwepk8ybry7e4.png
1024
1536
Steven E
https://www.appliancepartspros.com/b/wp-content/uploads/2020/11/app-logo-std.png
Steven E2025-06-02 06:56:132025-06-02 06:56:27Replacing Broan Bath Fan Motor and Blower Wheel S97017062
https://www.appliancepartspros.com/b/wp-content/uploads/2025/06/20250602_0949_Farmhouse-Bathroom-Fan_simple_compose_01jwredw40ez2rwepk8ybry7e4.png
1024
1536
Steven E
https://www.appliancepartspros.com/b/wp-content/uploads/2020/11/app-logo-std.png
Steven E2025-06-02 06:56:132025-06-02 06:56:27Replacing Broan Bath Fan Motor and Blower Wheel S97017062With nearly a decade of experience in providing top-notch customer service regarding appliance parts and repair, Steven enjoys sharing practical advice, troubleshooting tips, and interesting information to help readers stay informed.