Fixing Bad-Tasting Ice from a Freestanding Whirlpool Ice Machine
Steven E / Monday May 5, 2025
There’s nothing better than crystal-clear, restaurant-style ice from your Whirlpool freestanding ice maker, until one day, you grab a handful and realize… it smells weird. Or worse, it tastes awful. Maybe it’s metallic, musty, or just plain funky. Whatever the flavor, one thing’s for sure: bad-tasting ice can ruin a drink faster than you can say “on the rocks.”
But don’t worry, you don’t need to panic or toss your whole ice machine. Bad-tasting ice is a common issue, and the good news is: you can usually fix it yourself with just a little time and some basic cleaning supplies.
This guide will walk you through step-by-step troubleshooting for your Whirlpool freestanding ice maker. We’ll cover the most common causes of bad-tasting ice, how to fix them, and how to keep your ice fresh and clean moving forward.
The information in this article may not apply to your specific appliance model. We recommend consulting your manufacturer’s documentation or contact us with any questions.

Check the Water Source
Since ice is basically just frozen water, let’s start at the source.
1. Water Filter
If your Whirlpool ice maker is connected to a water filter, and you haven’t changed it in a while, this is a top suspect. Old or clogged filters can affect taste and smell.
- Replace the filter if it’s older than 6 months.
- Run a few cycles of ice after replacing it to flush the system.
2. Water Supply Line
If your unit uses copper or plastic tubing that’s old, kinked, or dirty, the water can pick up weird flavors before it even hits the machine.
- Inspect the line for discoloration or mold.
- Flush the line with clean water.
- Consider replacing with braided stainless steel or food-safe tubing if yours is aging.
3. Hard Water
Minerals in hard water can leave behind a chalky or bitter taste and cause buildup inside the machine.
- Use filtered or softened water if possible.
- You can also install a point-of-use water filter near the supply line.
If your water source checks out, it’s time to move on to the machine itself.
Clean the Ice Bin and Scoop
Before tackling the whole system, start with the parts that directly touch the ice.
What to do:
- Empty the ice bin completely.
- Wash it with warm water, mild dish soap, and a soft cloth.
- Rinse thoroughly and dry.
- Clean the ice scoop the same way, or better yet, run it through the dishwasher.
Why it matters: Mold, bacteria, or even old residue from drinks can contaminate your bin and transfer bad tastes to fresh ice.
Clean the Interior of the Ice Machine
If the inside of your Whirlpool ice maker hasn’t been cleaned in a while, this is likely the main cause of bad-tasting ice. Ice makers need to be cleaned regularly, just like any other appliance that handles food or drink.
You’ll need:
- Nickel-safe ice machine cleaner (Part number AP3422714)
- Warm water
- Soft cloth or sponge
- Optional: vinegar for odor removal (more on this later)
Cleaning steps:
- Turn off the machine and unplug it.
- Remove all ice from the bin.
- Drain the reservoir (check your manual for the location of the drain cap or hose).
- Mix cleaner solution according to the bottle instructions.
- Run a cleaning cycle (many Whirlpool models have a “Clean” button). If your model doesn’t, manually circulate the solution by pouring it into the reservoir and letting it sit.
- Wipe down all interior surfaces with a sponge or cloth soaked in cleaner solution.
- Rinse thoroughly with clean water to remove all cleaner residue.
- Dry the interior with a clean towel before restarting the machine.
Pro tip: If your ice machine smells musty, wipe the interior with a 1:1 mix of white vinegar and water after cleaning. Let it sit for 10 minutes, then rinse.
Let It Run a Few Cycles
After cleaning and rinsing everything, run at least 2–3 full ice cycles and toss the ice. This flushes out any residual cleaning solution or stale water that could affect taste.
If the ice starts to look clearer and tastes fresher after those initial cycles, you’re back in business.
Where To Get More Help
If you need any replacement parts for your appliances, you can enter your model number at AppliancePartsPros.com to locate and order them quickly. Most orders arrive in just two business days, and we have tons of great information in our repair help section and YouTube videos to help you troubleshoot.
Stay connected with the latest DIY tips, tutorial videos, and repair guides by following us on Facebook, Instagram, and Twitter. We love hearing about your repair stories and successes. If you need more help or want personalized guidance, feel free to reach out. We’re ready to help you take on your next project with confidence!
 https://www.appliancepartspros.com/b/wp-content/uploads/2025/11/20251113_1357_Under-Counter-Ice-Machine_simple_compose_01k9z94teee5gb2kf2g4zemkmx.png
1024
1536
Steven E
https://www.appliancepartspros.com/b/wp-content/uploads/2020/11/app-logo-std.png
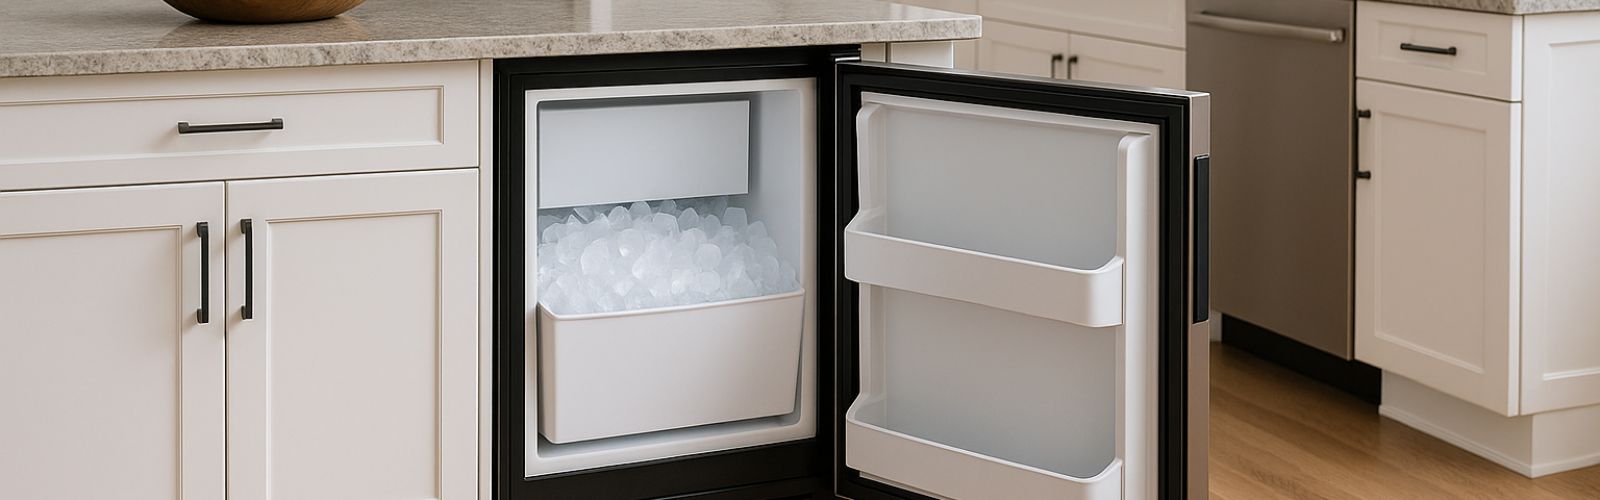
Steven E2025-11-13 11:23:132025-11-13 11:23:23Fix Your KitchenAid Ice Machine with These Simple Water Valve Tests
https://www.appliancepartspros.com/b/wp-content/uploads/2025/11/20251113_1357_Under-Counter-Ice-Machine_simple_compose_01k9z94teee5gb2kf2g4zemkmx.png
1024
1536
Steven E
https://www.appliancepartspros.com/b/wp-content/uploads/2020/11/app-logo-std.png
Steven E2025-11-13 11:23:132025-11-13 11:23:23Fix Your KitchenAid Ice Machine with These Simple Water Valve Tests https://www.appliancepartspros.com/b/wp-content/uploads/2025/05/20250514_1026_Cozy-Kitchen-Corner_simple_compose_01jv7jyc5dfdebzqk4xsj0pd5e.png
1024
1536
Steven E
https://www.appliancepartspros.com/b/wp-content/uploads/2020/11/app-logo-std.png
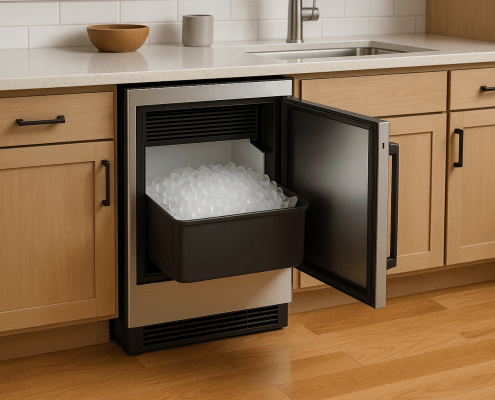
Steven E2025-05-14 07:34:472025-05-14 07:34:54Step-by-Step Under-Counter Ice Maker Installation Guide
https://www.appliancepartspros.com/b/wp-content/uploads/2025/05/20250514_1026_Cozy-Kitchen-Corner_simple_compose_01jv7jyc5dfdebzqk4xsj0pd5e.png
1024
1536
Steven E
https://www.appliancepartspros.com/b/wp-content/uploads/2020/11/app-logo-std.png
Steven E2025-05-14 07:34:472025-05-14 07:34:54Step-by-Step Under-Counter Ice Maker Installation Guide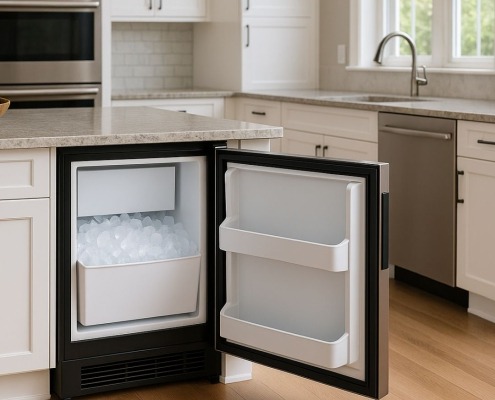 https://www.appliancepartspros.com/b/wp-content/uploads/2025/04/APP-blog-square-233.jpg
1080
1080
Steven E
https://www.appliancepartspros.com/b/wp-content/uploads/2020/11/app-logo-std.png
Steven E2025-05-05 06:25:342025-05-05 06:25:41Fixing Bad-Tasting Ice from a Freestanding Whirlpool Ice Machine
https://www.appliancepartspros.com/b/wp-content/uploads/2025/04/APP-blog-square-233.jpg
1080
1080
Steven E
https://www.appliancepartspros.com/b/wp-content/uploads/2020/11/app-logo-std.png
Steven E2025-05-05 06:25:342025-05-05 06:25:41Fixing Bad-Tasting Ice from a Freestanding Whirlpool Ice MachineWith nearly a decade of experience in providing top-notch customer service regarding appliance parts and repair, Steven enjoys sharing practical advice, troubleshooting tips, and interesting information to help readers stay informed.