GE Refrigerator Temperature Control WR09X20002 Replacement
Steven E / Wednesday May 28, 2025
Is your GE refrigerator running warm and turning your fresh groceries into spoiled waste? The culprit could be a faulty temperature control, but don’t worry—you can tackle this issue yourself without shelling out for professional help. Dive into our step-by-step guide and watch the how-to video below to get your fridge back to its cooling best in no time!
Looking for the right part? Enter your appliance model number below to find the exact match and get your appliance running like new again!
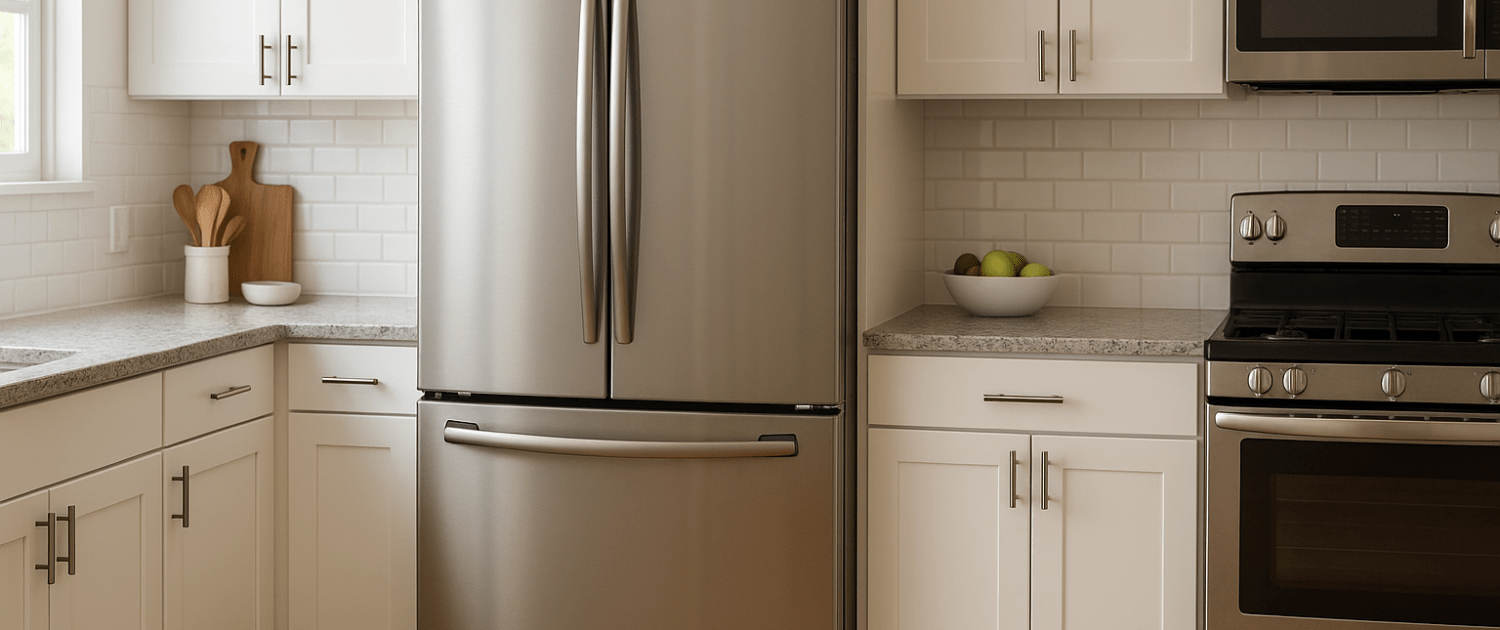
If your GE fridge feels more like a pantry than a cooler, it could be the temperature control that’s failing, part WR09X20002. The good news? You don’t need to call in a tech. Swapping it out yourself is totally doable, and we’ll walk you through the whole process step by step. Let’s get that fridge back to chilling like it should!

The information in this article may not apply to your specific appliance model. We recommend consulting your manufacturer’s documentation or contact us with any questions.
Watch How To: GE Temperature Control
Safety first
Safety comes first when working on any appliance. Here are some practical tips to help keep you safe:
- Always turn off the power by unplugging the appliance or switching off the circuit breaker before starting. This protects you from the risk of electric shock.
- Wear insulated gloves to protect your hands from sharp edges, pinching hazards, or debris.
- Take your time and work at a steady pace to avoid accidents or injuries.
- Make sure your workspace is well-lit so you can clearly see and access the parts you’re working on.
- Keep your area organized and free of clutter, and ensure children and pets are kept away from the workspace.
- Never handle internal parts with wet hands. Make sure both your hands and the work area are completely dry.
- Check your appliance’s user manual for specific instructions or safety guidelines related to your repair.
- Handle parts gently to prevent damaging the appliance or injuring yourself by using too much force.
- Wear safety glasses if you’re dealing with chemicals, dust, or large debris to protect your eyes.
- If the appliance was recently used, give it time to cool down before working on any heated components.
- Take photos or notes of wiring connections before disconnecting anything. This makes reassembly much easier.
- Avoid touching exposed wires or terminals. If you need to handle wires, use non-conductive tools or wear insulated gloves to reduce the risk of electrical shock.
Before you start any repair work on your appliance, safety should be your top priority. Unplug the appliance. Always make sure your appliance is unplugged from the power source or turned off at the circuit breakers. This will prevent any electrical mishaps during the repair process.
Tools and materials needed
- Phillips head screwdriver
- Flathead screwdriver
- Towel
- Temperature control part WR09X20002– Make sure you take your model number to AppliancePartsPros.com to look up the correct part for your model.
Access the temperature control
The temperature control is mounted in a plastic box at the top of the refrigerator compartment. Here are the steps to access it:
- Open the refrigerator door to expose the temperature control box.
- Remove the light bulb from its socket by grasping it and turning it counterclockwise. Set the bulb aside.
- Using a Phillips head screwdriver, remove the two screws holding the plastic control box to the top of the refrigerator.
- Once the screws are out, gently lower the box down. Be careful not to stress any of the wiring.
- You’ll see a wiring harness. Depress the locking tab on the harness and pull it free from the control.
- With the harness unplugged, you can now fully remove the plastic box from the refrigerator. Place it on a towel or soft surface to avoid scratching.
Remove the faulty temperature control
- Use a small flathead screwdriver to pry off the temperature control knob. Insert the screwdriver into the gap between knob and housing and gently pry up to pop the knob loose. Pull the knob out of the housing and set it aside.
- Now disconnect the wire terminals from the faulty temperature control board. There will be three wires – the ground wire is on the top, while the gray and double brown wires are on the other side, the gray wire is on top and the double brown wire is on the bottom. Carefully detach each wire, and use the flat-head screwdriver to help pop those off if they are stuck.
- On either side of the temperature control, you’ll see small locking tabs. Depress the tabs using your flathead screwdriver while gently lifting up on the control. This will release it from the plastic housing.
- Once released, pull the temperature control out of the housing. Make sure to also slide the capillary tube out of its channel as you remove the control.
Install the new temperature control
Installing the new temperature control involves transferring a plastic capillary tube from the old part to the new one, and then inserting it into the control housing:
- Examine the old and new temperature controls. You’ll see the plastic on the capillary tube that runs from the control. This tube must be carefully removed from the old cpntrol and installed onto the new one.
- Gently stretch the tube out straight from the new temperature control. Be extremely careful not to kink or damage the tube during this process. A kinked tube will prevent proper operation.
- With the capillary tube straight, slide the plastic off the old temperature control. Make sure to pull evenly to avoid kinking.
- Slide the plastic tube onto the capillary tube on the new temperature control, pushing it all the way on.
- Now insert the new temperature control into the plastic housing. Slide the capillary tube into the channel.
- Make sure the electrical terminals are oriented correctly.
- Carefully bend the capillary tube around the defrost timer
- Line up the mounting tabs and push down firmly until the temperature control snaps into place in the housing.
- Very carefully bend the capillary tube so it’s not hitting anything and is out of the way.
With the new control installed, reconnect the wiring and replace the knob:
- Attach the ground wire to the top terminal, and on the opposite side attach the gray wire at the top terminal and the brown wires to the bottom terminal on the new temperature control.
- Line up the temperature control knob correctly and push firmly until it snaps onto the control shaft.
Reassemble the control housing
- Carefully insert the plastic control housing box back into the fridge compartment. Make sure the wiring harness slides back into its cavity without snagging.
- Once aligned, firmly push the harness connector into the temperature control until it clicks and locks in place.
- Replace the two Phillips screws to secure the plastic housing to the refrigerator top. Make sure not to overtighten.
- Screw in the light bulb by turning it clockwise until snug.
- Close the refrigerator door.
More Information
Thanks for reading! We hope this article helped you replace the temperature control in your GE refrigerator.
If you still need some replacement parts, grab your model number and head over to AppliancePartsPros.com. We offer over two million parts and most orders arrive in two business days. If you need some help with finding the right part or placing an order, you can contact our team at 1 (877) 477-7278.
While you’re waiting for your new part to arrive, you can explore our DIY blog and watch thousands of video tutorials on our YouTube channel.
Be sure to follow us on Facebook, Twitter and Instagram to see our latest repair guides!
- Disconnect power before you start — unplug it or switch off the breaker, and confirm it’s dead.
- Follow your local electrical code.
- Anything involving household wiring, outlets, or the breaker panel itself is licensed-electrician territory.
 https://www.appliancepartspros.com/b/wp-content/uploads/2021/09/20250618_1407_Cozy-Kitchen-Refrigerator_simple_compose_01jy23f17geh7t8zfv31k9tdrr.png
1024
1536
APP Expert
https://www.appliancepartspros.com/b/wp-content/uploads/2020/11/app-logo-std.png
APP Expert2021-09-08 09:47:532026-01-21 06:26:06How to Replace a Refrigerator Water Filter (With Video!)
https://www.appliancepartspros.com/b/wp-content/uploads/2021/09/20250618_1407_Cozy-Kitchen-Refrigerator_simple_compose_01jy23f17geh7t8zfv31k9tdrr.png
1024
1536
APP Expert
https://www.appliancepartspros.com/b/wp-content/uploads/2020/11/app-logo-std.png
APP Expert2021-09-08 09:47:532026-01-21 06:26:06How to Replace a Refrigerator Water Filter (With Video!) https://www.appliancepartspros.com/b/wp-content/uploads/2021/08/43_refrigerator-won-t-dispense-ice-top-6-reasons-and_top.png
640
1536
APP Expert
https://www.appliancepartspros.com/b/wp-content/uploads/2020/11/app-logo-std.png
APP Expert2021-08-09 13:19:002026-07-14 07:46:11Refrigerator Won’t Dispense Ice: Top 6 Reasons and Fixes for Kenmore, Whirlpool, Frigidaire, GE, and Other Brands (With Video!)
https://www.appliancepartspros.com/b/wp-content/uploads/2021/08/43_refrigerator-won-t-dispense-ice-top-6-reasons-and_top.png
640
1536
APP Expert
https://www.appliancepartspros.com/b/wp-content/uploads/2020/11/app-logo-std.png
APP Expert2021-08-09 13:19:002026-07-14 07:46:11Refrigerator Won’t Dispense Ice: Top 6 Reasons and Fixes for Kenmore, Whirlpool, Frigidaire, GE, and Other Brands (With Video!)With nearly a decade of experience in providing top-notch customer service regarding appliance parts and repair, Steven enjoys sharing practical advice, troubleshooting tips, and interesting information to help readers stay informed.