Getting Error F3E1 On Your Maytag Dryer? Here’s What to Do
Steven E / Friday May 9, 2025
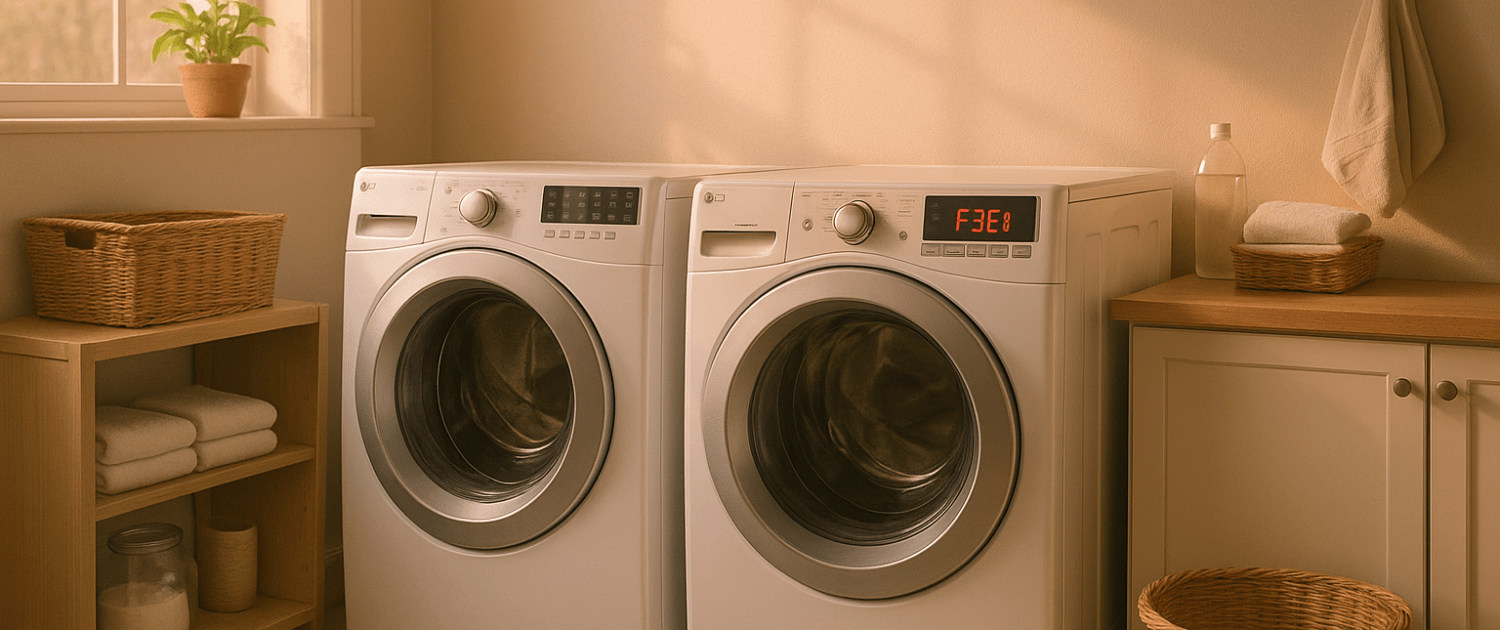
It’s frustrating when you load up your Whirlpool or Maytag front-load dryer, select a cycle, and get an F3E1 error message on the interface display instead. This numerical code doesn’t explain much without some background knowledge. In this article, we’ll cover Whirlpool and Maytag’s F3E1 error codes, discuss what causes it, and provide a step-by-step repair guide you can follow. With a few simple tools and safety checks, you can troubleshoot an F3E1 Maytag dryer error on your own and get the dryer heating properly again.
If you find out that you need any replacement parts for your appliance while you’re troubleshooting, you can enter your model number at AppliancePartsPros.com to order them. Most orders arrive in just two business days, and we have thousands of free guides to show you how to install your new parts.
The information in this article may not apply to your specific appliance model. We recommend consulting your manufacturer’s documentation or contact us with any questions.
What does the error code mean?
On Whirlpool and Maytag front-load dryers, F3E1 indicates a problem with the exhaust thermistor sensor. This component monitors the temperature of air exiting the dryer drum.

The electronic control board uses input from the thermistor to regulate drying time and cyclically turn the heating elements or gas valves on and off. This maintains the desired temperature for optimal drying performance.
When the F3E1 code is triggered, it means the control board is detecting an abnormal reading from the exhaust thermistor. Typically, this points to one of two issues:
- Open circuit – The thermistor’s sensing circuit is not continuous. This gives an extremely high resistance readout.
- Short circuit – The thermistor has low resistance between circuits, often caused by damage.
In either case, the inaccurate data prevents the board from properly controlling heat output. The F3E1 code alerts you to this electrical issue before a cycle starts.
Safety precautions
When working on any appliance, remember to keep safety first. Here are some tips to keep in mind:
- Always power off and unplug your appliance or switch off the circuit breaker before attempting any maintenance or replacement work. This keeps you safe by preventing any risk of injury from electric shock.
- Wear insulated work gloves to protect your hands from sharp metal parts, pinching hazards and debris.
- Take your time and don’t rush while working to prevent accidents and personal injuries.
- Work in a well-lit area so you can clearly see and access the interior parts.
- Clear your workspace of clutter and other obstacles. Keep children and pets away from the work area.
- Never work on internal parts with bare wet hands. Make sure the work area is completely dry.
- Check your user manual to see if there are specific installation or safety instructions for your part or appliance.
- Be gentle when handling or removing parts. Excessive force might damage the appliance or cause injury.
- Wear safety glasses when working with chemicals, dust or cleaning large debris to prevent injury.
- If the appliance has recently been used, give it plenty of time for any heating parts to cool down before working on it.
- Take pictures or make a note of wiring terminals or other connections before disconnecting to prevent any problems with reassembly.
- When working with wires, avoid touching any exposed wires or terminals. If you need to touch a wire, use a non-conductive tool or wear insulating gloves to prevent electrical shock.
How does a thermistor work?
A thermistor is a heat-sensitive resistor that changes its electrical resistance based on the surrounding temperature. It contains a ceramic core encased in a plastic housing with wire leads.
As temperatures rise around the thermistor, its internal resistance decreases proportionally. By measuring resistance, the control board can infer temperature. Temperature thresholds trigger heat cycling.
Most thermistors provide accurate readings over a specific range. Outside of that, resistance spikes (open circuit) or drops drastically (short circuit). The control board recognizes these abnormal resistance values as a fault.
Inside the dryer, the exhaust thermistor mounts along the hot air outlet ductwork, exposed to air streaming from the drum. This allows it to directly monitor output temperature.
Over a typical 120°F to 180°F drying range, the thermistor resistance decreases smoothly from around 20,000 ohms down to 5,000 ohms. The control board correlates resistance to temperature based on the thermistor model.
Troubleshooting steps
When your Whirlpool or Maytag dryer flashes F3E1, it requires some DIY troubleshooting to determine the cause. Here is a step-by-step approach:
Step 1: Locate the exhaust thermistor
- The exhaust thermistor is typically mounted in a plastic housing on the circular ductwork behind the dryer drum. It protrudes slightly into the air stream so it can monitor outlet temperature.
- To access it, remove the top panel or rear service cover. Refer to your appliance diagram to find the specific thermistor location. It’s often visible once you remove the rear vent ducting.
Tip: Use a bright flashlight to illuminate the interior ducts. The exhaust thermistor wiring contains two white or red wires leading to it which help spot it.
Step 2: Check thermistor resistance
- Unplug the thermistor wire harness from the control board. Use needle probes to pierce the wire insulation and get solid contact with the conductors.
- Set your multimeter to the ohms setting, usually indicated by the Greek omega symbol. Touch the meter probes to the wires and take a resistance reading.
- Consult your dryer’s service manual for the correct room temperature resistance value. It’s typically between 10,000-25,000 ohms.
- If the reading is high, it means an open circuit. If the reading is very low or zero, it signifies a short circuit. In either case, you will need to replace the thermistor.
Step 3: Inspect wiring
- Visually inspect the thermistor wiring for damage. Look for rubbing or pinch points against sheet metal that may have compromised the insulation.
- Wires near heating elements often degrade over time from continual heat exposure. Thermistor wires are susceptible to vibration fatigue as well which can fracture conductors internally.
- Check that wiring terminals are securely fastened to the thermistor and control board. Wiggle gently to check for loose wires which disrupt continuity.
- Examine wires near connection points for corrosion buildup which impedes electrical contact. The thermistor plugs and board headers are prone to corrosive contacts.
Step 4: Reconnect and test
Reassemble all wiring, panels, and plug in the dryer power cord. Run a timed high heat cycle to verify the F3E1 code does not return. This confirms you’ve resolved the root issue. If the problem persists, further troubleshooting will be needed.
Additional information
Thank you for reading! We hope you found this information useful to get your working again.
If you have any other appliance repair needs or projects, don’t hesitate to explore our thousands of free videos and troubleshooting guides available. If you need replacement parts or some extra help, grab your model number and head over to AppliancePartsPros.com, where you can chat with a pro, order parts, read our DIY blog, and more.
Be sure to subscribe to us on YouTube and follow us on Facebook, Twitter, and Instagram!
 https://www.appliancepartspros.com/b/wp-content/uploads/2025/05/20250509_1251_Oven-Display-Error_simple_compose_01jttz893ze0brtea6zebdkk8h.png
1024
1536
Steven E
https://www.appliancepartspros.com/b/wp-content/uploads/2020/11/app-logo-std.png
Steven E2025-05-13 06:22:432025-05-13 06:22:52How to Troubleshoot Error Code F121 on a Bosch Oven
https://www.appliancepartspros.com/b/wp-content/uploads/2025/05/20250509_1251_Oven-Display-Error_simple_compose_01jttz893ze0brtea6zebdkk8h.png
1024
1536
Steven E
https://www.appliancepartspros.com/b/wp-content/uploads/2020/11/app-logo-std.png
Steven E2025-05-13 06:22:432025-05-13 06:22:52How to Troubleshoot Error Code F121 on a Bosch Oven https://www.appliancepartspros.com/b/wp-content/uploads/2025/05/20250509_1241_Oven-Display-Error_simple_compose_01jttynxn9em8vg36w1rd6q03y-1.png
869
1536
Steven E
https://www.appliancepartspros.com/b/wp-content/uploads/2020/11/app-logo-std.png
Steven E2025-05-13 06:20:592025-05-13 06:21:07Bosch Oven F112 and F114 Error Codes Explained
https://www.appliancepartspros.com/b/wp-content/uploads/2025/05/20250509_1241_Oven-Display-Error_simple_compose_01jttynxn9em8vg36w1rd6q03y-1.png
869
1536
Steven E
https://www.appliancepartspros.com/b/wp-content/uploads/2020/11/app-logo-std.png
Steven E2025-05-13 06:20:592025-05-13 06:21:07Bosch Oven F112 and F114 Error Codes Explained https://www.appliancepartspros.com/b/wp-content/uploads/2025/05/20250509_1232_Wall-Oven-Error_simple_compose_01jtty4dzjeh19sp117fpdcd2w.png
1024
1536
Steven E
https://www.appliancepartspros.com/b/wp-content/uploads/2020/11/app-logo-std.png
Steven E2025-05-13 06:18:362025-05-13 06:18:44Bosch Oven Showing Error Code F45? Here’s How to Troubleshoot
https://www.appliancepartspros.com/b/wp-content/uploads/2025/05/20250509_1232_Wall-Oven-Error_simple_compose_01jtty4dzjeh19sp117fpdcd2w.png
1024
1536
Steven E
https://www.appliancepartspros.com/b/wp-content/uploads/2020/11/app-logo-std.png
Steven E2025-05-13 06:18:362025-05-13 06:18:44Bosch Oven Showing Error Code F45? Here’s How to TroubleshootWith nearly a decade of experience in providing top-notch customer service regarding appliance parts and repair, Steven enjoys sharing practical advice, troubleshooting tips, and interesting information to help readers stay informed.