How to check furnace ductwork for leaks
Steven E / Thursday March 20, 2025
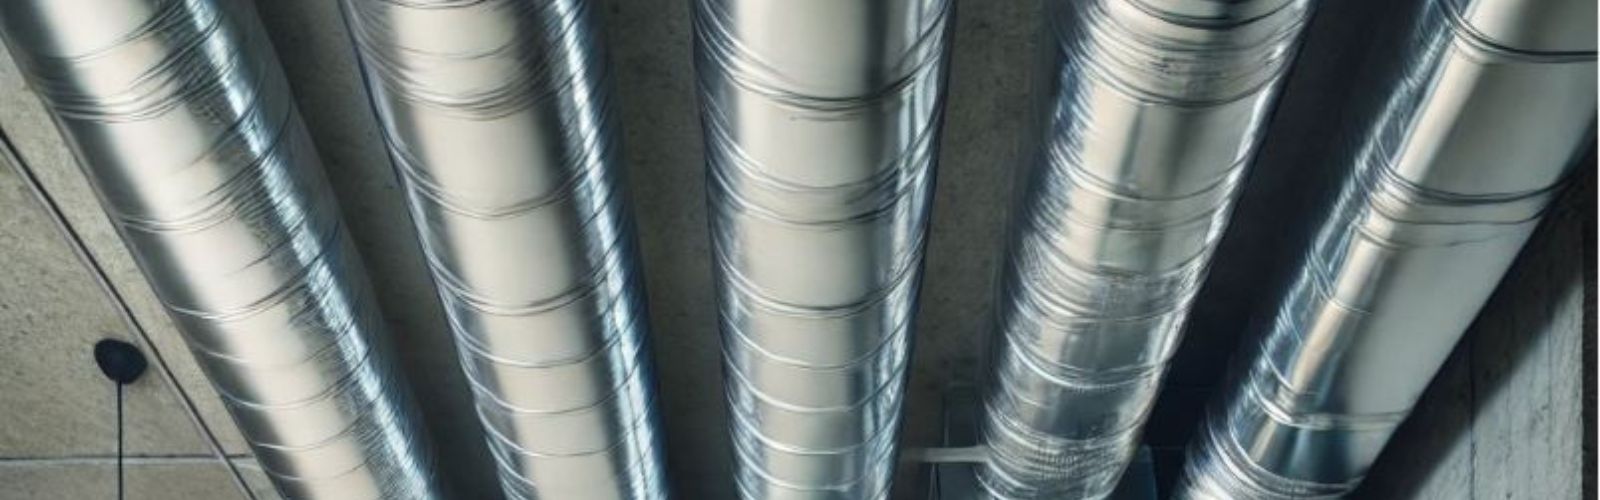
Is your furnace working overtime but still not keeping your home warm? It might not be the furnace, it could be your ductwork. Leaky ducts are a common culprit when it comes to poor heating, and they’re easier to fix than you might think! We’ll show you how to check for leaks in your furnace’s ductwork and seal them up, helping your furnace run more efficiently and your home stay warm. Let’s get those ducts in tip-top shape!
The information provided in this article may not apply to your specific appliance model. While we strive to offer helpful advice for DIY appliance repairs, variations in models and configurations can lead to differences in troubleshooting steps, error codes, and part replacements. For the most accurate guidance, we strongly recommend consulting the technical sheet for your specific appliance model.
Signs you have leaky ductwork
If you’re wondering whether your furnace ductwork might have leaks, there are a few signs to look out for. Leaky ducts often go unnoticed, but they can have a significant impact on your heating. Here are some common symptoms of leaky ducts:
- Uneven heating: Some rooms are colder than others, even though your furnace is running. This can happen when warm air escapes through leaks before it reaches certain areas of your home.
- Increased energy bills: If your energy costs have suddenly spiked without any change in usage, it could be because your furnace is working overtime to compensate for air loss due to leaks.
- Dust and debris: If you notice dust buildup around vents or an increase in allergens, it may mean air is escaping through leaks in the ducts, pulling in dust and dirt along the way.
- Strange sounds: Hissing or whistling sounds coming from the ducts often indicate a leak where air is escaping.
Tools and materials you’ll need
Before you dive into checking and sealing your furnace ductwork, it’s important to gather a few basic tools and materials. Here’s what you’ll need:

- Screwdriver
- Flashlight
- Duct tape or mastic sealant
- Aluminum foil tape
Safety precautions
Safety is always the first step when working with your furnace or ductwork. While checking and sealing ducts doesn’t involve direct contact with electrical parts, it’s still a good idea to turn off your furnace and ensure everything is powered down before you start working. Here’s how to prepare:
- Turn off the furnace: Locate the power switch to your furnace (it’s usually near the unit itself) and switch it to “Off.” This ensures you won’t accidentally trigger any components while you’re inspecting the ducts.
- Shut off the gas (if applicable): If you have a gas-powered furnace, it’s also a good idea to shut off the gas supply while you’re working on the system. This is an extra precaution to avoid any risks.
- Clear the area: Make sure the area around the vents and ducts is clear of furniture, dust, or any obstacles to make it easier to access the ducts.
How to check the ductwork for leaks
This process doesn’t require special skills, but it does require a careful eye. Here’s how to get started:
- Check all visible ductwork: Start by inspecting the areas of the ducts that are easily accessible, such as those in the attic, basement, or crawl spaces. Look for signs of damage, like cracks, holes, or loose joints.
- Use a flashlight to help illuminate hard-to-see areas. Shine the light along the seams and joints of the ducts to spot any small gaps or cracks where air might be leaking out.
- Look for signs of wear: Pay attention to any parts of the ductwork that are sagging or disconnected. These could be areas where air is escaping.
- Check the connections: Ensure all connections between duct sections are tight. Loose connections can be a common source of leaks, especially in the flexible ducts.
Don’t forget to check your vents too! Sometimes, leaks can happen right where the ducts meet the vent covers. You might need to remove the vent covers to see if air is escaping there.
Pro Tip: If you’re struggling to reach certain areas, you can use a small mirror or even a smartphone camera to inspect the ducts without having to crawl around too much.
Smoke test
One of the best to identify even the smallest leaks in your ductwork is by using a simple smoke test. This test works by creating a visual indicator that can easily show you where air is escaping from your ducts. Here’s how to do it:
- Use an incense stick or a smoke pen. If you’re using incense, light the stick and let it produce a steady stream of smoke. If you have a smoke pen, follow the manufacturer’s instructions to activate it.
- You’ll need the furnace to be running so that air is actively flowing through the ducts. Set your thermostat to a higher temperature to make sure the furnace kicks on.
- Hold the smoke source near the seams and joints of your ducts. Watch closely for any signs of the smoke being pulled into the ducts. If the smoke gets sucked into a particular spot, that’s a clear sign of a leak.
- Don’t forget to check the area around your vents, as they are another common place for air to escape. Run the smoke along the edges of the vents to check for any airflow issues.
This test will give you a good idea of where your leaks are located. Once you spot them, you can move on to sealing them up.
Seal the leaks
Now that you’ve located the leaks in your ductwork, it’s time to seal them up. Sealing leaks is a straightforward process and can make a big difference in your furnace’s efficiency. Here’s how to do it:
- For smaller gaps and cracks, duct tape or mastic sealant will do the trick. Make sure the surface is clean before applying tape or sealant to ensure it sticks properly.
- Use high-quality aluminum foil duct tape. Apply the tape directly over the leak, pressing down firmly to ensure a tight seal. Make sure the tape covers the leak completely, with no gaps.
- If you prefer something more durable, mastic sealant is a great option. Apply it generously over the leak and smooth it out with a putty knife or your finger. It will dry to create a solid, long-lasting seal.
- For larger holes, you might need to use a patch kit. Many hardware stores carry patches that are specifically designed for duct repairs. Apply the patch over the hole, and secure it with aluminum foil tape to ensure it stays in place.
- You can also use more heavy-duty materials like sheet metal or foil tape for bigger gaps.
- If your ducts are insulated, be sure to check for any rips or tears in the insulation around the ducts. If needed, replace or repair it to keep the airflow consistent and prevent any future energy loss.
- For added durability, you can wrap ductwork joints with aluminum foil tape or use mastic to seal larger joints that are prone to wear.
How to check for leaks in hard-to-reach areas
Some parts of your ductwork may be hidden behind walls, ceilings, or in hard-to-reach areas that require a bit more effort to inspect. Fortunately, there are a few strategies to check these areas without too much hassle:
- Use a mirror: For ducts that are behind walls or in tight spaces, a small mirror can help you inspect areas that are otherwise difficult to see. Hold the mirror up to the duct seams, and use it to reflect light so you can spot any cracks or gaps.
- Smartphone camera: If the mirror doesn’t do the trick, you can use your smartphone camera to capture images of hard-to-reach areas. Take photos while you’re maneuvering into tight spaces and zoom in to get a closer look.
- Remove vent covers: Some hidden leaks might be right near the vents. Remove the vent covers to get better access to the ducts and check for any gaps. If you spot any, don’t forget to seal them.
- Use a flashlight: Sometimes, a flashlight can do wonders for spotting leaks. Shine it along the ducts and use the reflected light to identify any gaps or weak points.
Wrapping up
Thanks for reading! If you’re looking for replacement parts, grab your model number and visit AppliancePartsPros.com. With over two million parts in stock, most orders arrive within two business days. Need help finding the right part or placing an order? Our team is here to assist, just give us a call at 1 (877) 477-7278.
While waiting for your new part to arrive, check out our DIY blog and explore thousands of helpful video tutorials on our YouTube channel.
Don’t forget to follow us on Facebook, Twitter and Instagram to stay updated with our latest repair guides and tips!
Read more:
12 simple space heater safety tips for this winter
With nearly a decade of experience in providing top-notch customer service regarding appliance parts and repair, Steven enjoys sharing practical advice, troubleshooting tips, and interesting information to help readers stay informed.