How to Determine Washer Outlet Box Height in Your Laundry Room
Steven E / Wednesday April 16, 2025
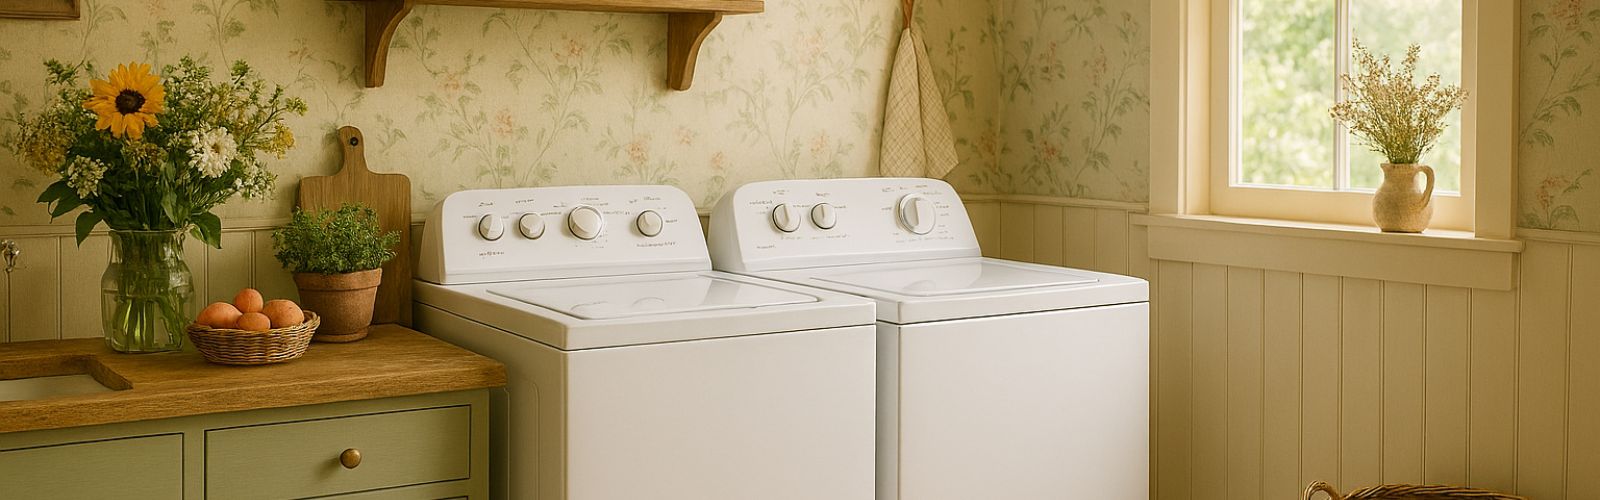
Installing or renovating your laundry room? Planning a new washer hookup? Then chances are you’ve come across the washer outlet box, that magical little recessed box in the wall that houses your water valves and drain line. But here’s the thing: the height matters more than you might think.
Set it too high, and your washer hose may not reach. Set it too low, and you risk drainage issues. That’s why knowing how to determine washer outlet box height is key to a smooth setup, whether you’re DIYing a new laundry room or just upgrading old hookups.
We’ll break down everything you need to know. From code requirements to practical tips, you’ll walk away ready to place that outlet box like a pro.
What Is a Washer Outlet Box?
Let’s get the basics out of the way. A washer outlet box is a recessed box that’s installed in the wall behind your washing machine. It typically includes:

- Hot and cold water shutoff valves
- A drain pipe opening
- Mounting flanges or brackets
- Sometimes a hammer arrestor to prevent pipe banging
It’s designed to give your laundry area a neat, efficient, and code-compliant way to manage water in and out of your washing machine.
Why Washer Outlet Box Height Matters
It might seem like a minor detail, but the height of your washer outlet box can affect:
- How easily you can connect hoses
- The effectiveness of your washer’s drainage
- Long-term leak management
- Compliance with plumbing codes
- The aesthetics of your finished laundry wall
An outlet box that’s too low may require extra-long hoses and increase the risk of siphoning. Too high, and it may put strain on the hose connections.
Standard Washer Outlet Box Height
The most common height range for a washer outlet box is between 34 and 42 inches from the floor to the center of the box.
But why the range?
Because not every washer or laundry room is built the same. Here are the common factors that influence height:
- Baseboard height
- Pedestal washers or stackable units
- Floor type and subfloor thickness
- Drain pipe length and slope
- Personal preference and ergonomic comfort
Let’s break it down step-by-step so you can find your ideal box height.
Step 1: Know Your Washer Specs
Before grabbing the tape measure, take a look at your washer’s:
- Height
- Hose reach
- Drain hose exit location (usually near the bottom rear)
Most modern washers are around 38 to 43 inches tall. The drain hose is usually 4 to 6 feet long, but you’ll want at least a couple feet of hose slack for an easy connection with minimal strain.
Pro tip: Check the user manual or spec sheet for your model, it often includes minimum and maximum drain height recommendations (usually between 30 and 96 inches).
Step 2: Decide Your Final Floor Height
Before you commit to installing the outlet box, make sure you’ve accounted for flooring, especially if it’s not installed yet. For example:
- Tile or vinyl might add 1/4–1/2 inch.
- Raised platforms or pedestals can add several inches.
- A concrete basement slab may already be finished.
Mark your finished floor line on the wall using painter’s tape so you know exactly where your height measurements should start.
Step 3: Determine Drain Height Range
Washer drain hoses need to reach a certain height to avoid siphoning (when water drains out of the washer too early due to gravity). Manufacturers typically recommend that the drain opening be at least 30 inches from the floor, but no higher than 96 inches.
- Ideal drain height range: 34 to 48 inches from the floor is the sweet spot for most washers and outlet box setups.
Why 34? That’s the average height of the top of a washing machine. Installing the outlet box a few inches above that keeps everything neat, reachable, and efficient.
Step 4: Choose the Right Spot
Now that you know the ideal height range, it’s time to pick the exact spot for your washer outlet box. Here’s what to consider:
- Visibility and Access: Place it where you can easily reach the shutoff valves, especially in case of an emergency. Avoid placing it too low behind the machine where it’s difficult to reach without moving the washer.
- Hose Reach: Ensure the washer’s drain hose and water hoses can easily reach the box without straining, bending, or stretching.
- Stud Placement: Washer outlet boxes are designed to fit between wall studs. You’ll want to locate your studs using a stud finder and center the box between them (usually 16 inches on center). Many outlet boxes come with adjustable brackets or mounting straps for flexibility.
Step 5: Mark and Measure
Use a pencil and level to draw the outline of the box on your drywall. Make sure your center line is between 34 and 42 inches from the finished floor (adjust if needed based on your washer or flooring). Use these general measurements:
- 34–36 inches: great for washers on pedestals or higher platforms.
- 36–42 inches: common for standard floor-mounted washers.
- Adjust slightly if dealing with stackable washer/dryer units or wall obstructions.
Step 6: Cut and Frame the Opening
Once your outline is marked and your height is confirmed:
- Use a drywall saw to cut out the marked section.
- Frame the opening between the studs if necessary.
- Attach the box using the provided mounting flanges, straps, or screws.
Make sure the box is level and secure, with no wobbling or uneven mounting. It should be flush with the wall so drywall or a finished panel can be applied around it cleanly.
Step 7: Connect Water and Drain Lines
With the box installed, now it’s time to:
- Connect the hot and cold water supply lines
- Secure the P-trap and drain line
- Attach the hammer arrestors (if applicable)
Most washer outlet boxes come with built-in ½” or ¾” PEX, CPVC, or copper connections. Be sure to follow local plumbing codes for connection types and materials.
Pro Tip: If you’re not comfortable running new water lines, consider installing the box in a location that lets you tie into existing pipes with tees.
Step 8: Test and Secure Everything
Once your connections are made, turn the water supply back on and check for leaks at:
- Valve connections
- Supply line junctions
- Drain pipe
Run a quick test cycle on the washer and make sure the drain hose fits securely into the outlet box drain opening.
If everything checks out, congrats, you’ve just successfully installed a washer outlet box at the right height, and you did it like a DIY pro.
Bonus Tips for Success
- Label Your Valves: Use a marker or small labels to indicate hot and cold water valves. Makes future troubleshooting easier!
- Add a Drip Tray: If your washer is on an upper floor or you want extra peace of mind, place a drip tray under the washer to catch leaks. Pair it with a water alarm for added safety.
- Choose a Box With a Debris Guard: Some outlet boxes come with covers or shields to prevent lint or dust buildup in the valves or drain pipe.
- Plan Around the Dryer: Make sure your dryer vent and electrical outlet don’t interfere with the placement or access to your washer outlet box.
Final Thoughts
Installing a washer outlet box, and determining its height, might seem like a small detail in a laundry room remodel, but it plays a huge role in function, convenience, and long-term reliability. With a little planning and DIY effort, you’ll have a clean, code-compliant installation that makes laundry life easier for years to come.
If you need any replacement parts for your appliances, you can enter your model number at AppliancePartsPros.com to locate and order them quickly. Most orders arrive in just two business days, and we have tons of great information in our repair help section and YouTube videos to help you troubleshoot.
Stay connected with the latest DIY tips, tutorial videos, and repair guides by following us on Facebook, Instagram, and Twitter. We love hearing about your repair stories and successes. If you need more help or want personalized guidance, feel free to reach out. We’re ready to help you take on your next project with confidence!
The information in this article may not apply to your specific appliance model. We recommend consulting your manufacturer’s documentation or contact us with any questions.
 https://www.appliancepartspros.com/b/wp-content/uploads/2023/08/Copy-of-Copy-of-Copy-of-Untitled-Design-2.jpg
1080
1920
Steven E
https://www.appliancepartspros.com/b/wp-content/uploads/2020/11/app-logo-std.png
Steven E2023-08-29 09:53:122023-08-29 11:30:22TE Error Code on a Samsung Washer: A Troubleshooting Guide
https://www.appliancepartspros.com/b/wp-content/uploads/2023/08/Copy-of-Copy-of-Copy-of-Untitled-Design-2.jpg
1080
1920
Steven E
https://www.appliancepartspros.com/b/wp-content/uploads/2020/11/app-logo-std.png
Steven E2023-08-29 09:53:122023-08-29 11:30:22TE Error Code on a Samsung Washer: A Troubleshooting Guide https://www.appliancepartspros.com/b/wp-content/uploads/2023/08/tracybeard_A_pristine_front_load_washer_with_its_door_wide_open_3a3978be-71bf-425e-8340-0a8812b4d958.png
572
1021
Steven E
https://www.appliancepartspros.com/b/wp-content/uploads/2020/11/app-logo-std.png
Steven E2023-08-25 13:55:442023-08-25 14:30:43How to Replace the Glass on a Front Load Washer Door
https://www.appliancepartspros.com/b/wp-content/uploads/2023/08/tracybeard_A_pristine_front_load_washer_with_its_door_wide_open_3a3978be-71bf-425e-8340-0a8812b4d958.png
572
1021
Steven E
https://www.appliancepartspros.com/b/wp-content/uploads/2020/11/app-logo-std.png
Steven E2023-08-25 13:55:442023-08-25 14:30:43How to Replace the Glass on a Front Load Washer Door https://www.appliancepartspros.com/b/wp-content/uploads/2023/08/washing-machine-F02-error-code.png
572
1021
Steven E
https://www.appliancepartspros.com/b/wp-content/uploads/2020/11/app-logo-std.png
Steven E2023-08-24 11:10:252024-05-16 07:22:09What is an F02 (or F/02) error on a Whirlpool washer & how do I fix it?
https://www.appliancepartspros.com/b/wp-content/uploads/2023/08/washing-machine-F02-error-code.png
572
1021
Steven E
https://www.appliancepartspros.com/b/wp-content/uploads/2020/11/app-logo-std.png
Steven E2023-08-24 11:10:252024-05-16 07:22:09What is an F02 (or F/02) error on a Whirlpool washer & how do I fix it?With nearly a decade of experience in providing top-notch customer service regarding appliance parts and repair, Steven enjoys sharing practical advice, troubleshooting tips, and interesting information to help readers stay informed.