How to ensure proper ventilation during central AC installation
Steven E / Wednesday March 26, 2025
Installing a central AC isn’t cheap, so you wanna make sure you get it right. To keep your home comfy without sending your energy bills through the roof, proper ventilation is key. In this guide, we’ll walk you through setting up your AC’s ventilation to keep the air moving and prevent your system from working overtime. Whether you’re hooking up to existing ductwork or starting fresh, these tips will help you integrate your unit so it runs efficiently and reliably from day one.
The advice here may not be a perfect fit for every model. We provide general DIY tips for a variety of appliances, but different brands and designs might require specific troubleshooting steps or parts. For the most accurate instructions, it’s always best to check the manufacturer’s manual for your model or contact us if you need more help.
Why ventilation matters
Ventilation isn’t just about sticking your central AC in some corner. It affects how air moves through your home, keeps the unit from overworking, and helps you maintain consistent temps indoors. Without proper ventilation, you could end up with uneven cooling, bad indoor air quality, and higher utility bills. Plus, since the AC pulls moisture from the air, a poorly ventilated space might lead to mold or funky odors. These problems can really bug you over time and might mean bigger ductwork fixes down the road.
Good ventilation helps your AC run at its best. You want your air handler or blower fan to face as little resistance as possible, that means using less energy. When airflow stays steady, your indoor temps are more comfy and consistent. This lets your AC cycle on and off at the right times, which helps it last longer. By thinking about ventilation when you install, you avoid overworking your new system and get the most out of it from day one.

Ventilation isn’t just about saving energy, it also affects how long your AC lasts. If your vents or ducts choke off airflow, the unit has to run longer, adding unnecessary wear and tear. Over time, restricted airflow can lead to frozen evaporator coils or a busted compressor. By tackling ventilation right from the start, you’re setting up your AC to handle hot and humid days without breaking a sweat. A well-ventilated system runs quieter, and you’ll have fewer unexpected breakdowns during heat waves. It’s a crucial part of installing central AC that boosts your comfort and gives you peace of mind.
Choosing the right location for the AC unit and vents
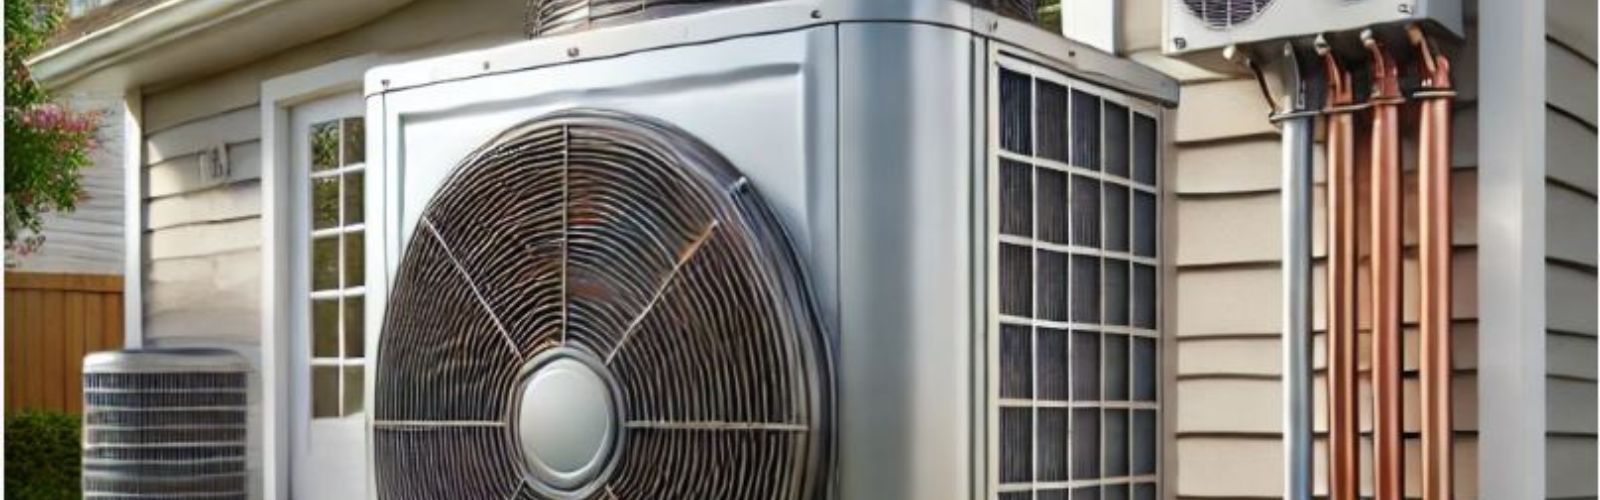
Where you put your AC unit can make a big difference in how well it “breathes.” Avoid tight spaces or spots that block airflow around both the outdoor condenser coil and the indoor air handler. If you place your unit too close to walls or in enclosed areas, you’ll restrict air movement and make the AC work harder. The same goes for units in attics or basements with lousy circulation. By choosing the right spot, you help your AC draw in and push out air more efficiently.
Start by taking a look around your property. If your outdoor condenser is tucked near shrubs or blocked by other stuff, think about clearing some space or relocating it. The condenser coil needs good airflow to dump heat. When plants or debris crowd the area, your AC has to work harder and uses more energy. Keeping at least a couple of feet of clear space around the outdoor unit promotes better ventilation and cuts down on clogs or damage.
Indoors, your air handler needs enough space for maintenance and airflow. Make sure there’s a fairly open path for ducts to supply and return air. Some folks stick the air handler in a closet or tight mechanical room. If that’s the case, double-check that your supply ducts and return plenum are big enough. Look for any signs of collapsed or pinched ducts. Keeping your ducts straight and clear lets pressurized air move smoothly to every room. This sets the stage for balanced ventilation.
Step-by-step instructions for choosing the right location:
- Stroll around your property to find an outdoor spot that’s free of tall grass, shrubs, or anything else in the way.
- Make sure there’s enough space around the outdoor condenser for techs (or you) to get to the sides, and for exhaust air to disperse easily.
- Check inside for a roomy spot to place the air handler, like a utility room with easy access for ductwork.
- Ensure the path to the main ducts is clear, so you have a straight run of ductwork without unnecessary twists and turns.
- Once you’re sure both the indoor and outdoor spots support good airflow, go ahead with the installation.
Picking the right spot from the get-go saves you a lot of hassle and makes sure hot air can get out and cool air can circulate properly. This keeps your AC from overworking and helps it last longer.
Checking ductwork for obstructions and leaks
Ductwork plays a huge role in ventilation. Even if you’ve picked the perfect spot for your new central AC, if your existing duct system has leaks or blockages, it’ll choke off airflow. Leaky ducts let cool air escape into unused spaces, making your AC work harder to keep things comfy. Obstructions in the ducts, like dust buildup or collapsed sections, can seriously limit airflow to certain rooms. By checking and sealing ducts before you hook up your AC, you’ll boost both energy efficiency and comfort.
Begin by checking for visible leaks. Pay close attention to seams and joints. You might spot disconnected sections or cracks where air is sneaking out. Sometimes you can feel for drafts around duct joints while the AC fan is running. Also, look for signs of wear, like rust or dents that flatten parts of the duct. These physical issues can create bottlenecks in your airflow. Well-sealed ducts deliver conditioned air to each room effectively, preventing waste and keeping your AC from working overtime.
While you’re at it, keep a shop vac or even a regular vacuum attachment handy to clean out any debris inside the ducts. Sometimes, small objects or dust buildup get stuck in bends and cut down airflow. If you notice a lot of gunk, a good cleaning can make a big difference. Sealing leaks with foil tape or special mastic helps keep the ducts at the right pressure and stops cooled air from escaping. Don’t forget to make sure all the vents and registers in each room are open and not blocked by furniture or rugs.
Step-by-step instructions for checking ductwork:
- Turn on the air handler’s fan and feel around duct joints and seams for any escaping air.
- Mark any leaky spots, or use a smoke pencil to find even tiny leaks if needed.
- Use some mastic sealant or foil tape to seal up those gaps and stop airflow loss.
- Inspect bends and branches for dust, debris, or blockages. Vacuum them out if you can.
- Check the vents and registers in every room to make sure they’re open and not blocked by furniture or other stuff.
Leaky ducts and blockages cause a lot of energy waste in many homes. By making sure your ducts are sealed and clear, you’ll get better performance from your AC when it kicks into gear.
Optimizing airflow with the right filter and return vent placement
Your filter and return vents have a big impact on how well air gets into the cooling system. A clogged filter or not enough return vent area makes your AC slow down, leading to pressure imbalances, reduced efficiency, and possible strain on the system. The filter catches dust and debris, so it’ll eventually clog if you don’t replace or clean it regularly. Staying on top of filter changes keeps airflow where it should be and helps your AC last longer.
A filter’s MERV (Minimum Efficiency Reporting Value) rating tells you how well it catches particles. Higher MERV ratings mean finer filtration, but they can also restrict airflow if your blower isn’t made for it. You need to balance catching dust with keeping good airflow. If your AC manual or the manufacturer recommends a certain rating, go with that. Swapping out your filter on a regular schedule keeps ventilation consistent and protects the evaporator coil from gunk buildup.
Where your return vents are located and how big they are also affect airflow. Return vents pull warm air from your living space back to the air handler to be cooled. If they’re too small or stuck in a narrow hallway, your AC pulls in less air, making it run longer. Make sure you’ve got enough return air capacity and that the path to each vent is open. Keep doors open if you use central returns in hallways, or think about adding separate returns in each room for better airflow balance. This not only spreads cooled air evenly but also reduces negative pressure in closed-off rooms.
Step-by-step instructions for optimizing airflow with filters and returns:
- Choose a filter that matches the recommended MERV rating for your central AC. Don’t pick one that’s too restrictive.
- Take out the old filter and check it for clogs or damage. Put in the new or cleaned filter the same way.
- Replace or clean your filter every 30 to 90 days, depending on your area and what the manufacturer says.
- Walk around your house to make sure all return vents are free from furniture or boxes.
- Check the size of your return vent grilles and think about adding more or making them bigger if airflow seems limited.
Filters and returns go together. When you have the right filter and plenty of return vent space, your central AC can breathe easily. This cuts down on system strain and helps keep temperatures steady without the AC cycling on and off all the time.
Additional information
Hopefully, these steps help you tackle your central AC installation with confidence. If you hit any snags or need a hand, check out our repair help page. You can also look for replacement parts and accessories to keep your AC and other appliances in top shape. Stay connected with AppliancePartsPros.com for more handy tips and DIY resources. Follow us on Facebook and Twitter for the latest updates. If you need more direct support or have questions about your specific model, reach out to us anytime for personalized help.
Keep Reading:
8 steps to troubleshoot a window air conditioner that’s running but not cooling
What is a Ductless Mini-Split Air Conditioner And How Does it Work?
With nearly a decade of experience in providing top-notch customer service regarding appliance parts and repair, Steven enjoys sharing practical advice, troubleshooting tips, and interesting information to help readers stay informed.