How to Fix a GE Washer That Won’t Spin
Steven E / Wednesday September 17, 2025
Looking for the right part? Enter your appliance model number below to find the exact match and get your appliance running like new again!
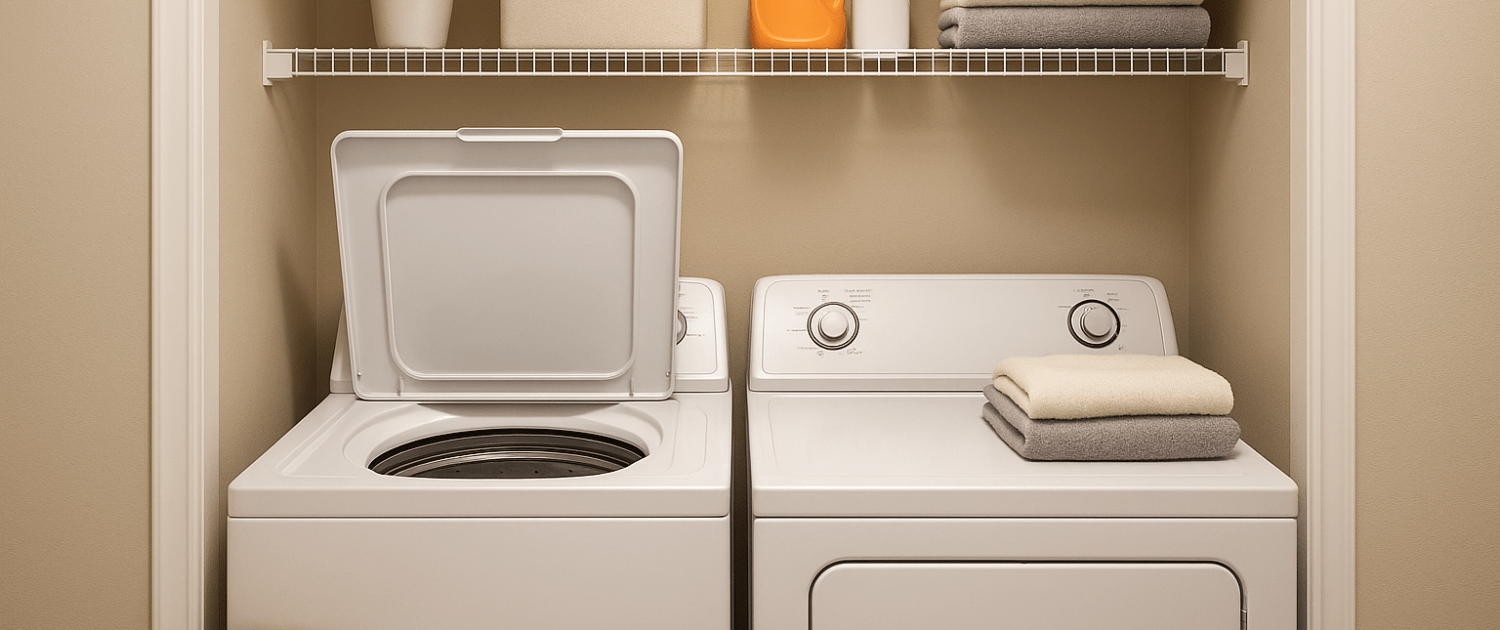
Is your GE top-load washer leaving you with soggy laundry because it agitates but won’t spin? Don’t worry, you’re in the right place. This is a common issue, and while it can be frustrating, the solution often comes down to a handful of possible culprits. With some basic tools and clear steps, you can troubleshoot and repair the problem yourself. Even if you’ve never looked inside a washer before, you’ll find the process easier than expected. By the end, you’ll have your GE washer spinning like new.
Why a Washer Agitates But Doesn’t Spin
When a washer agitates but won’t spin, it tells you something important: the motor and some of the mechanical parts are working, but the system responsible for spinning is failing. That narrows the field and makes diagnosis simpler.

The usual suspects include:
- The main control board – If the control doesn’t send the correct signals, the spin cycle won’t activate.
- The motor – A motor issue can prevent the drum from spinning even if agitation still works.
- The lid switch – If the washer “thinks” the lid is open, it won’t spin for safety reasons.
- The drive assembly – A faulty shifter or actuator inside the drive assembly can block the spin cycle.
Why Drive Assemblies Fail
Understanding the causes of failure can help you prevent future issues:
- Mechanical wear: Over time, gears and bearings wear out.
- Electrical faults: Actuator coils can fail from overheating or age.
- Heavy loads: Consistently overloading the washer puts stress on the drive system.
- Foreign objects: Items stuck in the tub or basket can strain the assembly.
Tools You’ll Need
Before diving into diagnostics, gather the right tools. Having these ready will save time:
- Multimeter
- 1/4-inch, 5/16-inch, and 7/16-inch nut drivers
- Tub nut wrench and mallet
- 3/8-inch, 1/2-inch, and 3/4-inch wrenches or sockets
- Flathead screwdriver
- Pliers
Safety First
Always unplug your washer or switch off the breaker before working on it. The only time you’ll reconnect power is during specific voltage tests with a multimeter. Take care when testing live voltage, if you’re not comfortable, skip that step and move to mechanical inspections.
Step 1: Testing the Main Control Board
The main control board acts as the brain of the washer. If it isn’t sending the proper voltage to the motor, the washer won’t spin.
- Access the control board: Use a 1/4-inch nut driver to remove the three screws holding the top of the console. Rotate the console forward.
- Locate connector J7: This three-pin connector contains the red, blue, and yellow wires you’ll test.
- Set the multimeter: Plug the washer in and set your meter to DC volts (V with a dashed line).
- Start a drain and spin cycle.
- Place the black probe on the red wire.
- Touch the red probe to the blue wire. Look for 12.8 volts DC.
- Move the red probe to the yellow wire. Look for a pulsing voltage.
Results:
- If either reading is missing, the control board has failed.
- If both readings are correct, move on to the next test.
Step 2: Testing the Motor
Next, check whether the motor is receiving proper power and communicating correctly.
- Remove the front panel: Insert a putty knife 3–4 inches from each corner at the top to release the locking tabs. Rotate the panel forward and lift it off.
- Locate the motor harness.
- Set the multimeter: Switch to AC volts (V with a squiggly line).
- Test power: Place one probe on the red wire with black stripe and the other on the white wire with red stripe. You should see 120 volts AC.
- Check the motor LED indicator. If it flashes once, then pauses for a long time, or flashes three, five, or nine times, the motor has failed.
- If it flashes steadily (1 second on, 1 second off), the motor is fine.
- Any other flash pattern corresponds to specific faults listed on your washer’s technical sheet.
Step 3: Testing the Lid Switch
A faulty lid switch can trick the washer into thinking the lid is open, preventing it from spinning.
- Unplug the washer.
- Disconnect the motor harness.
- Set the multimeter to continuity mode (symbol often looks like a sideways Wi-Fi signal).
- Test continuity: Place one probe on the red wire with black stripe and the other on the orange wire. If there is no continuity, the lid switch has failed. If there is continuity, continue troubleshooting.
Step 4: Testing the Drive Assembly
If the control board, motor, and lid switch all pass testing, the issue is likely in the drive assembly. This includes the shifter and actuator coil, which control the transition between agitation and spin.
- Inspect the shifter gear: It should sit down against the pulley when no voltage is applied. If stuck or misaligned, that’s a failure.
- Test the actuator coil: Disconnect the two-wire connector (red and yellow wires). Set your multimeter to ohms (resistance).
- Place one probe on the red wire and the other on the yellow wire.
- You should see 66–70 ohms.
- If the reading is outside this range or the shifter is stuck, the drive assembly has failed.
Step 5: Removing the Old Drive Assembly
If you’ve confirmed the drive assembly is the issue, it’s time to replace it.
- Remove the top panel: Use a 1/4-inch nut driver to remove the screws at the front corners. Lift the lid.
- Release the lid switch: Press up on the switch while squeezing the locking tab, rotate it, and push it down through the opening.
- Disconnect wiring: Unplug wires from the console and disconnect the pressure hose.
- Remove suspension straps with a 5/16-inch nut driver.
- Take out the console bottom plate by removing 1/4-inch screws along the edge.
- Remove the tub ring by releasing locking tabs.
- Take out the agitator by pulling it up, then remove the agitator coupling and 7/16-inch center bolt.
- Remove the tub nut with a tub nut wrench or large wrench. Lift out the spin basket.
- Remove the split ring and washer with a flathead screwdriver if needed.
- Disconnect the drain hose and motor harness.
- Lift the tub out of the cabinet by removing the suspension rods. Tilt and rotate as needed.
- Set the tub upside down on a work surface.
- Remove the motor: Detach the drive belt, then use a 3/8-inch socket to remove the nut securing the motor.
- Remove the pulley with a 3/4-inch socket.
- Remove the drive assembly bolts. Use a 3/8-inch socket to detach the drive assembly from the tub platform.
- Use a 1/2-inch socket to remove the bolts holding the tub platform.
- Pull the drive assembly out.
Step 6: Installing the New Drive Assembly
With the old part removed, installation is a straightforward reversal of the process.
- Position the new drive assembly in the tub base.
- Reinstall the tub platform with the original bolts and a 1/2-inch socket.
- Secure the drive assembly with 3/8-inch bolts.
- Reinstall the pulley using a 3/4-inch socket.
- Mount the motor onto the drive assembly with the 3/8-inch nuts.
- Loop the drive belt around the motor and drive pulleys.
- Flip the tub upright and guide it back into the cabinet, reconnecting suspension rods as you go.
- Reconnect the drain hose and motor harness.
- Reinstall the split ring, washer, spin basket, tub nut, agitator coupling, and agitator.
- Reattach the tub ring and suspension straps.
- Reinstall the console bottom plate and reconnect the pressure hose.
- Reinstall the top panel, lid switch, and front panel.
- Reconnect the console wiring and rotate it back into place. Secure with screws.
Step 7: Test the Washer
Once reassembled:
- Plug the washer back in.
- Run a drain and spin cycle with no laundry inside.
- Confirm the basket spins smoothly and water drains properly.
If everything runs as expected, your repair is complete.
Tips for DIY Success
- Take photos during disassembly for easy reassembly.
- Keep hardware organized in small containers or cups.
- Check other parts while accessible, such as suspension rods and hoses, for wear.
- Match parts by model number to ensure a correct fit.
Where To Find Us
If you need any replacement parts for your appliances, you can enter your model number at AppliancePartsPros.com to locate and order them quickly. Most orders arrive in just two business days, and we have tons of great information in our repair help section and YouTube videos to help you troubleshoot.
Stay connected with the latest DIY tips, tutorial videos, and repair guides by following us on Facebook, Instagram, and Twitter. We love hearing about your repair stories and successes. If you need more help or want personalized guidance, feel free to contact or call us at 877-477-7278. We’re ready to help you take on your next project with confidence!
Since 1999, AppliancePartsPros.com has helped millions of people repair their broken appliances by providing high-quality original parts at well below retail prices, free support and troubleshooting, and award-winning customer service from an expert, friendly, US-based customer support team!
 https://www.appliancepartspros.com/b/wp-content/uploads/2025/12/20250421_1329_Modern-Earthy-Laundry-Room_simple_compose_01jscp8j11fcybbjrf866fwzna.png
1024
1536
Steven E
https://www.appliancepartspros.com/b/wp-content/uploads/2020/11/app-logo-std.png
Steven E2025-12-18 12:21:192025-12-18 12:21:25Samsung Washer Not Filling? How to Diagnose and Fix the Problem Yourself
https://www.appliancepartspros.com/b/wp-content/uploads/2025/12/20250421_1329_Modern-Earthy-Laundry-Room_simple_compose_01jscp8j11fcybbjrf866fwzna.png
1024
1536
Steven E
https://www.appliancepartspros.com/b/wp-content/uploads/2020/11/app-logo-std.png
Steven E2025-12-18 12:21:192025-12-18 12:21:25Samsung Washer Not Filling? How to Diagnose and Fix the Problem Yourself https://www.appliancepartspros.com/b/wp-content/uploads/2025/12/20250418_1140_Compact-Laundry-Setup_simple_compose_01js4rvt4ge4bv2ffq8fmsfkgb.png
1024
1536
Steven E
https://www.appliancepartspros.com/b/wp-content/uploads/2020/11/app-logo-std.png
Steven E2025-12-17 12:26:552025-12-17 12:27:02Why Your LG Front Load Washer Is Damaging Clothes (And How to Fix It)
https://www.appliancepartspros.com/b/wp-content/uploads/2025/12/20250418_1140_Compact-Laundry-Setup_simple_compose_01js4rvt4ge4bv2ffq8fmsfkgb.png
1024
1536
Steven E
https://www.appliancepartspros.com/b/wp-content/uploads/2020/11/app-logo-std.png
Steven E2025-12-17 12:26:552025-12-17 12:27:02Why Your LG Front Load Washer Is Damaging Clothes (And How to Fix It)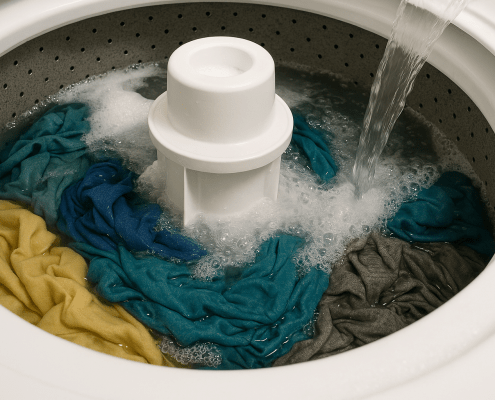 https://www.appliancepartspros.com/b/wp-content/uploads/2025/10/20250616_1418_Overflowing-Washer-Scene_simple_compose_01jxwzahqhf89t78s5f50308cs.png
1024
1536
Steven E
https://www.appliancepartspros.com/b/wp-content/uploads/2020/11/app-logo-std.png
Steven E2025-10-01 13:08:432025-10-01 13:09:16LG Washer Won’t Start Filling? Watch This!
https://www.appliancepartspros.com/b/wp-content/uploads/2025/10/20250616_1418_Overflowing-Washer-Scene_simple_compose_01jxwzahqhf89t78s5f50308cs.png
1024
1536
Steven E
https://www.appliancepartspros.com/b/wp-content/uploads/2020/11/app-logo-std.png
Steven E2025-10-01 13:08:432025-10-01 13:09:16LG Washer Won’t Start Filling? Watch This!With nearly a decade of experience in providing top-notch customer service regarding appliance parts and repair, Steven enjoys sharing practical advice, troubleshooting tips, and interesting information to help readers stay informed.
Leave a Reply
Want to join the discussion?Feel free to contribute!