How to Fix a KitchenAid Stand Mixer Beater Scraping the Bowl
Steven E / Thursday July 10, 2025
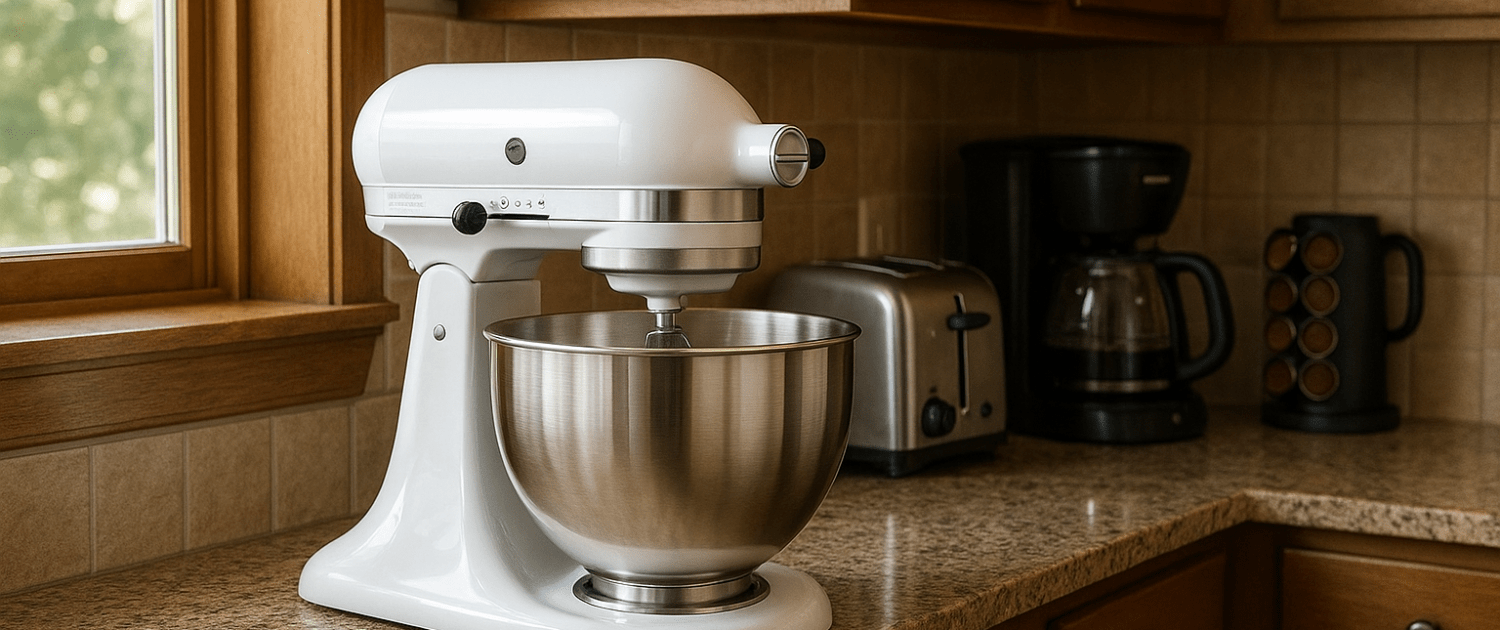
Hearing that awful scraping sound when you turn on your KitchenAid stand mixer? That usually means your beater is sitting too low and hitting the bowl. Don’t worry, there’s a quick and simple fix! Here’s how to adjust the bowl height on your KitchenAid mixer so it mixes perfectly without damaging your bowl or beater.
The information in this article may not apply to your specific appliance model. We recommend consulting your manufacturer’s documentation or contact us with any questions.
Signs You Need to Adjust Your Mixer
Not sure if your mixer needs an adjustment? Look for these telltale signs:
- Loud scraping or grinding noise as the beater spins.
- Black or grey streaks in your batter from metal scraping metal.
- Ingredients are sticking to the bottom of the bowl and not mixing.
- Excessive wobbling or vibration when mixing heavy doughs.
Why the Beater Scrapes the Bowl
KitchenAid stand mixers are designed with a small clearance between the beater and the bowl so they can mix efficiently without damaging the bowl or the beater. Over time, however, that clearance can shift slightly due to normal vibration and wear.

When the beater is set too low, it scrapes the bottom of the bowl and may even stop spinning properly. If it’s set too high, ingredients at the bottom won’t mix fully, and you’ll be left with unmixed ingredients.
The goal is to find the sweet spot, just enough space for the beater to clear the bowl while still scraping the sides and bottom effectively.
How to Test Your Mixer’s Bowl Height
Before you start making adjustments, it’s a good idea to test your mixer’s current beater-to-bowl clearance.
The dime test:
- Place a clean, flat dime at the bottom of your empty mixing bowl.
- Attach the flat beater and lower the head (tilt-head models) or raise the bowl (bowl-lift models) into the mixing position.
- Turn the mixer on to speed 1.
If the dime stays mostly in place but occasionally moves slightly, your clearance is perfect.
If the dime doesn’t move at all, the beater is too high. If the dime spins wildly or rattles, the beater is too low and scraping the bowl.
Tools You’ll Need
For this DIY repair, you’ll need:
- A flathead screwdriver.
- A clean, dry work area.
- Your mixer, bowl, and flat beater.
How to Adjust Bowl Height on Tilt-Head Models
On tilt-head KitchenAid stand mixers, the head tilts up and down to allow access to the bowl and attachments. The adjustment screw is located in a slightly hidden spot, but it’s easy to access once you know where to look.
- Unplug your mixer. Always make sure your appliance is unplugged before making any adjustments.
- Tilt the head back to reveal the hinge area.
- Locate the adjustment screw, it’s just behind the hinge pin, facing you when the head is tilted back.
- Turn the screw slightly using a flathead screwdriver. Turn clockwise to lower the beater (if it’s too high). Turn counterclockwise to raise the beater (if it’s scraping).
- Make small adjustments, about 1/8 turn at a time.
- Lower the head, lock it in place, and do the dime test again.
- Repeat until the dime moves slightly but doesn’t spin wildly, and the beater just clears the bowl.
Once you’ve found the right setting, plug the mixer back in and you’re good to go.
How to Adjust Bowl Height on Bowl-Lift Models
On bowl-lift KitchenAid mixers, the bowl moves up and down rather than the head tilting. The adjustment works a little differently, but it’s just as easy to handle.
- Unplug your mixer. Safety first.
- Attach the bowl and flat beater to the mixer.
- Locate the adjustment screw, it’s on the column of the stand, just behind where the bowl attaches.
- Turn the screw slightly with a flathead screwdriver. Turn clockwise to raise the bowl (if the beater is too high). Turn counterclockwise to lower the bowl (if the beater scrapes).
- Make small adjustments and lock the bowl in the raised position.
- Run the dime test and adjust as needed until the clearance is just right.
When finished, double-check that the bowl still locks securely in place and the beater spins freely without scraping.
Tips for Getting It Just Right
Adjusting your mixer’s bowl height isn’t complicated, but it does require a little patience to dial in the perfect clearance. Here are some helpful tips:
- Make sure your bowl and beater are clean before testing; caked-on dough can throw off your results.
- Use only the flat beater for testing and adjustments. Dough hooks and whisks have different clearances.
- Test at speed 1 only; higher speeds can make it harder to see what’s happening.
- Always make small adjustments and re-test rather than turning the screw too much at once.
Where To Find Us
If you need any replacement parts for your appliances, you can enter your model number at AppliancePartsPros.com to locate and order them quickly. Most orders arrive in just two business days, and we have tons of great information in our repair help section and YouTube videos to help you troubleshoot.
Stay connected with the latest DIY tips, tutorial videos, and repair guides by following us on Facebook, Instagram, and Twitter. We love hearing about your repair stories and successes. If you need more help or want personalized guidance, feel free to reach out. We’re ready to help you take on your next project with confidence!
 https://www.appliancepartspros.com/b/wp-content/uploads/2025/09/20250709_1340_Modern-Kitchen-Setup_simple_compose_01jzr47f29eta8qkm70jtkda7v.png
1024
1536
Steven E
https://www.appliancepartspros.com/b/wp-content/uploads/2020/11/app-logo-std.png
Steven E2025-09-05 10:48:472025-09-05 10:48:54How to Clean KitchenAid Mixer Attachments Without Damaging Them
https://www.appliancepartspros.com/b/wp-content/uploads/2025/09/20250709_1340_Modern-Kitchen-Setup_simple_compose_01jzr47f29eta8qkm70jtkda7v.png
1024
1536
Steven E
https://www.appliancepartspros.com/b/wp-content/uploads/2020/11/app-logo-std.png
Steven E2025-09-05 10:48:472025-09-05 10:48:54How to Clean KitchenAid Mixer Attachments Without Damaging Them https://www.appliancepartspros.com/b/wp-content/uploads/2025/09/20250709_1340_Modern-Kitchen-Setup_simple_compose_01jzr47f2cenv9y2rk00bw2z7x.png
1024
1536
Steven E
https://www.appliancepartspros.com/b/wp-content/uploads/2020/11/app-logo-std.png
Steven E2025-09-05 10:44:172025-09-05 10:44:25Keep Your KitchenAid Stand Mixer Fresh: Daily Cleaning Guide
https://www.appliancepartspros.com/b/wp-content/uploads/2025/09/20250709_1340_Modern-Kitchen-Setup_simple_compose_01jzr47f2cenv9y2rk00bw2z7x.png
1024
1536
Steven E
https://www.appliancepartspros.com/b/wp-content/uploads/2020/11/app-logo-std.png
Steven E2025-09-05 10:44:172025-09-05 10:44:25Keep Your KitchenAid Stand Mixer Fresh: Daily Cleaning Guide https://www.appliancepartspros.com/b/wp-content/uploads/2025/09/20250709_1336_Luxury-Kitchen-Baking-Scene_simple_compose_01jzr40p6pe09bgx9cmjyb2agj.png
1024
1536
Steven E
https://www.appliancepartspros.com/b/wp-content/uploads/2020/11/app-logo-std.png
Steven E2025-09-05 08:53:312025-09-05 08:53:41KitchenAid Stand Mixers: Classic vs. Digital Comparison
https://www.appliancepartspros.com/b/wp-content/uploads/2025/09/20250709_1336_Luxury-Kitchen-Baking-Scene_simple_compose_01jzr40p6pe09bgx9cmjyb2agj.png
1024
1536
Steven E
https://www.appliancepartspros.com/b/wp-content/uploads/2020/11/app-logo-std.png
Steven E2025-09-05 08:53:312025-09-05 08:53:41KitchenAid Stand Mixers: Classic vs. Digital ComparisonWith nearly a decade of experience in providing top-notch customer service regarding appliance parts and repair, Steven enjoys sharing practical advice, troubleshooting tips, and interesting information to help readers stay informed.