How To Fix a Kitchenaid Stand Mixer With a Burning Smell
Steven E / Thursday July 10, 2025
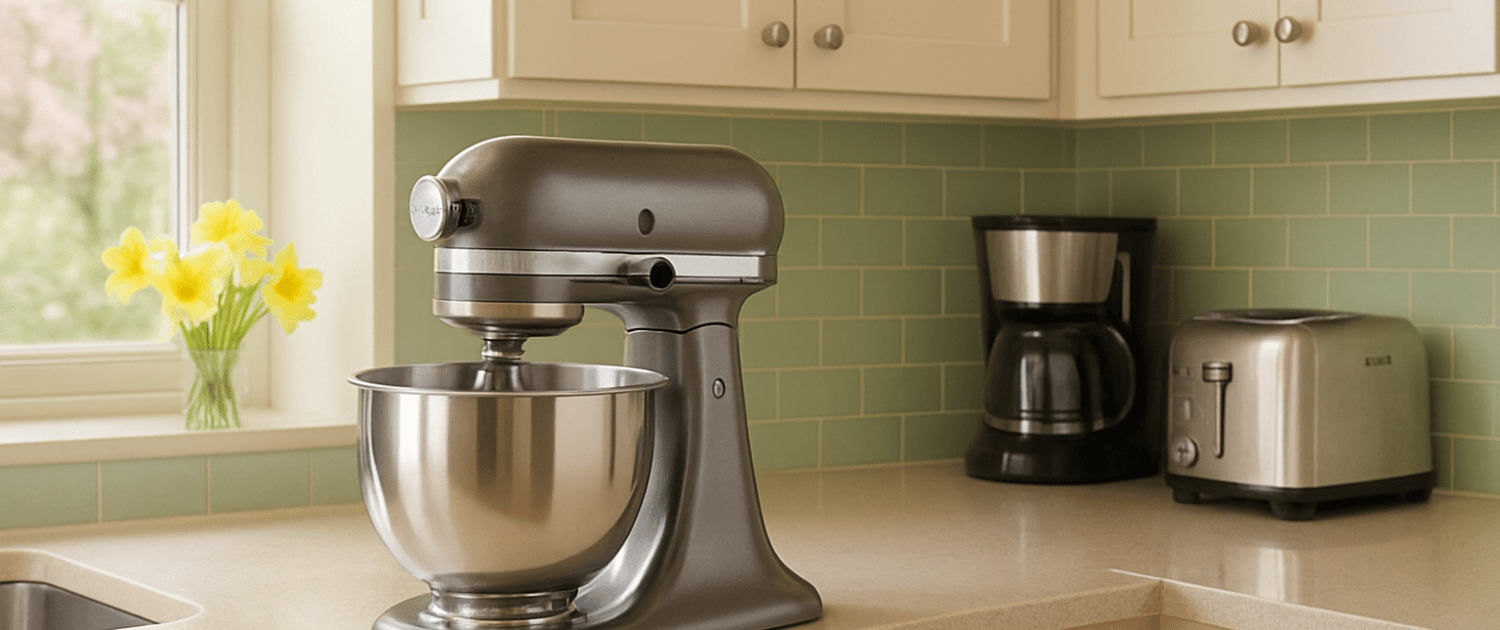
Your KitchenAid stand mixer is the workhorse of your kitchen, tackling everything from light batters to dense bread dough with ease. But if you notice a burning smell while it runs, it’s a signal that something isn’t right.
A burning smell doesn’t mean your mixer is beyond repair. Most of the time, it’s something simple you can check and fix yourself. This guide will walk you through what that burning smell means, how to safely diagnose the problem, and what you can do to repair it step by step.
The information in this article may not apply to your specific appliance model. We recommend consulting your manufacturer’s documentation or contact us with any questions.
Why Does Your Mixer Smell Like It’s Burning?
A burning smell from your stand mixer almost always comes from one of three things:
- Overheating motor or electrical parts.
- Worn gears grinding inside the gearbox.
- Old or degraded grease is breaking down and burning.
Each of these issues is fixable, and catching them early can prevent further damage. Below, we’ll cover how to tell which one you’re dealing with, and how to fix it.
Safety First: Stop Using the Mixer
As soon as you notice a burning smell:
- Turn off the mixer immediately.
- Unplug it from the outlet.
- Let it cool completely before you begin inspecting or disassembling it.
Continuing to use the mixer while it smells burnt can cause permanent damage or even pose a fire hazard.
What You’ll Need
Before you start, gather a few tools and supplies:
- Phillips and flathead screwdrivers.
- A clean rag or shop towels.
- Food-grade grease.
- A replacement gear, worm gear, or grease if needed.
- Multimeter (to test electrical parts).
- A soft brush or vacuum for cleaning out dust.
Step 1: Check for Overloading
The simplest reason your mixer smells burnt is that it was overloaded.
What to check:
- Were you mixing a very dense dough or running the mixer on too high a speed?
- Did you exceed the recommended batch size for your model?
- Was the mixer running for a long time without a break?
Overloading puts strain on the motor, causing it to heat up and emit a burning odor.
- Let the mixer cool completely before using it again.
- Next time, reduce the load or divide dense recipes into smaller batches.
- Use the correct speed for the job (lower speeds for bread and dough, higher for batters and whipping).
If you weren’t overloading the mixer and the smell persists, move on to the next steps.
Step 2: Inspect the Motor Brushes
KitchenAid mixers use carbon brushes to transfer electricity to the motor. These brushes wear down over time and can create sparks and a burning smell when they get too short.
How to check:
- Unplug the mixer.
- Remove the two black brush caps on each side of the motor housing.
- Carefully pull out the brushes.
- Inspect for cracks, excessive wear, or very short length.
- If the brushes are worn, replace them with new ones.
- Slide the new brushes into the slots, aligning the shape with the motor.
- Replace the caps and tighten snugly.
Step 3: Open the Gearbox and Check the Grease
Another common cause of a burning smell is old or degraded grease inside the gearbox. Over time, the grease can dry out or break down, leaving the gears unprotected and causing friction and heat.
How to check:
- Remove the motor housing cover and expose the gearbox.
- Look at the grease; if it’s dark, gritty, or dried out, it needs replacing.
- Check the worm gear and other gears for visible wear or damage.
- Scrape out all the old grease with a rag or plastic scraper.
- Clean the gears thoroughly.
- Re-pack the gearbox with fresh, food-grade grease.
- If the worm gear looks stripped or worn, replace it before reassembling.
Step 4: Test the Electrical parts
If the motor overheats even when the mixer isn’t overloaded, there could be an electrical fault.
What to check:
- Use a multimeter to test the continuity of the motor windings.
- Look at the wires and connectors for signs of melting, scorching, or frayed insulation.
- Smell the control board or speed selector plate, if the odor is strongest here, you may have a burned contact or failed resistor.
- Replace any damaged wires, connectors, or parts.
- If the control board shows visible damage, swap it out with a replacement part.
Step 5: Clean Out Dust and Debris
While you have the mixer open, take the opportunity to clean out any flour, sugar, or dust that has worked its way into the motor housing.
- Use a soft brush or compressed air to gently remove debris.
- Wipe surfaces clean with a dry rag.
Keeping the motor and gears clean helps them stay cool and extends their life.
Step 6: Reassemble and Test
Once you’ve addressed any worn parts, replaced the grease, and checked the electrical system:
- Reassemble the gearbox cover and motor housing.
- Plug in the mixer and run it on the lowest speed.
- Gradually increase to higher speeds and check for smooth, quiet operation with no odor.
If the burning smell is gone and everything runs normally, congratulations, you’ve fixed it!
Where To Find Us
If you need any replacement parts for your appliances, you can enter your model number at AppliancePartsPros.com to locate and order them quickly. Most orders arrive in just two business days, and we have tons of great information in our repair help section and YouTube videos to help you troubleshoot.
Stay connected with the latest DIY tips, tutorial videos, and repair guides by following us on Facebook, Instagram, and Twitter. We love hearing about your repair stories and successes. If you need more help or want personalized guidance, feel free to reach out. We’re ready to help you take on your next project with confidence!
With nearly a decade of experience in providing top-notch customer service regarding appliance parts and repair, Steven enjoys sharing practical advice, troubleshooting tips, and interesting information to help readers stay informed.
Samsung Washer Not Filling? How to Diagnose and Fix the Problem Yourself
Why Your LG Front Load Washer Is Damaging Clothes (And How to Fix It)
How to Fix a JennAir Slide-In Electric Downdraft Range That Won’t Broil