How to Fix a Laundry Steam Closet Water Leak at the Door Bottom
Steven E / Tuesday July 8, 2025
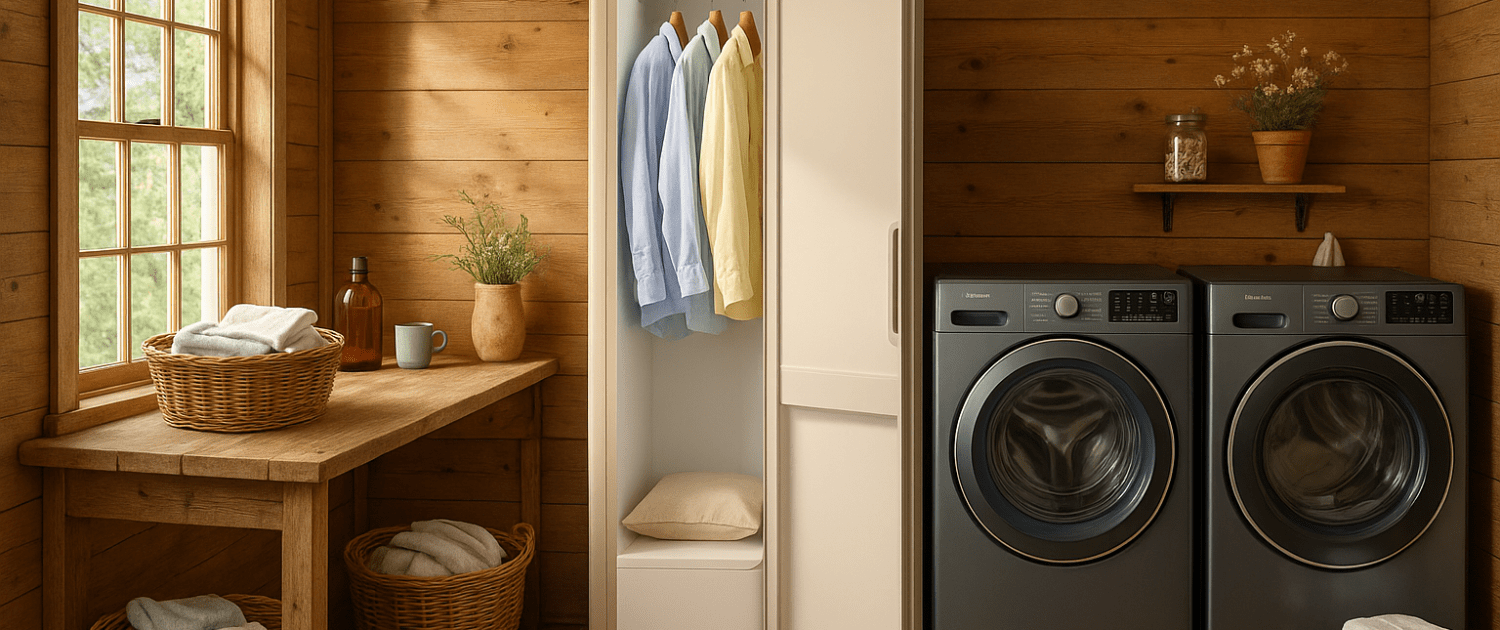
Noticed water pooling right under your laundry steam closet door? Don’t worry—fixing a leak from the bottom of the door is a quick and easy DIY project. Here’s how to take care of it step by step and get your steam closet back in top shape.`
The information in this article may not apply to your specific appliance model. We recommend consulting your manufacturer’s documentation or contact us with any questions.
Why Does Water Leak from the Bottom of the Door?
When your steam closet runs, it generates a lot of moisture that’s supposed to stay contained inside the chamber and drain properly. If water is dripping or pooling at the bottom of the door, it usually means something isn’t sealing, draining, or sitting the way it should.
Here are the most common causes of a water leak at the door:

- Worn or damaged door gasket
- Misaligned or loose door
- Clogged drain or drain tray
- Overfilled water reservoir or excess condensation
- Appliance not sitting level, causing water to pool forward
The good news is each of these is straightforward to identify and fix.
Why Fixing It Yourself Matters
Fixing a leaky door yourself not only saves time and money, but it also gives you confidence in maintaining your appliances. The door seal and drain are simple parts that anyone can inspect, clean, or replace with basic tools and a little patience.
You’ll keep your steam closet running smoothly, avoid damage to your floors, and get back to enjoying perfectly refreshed clothes.
What You’ll Need
Before you get started, grab these tools and supplies:
- Microfiber cloths
- Warm, soapy water
- White vinegar
- Soft brush or old toothbrush
- Screwdriver set
- Flashlight
- Replacement door gasket (if needed)
- Level
Step 1: Unplug and Power Down
Always start by unplugging your steam closet before working on it. You’ll be working around water, seals, and possibly electrical panels, so it’s best to cut power to be safe.
Step 2: Dry and Inspect the Area
Use a towel or microfiber cloth to soak up any standing water at the base of the unit. Take a close look at where the water is coming from:
- Is it dripping down the front of the door?
- Is it pooling underneath the bottom edge?
- Does it seem to seep from the sides?
Knowing exactly where it’s leaking will help you pinpoint the source faster.
Step 3: Check the Door Gasket
The gasket is the rubber seal that runs around the inside edge of the door, and is the most common culprit of a leak. Over time, it can crack, flatten, or collect dirt and stop sealing properly.
How to inspect:
- Open the door and run your fingers slowly along the gasket.
- Look for cracks, splits, hard or brittle spots, and areas that don’t make full contact with the cabinet.
- Check for debris, lint, or buildup pressed into the seal.
If the gasket is dirty but intact, clean it first. If it’s damaged, plan to replace it.
Step 4: Clean the Door Gasket
If your gasket is just dirty or covered in residue, give it a good cleaning.
How to clean:
- Dip a microfiber cloth in warm, soapy water and gently wipe down the entire gasket.
- Use an old toothbrush to scrub into the folds and corners where lint and grime collect.
- For stubborn mineral deposits, use a little white vinegar on a cloth and scrub gently.
- Dry the gasket thoroughly with a clean towel.
After cleaning, close the door and see if it seals better. Run a short cycle and check for leaks.
Step 5: Replace the Gasket (If Needed)
If your gasket is cracked, warped, or missing chunks, it won’t seal, no matter how clean it is; time to replace it.
How to replace:
- Order a replacement gasket designed for your model.
- Gently peel the old gasket away from the door frame.
- Clean the channel where the gasket sits to remove debris.
- Line up the new gasket and press it firmly into place all the way around.
- Make sure it sits evenly and snugly before closing the door.
Step 6: Check the Door Alignment
If the door looks crooked or doesn’t close evenly, it may not be making full contact with the gasket, which can let steam and water escape.
What to check:
- Close the door slowly and see if it lines up evenly on all sides.
- Look at the gap around the door; it should be uniform all the way around.
- Gently press the door when closed; it should feel firm and not wiggle.
If it’s misaligned, tighten the hinge screws slightly or adjust the hinges as needed to square it up.
Step 7: Clean the Drain and Tray
Sometimes water leaking at the door isn’t about the seal at all; it’s about drainage. If the drain tray is clogged or the drain itself is blocked, water can back up and spill out at the lowest point: the bottom of the door.
How to clean:
- Pull out the drain tray, empty any standing water, and wash it with soap and water.
- Check the drain hole for lint, gunk, or mineral buildup and clear it out with a brush.
- Pour a little warm water into the drain and watch to see that it flows out properly.
Keeping the drain clear prevents excess water from pooling.
Step 8: Check the Water Reservoir
An overfilled water reservoir or excess condensation can overwhelm the system and create a leak.
- Make sure the water reservoir is filled only to the recommended level, not over.
- Wipe any excess moisture from inside the chamber before running a new cycle.
Step 9: Make Sure the Closet Is Level
If your steam closet isn’t sitting level on the floor, water may pool toward the front and escape at the bottom of the door.
How to check:
- Place a level on the top of the unit and check both side-to-side and front-to-back.
- Adjust the feet at the corners of the appliance as needed to level it.
- Once level, close the door and test again.
A level appliance drains and seals better.
Step 10: Run a Test Cycle
After cleaning, adjusting, and replacing any necessary parts, plug the unit back in and run a short steam cycle. Watch closely for leaks. If no water appears, congratulations, you’ve fixed it.
Where To Find Us
If you need any replacement parts for your appliances, you can enter your model number at AppliancePartsPros.com to locate and order them quickly. Most orders arrive in just two business days, and we have tons of great information in our repair help section and YouTube videos to help you troubleshoot.
Stay connected with the latest DIY tips, tutorial videos, and repair guides by following us on Facebook, Instagram, and Twitter. We love hearing about your repair stories and successes. If you need more help or want personalized guidance, feel free to reach out. We’re ready to help you take on your next project with confidence!
 https://www.appliancepartspros.com/b/wp-content/uploads/2025/09/20250715_1042_Country-Laundry-Room_simple_compose_01k078dy7cezpt28jbw7f46yvq.png
1024
1536
Steven E
https://www.appliancepartspros.com/b/wp-content/uploads/2020/11/app-logo-std.png
Steven E2025-09-02 13:15:132025-09-02 13:15:32What Fabrics Types Work Best in Steam Closets for Easy Cleaning
https://www.appliancepartspros.com/b/wp-content/uploads/2025/09/20250715_1042_Country-Laundry-Room_simple_compose_01k078dy7cezpt28jbw7f46yvq.png
1024
1536
Steven E
https://www.appliancepartspros.com/b/wp-content/uploads/2020/11/app-logo-std.png
Steven E2025-09-02 13:15:132025-09-02 13:15:32What Fabrics Types Work Best in Steam Closets for Easy Cleaning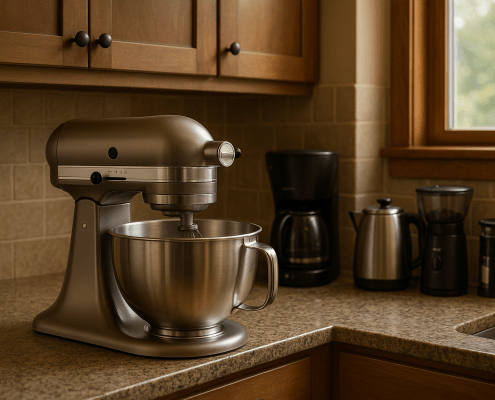 https://www.appliancepartspros.com/b/wp-content/uploads/2025/08/20250709_1340_Modern-Kitchen-Setup_simple_compose_01jzr47f2afxrrp4g5750b6w51.png
1024
1536
Steven E
https://www.appliancepartspros.com/b/wp-content/uploads/2020/11/app-logo-std.png
Steven E2025-08-28 10:50:232025-08-28 10:50:35Smart Storage Tips for KitchenAid Stand Mixers in Any Kitchen
https://www.appliancepartspros.com/b/wp-content/uploads/2025/08/20250709_1340_Modern-Kitchen-Setup_simple_compose_01jzr47f2afxrrp4g5750b6w51.png
1024
1536
Steven E
https://www.appliancepartspros.com/b/wp-content/uploads/2020/11/app-logo-std.png
Steven E2025-08-28 10:50:232025-08-28 10:50:35Smart Storage Tips for KitchenAid Stand Mixers in Any Kitchen https://www.appliancepartspros.com/b/wp-content/uploads/2025/08/20250715_1045_Country-Laundry-Room_simple_compose_01k078ktp4f1zs78ezzqvmhgsr.png
1024
1536
Steven E
https://www.appliancepartspros.com/b/wp-content/uploads/2020/11/app-logo-std.png
Steven E2025-08-28 08:55:412025-08-28 08:55:51How to Use Fragrance Sheets and Boosters in Steam Closets
https://www.appliancepartspros.com/b/wp-content/uploads/2025/08/20250715_1045_Country-Laundry-Room_simple_compose_01k078ktp4f1zs78ezzqvmhgsr.png
1024
1536
Steven E
https://www.appliancepartspros.com/b/wp-content/uploads/2020/11/app-logo-std.png
Steven E2025-08-28 08:55:412025-08-28 08:55:51How to Use Fragrance Sheets and Boosters in Steam ClosetsWith nearly a decade of experience in providing top-notch customer service regarding appliance parts and repair, Steven enjoys sharing practical advice, troubleshooting tips, and interesting information to help readers stay informed.