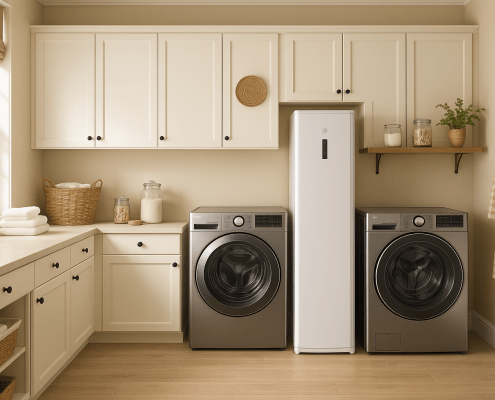
How to Fix a Steam Closet Leaving Clothes Damp and Wrinkled
Steven E / Tuesday July 8, 2025
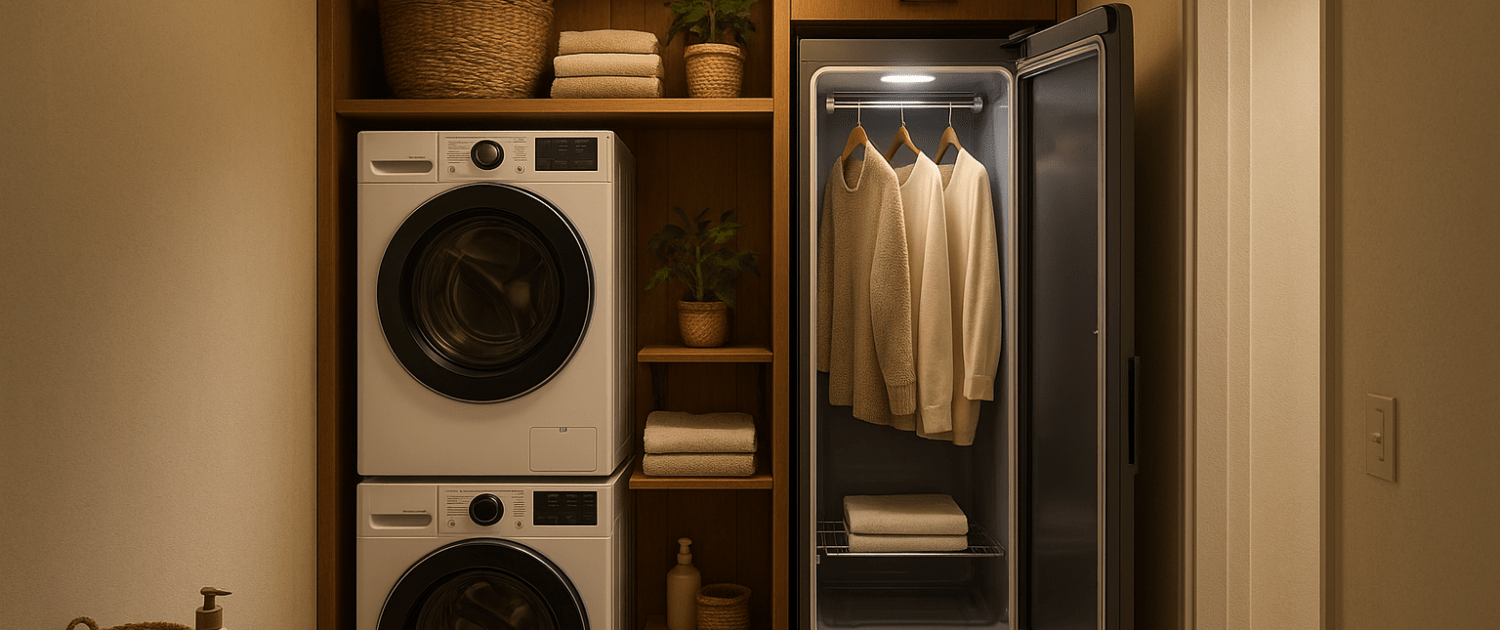
One of the best perks of owning a laundry steam closet is stepping back after a cycle to find your clothes fresh, dry, and wrinkle-free , ready to wear. But what happens when you open the door and the results are… underwhelming? Wrinkles still showing. Clothes still damp or wet. Not what you expected. Don’t worry, this is a simple issue you can fix yourself. Here’s how to troubleshoot your steam closet and get it back to doing its job properly.
The information in this article may not apply to your specific appliance model. We recommend consulting your manufacturer’s documentation or contact us with any questions.
Why Your Steam Closet Isn’t Performing Like It Should
Your steam closet works by creating controlled steam and circulating warm air throughout the chamber. The steam relaxes fibers, removing wrinkles, while the warm airflow dries the fabric just enough to leave clothes wearable and crisp.
If your steam closet leaves clothes damp or wrinkled, the problem is usually one of these:

- Insufficient or uneven steam output
- Poor airflow or weak fan performance
- Clogged or dirty steam nozzles and vents
- Overloading the closet
- Mineral buildup in the steam generator
- Faulty heating element
Let’s tackle each one step by step so you can figure out what’s happening in your case.
Step 1: Check Your Loading Habits
Before you dive into repairs, take a quick look at how you’re using the closet. Improper loading is one of the most common causes of wrinkles and damp clothes.
- Hang clothes evenly spaced, with nothing touching the door or walls.
- Don’t overload; most closets are designed for 3–5 garments per cycle.
- Use the correct cycle for the fabric type and load size.
Run a smaller test load and see if performance improves. If not, move on to the next step.
Step 2: Inspect the Steam Output
If your steam closet isn’t producing enough steam, it won’t properly relax fabric fibers.
What to check:
- Make sure the water reservoir is full and properly seated.
- If connected to a water line, ensure the valve is open and supplying water.
- Inspect the steam nozzles inside the closet for lint or mineral buildup.
Clean the nozzles:
- Turn off and unplug the closet.
- Use a soft brush or pipe cleaner to gently clean the steam outlets.
- Wipe down the nozzles with warm water and a microfiber cloth.
Step 3: Descale the Steam Generator
Mineral deposits from hard water can build up in the steam generator, reducing steam output.
How to descale:
- Unplug the closet and access the steam generator (refer to your manual).
- Drain any remaining water.
- Fill the generator with a 50/50 mixture of white vinegar and water. Let it sit for 30 minutes.
- Drain and flush with clean water several times.
After descaling, run a test cycle and see if the steam output improves.
Step 4: Test the Heating Element
If the heating element isn’t producing enough heat, the steam generator won’t fully boil the water, and the air won’t be warm enough to dry your clothes.
How to check:
- Unplug the closet and access the heating element.
- Disconnect the wiring and use a multimeter to test resistance across the terminals.
- Compare the reading to your model’s specs. If the reading is infinite or very low, the element is bad.
- To replace, remove the mounting screws holding the old element.
- Install the new element, reconnect the wiring, and secure it.
Step 5: Check the Circulation Fan
After steaming, the closet relies on warm, moving air to dry your clothes. If the fan is weak or not spinning, clothes can stay damp.
If weak or no airflow:
- Unplug the closet and access the fan assembly.
- Check for lint or debris clogging the blades and clean if needed.
- Spin the blades by hand; they should turn smoothly.
- If the motor is stiff or nonfunctional, replace the fan unit.
Step 6: Clean the Vents and Drain
If internal vents or the drain tray are clogged, moisture can linger in the chamber and settle on clothes.
What to do:
- Remove and wash the drain tray.
- Check the drain hole for lint or debris and clear it with a brush.
- Wipe down all vents inside the closet.
Clean vents and drains help maintain proper humidity levels and airflow.
Step 7: Run a Final Test
After checking all of the above, plug your steam closet back in and run a full cycle with a single garment. If everything looks good, you’ve successfully solved the problem.
Preventing Future Problems
Once your steam closet is working properly again, keep it that way with a few simple habits:
- Use distilled or filtered water to prevent mineral buildup.
- Wipe down and dry the interior after each use.
- Leave the door slightly open between uses to let it air out.
- Descale the steam generator every 1–2 months.
- Clean the nozzles, drain tray, and vents regularly.
- Don’t overload; give clothes room to steam properly.
Where To Find Us
If you need any replacement parts for your appliances, you can enter your model number at AppliancePartsPros.com to locate and order them quickly. Most orders arrive in just two business days, and we have tons of great information in our repair help section and YouTube videos to help you troubleshoot.
Stay connected with the latest DIY tips, tutorial videos, and repair guides by following us on Facebook, Instagram, and Twitter. We love hearing about your repair stories and successes. If you need more help or want personalized guidance, feel free to reach out. We’re ready to help you take on your next project with confidence!
 https://www.appliancepartspros.com/b/wp-content/uploads/2025/09/20250902_1604_Cozy-Country-Laundry_simple_compose_01k460chwnemn9kxzss4s0w8yr.png
1024
1536
Steven E
https://www.appliancepartspros.com/b/wp-content/uploads/2020/11/app-logo-std.png
Steven E2025-09-05 10:33:302025-09-05 10:33:38When and How to Clean Your Steam Closet’s Water Tank
https://www.appliancepartspros.com/b/wp-content/uploads/2025/09/20250902_1604_Cozy-Country-Laundry_simple_compose_01k460chwnemn9kxzss4s0w8yr.png
1024
1536
Steven E
https://www.appliancepartspros.com/b/wp-content/uploads/2020/11/app-logo-std.png
Steven E2025-09-05 10:33:302025-09-05 10:33:38When and How to Clean Your Steam Closet’s Water Tank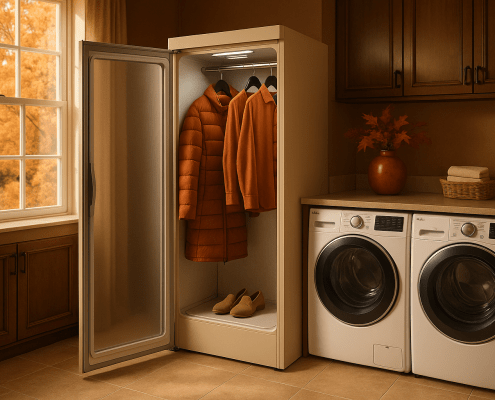 https://www.appliancepartspros.com/b/wp-content/uploads/2025/09/20250626_1532_Luxury-Laundry-Retreat_simple_compose_01jypvj1sye128rnzdeje9fzse.png
1024
1536
Steven E
https://www.appliancepartspros.com/b/wp-content/uploads/2020/11/app-logo-std.png
Steven E2025-09-05 10:21:462025-09-05 10:21:54How to Fix Lint Buildup in a Laundry Steam Closet
https://www.appliancepartspros.com/b/wp-content/uploads/2025/09/20250626_1532_Luxury-Laundry-Retreat_simple_compose_01jypvj1sye128rnzdeje9fzse.png
1024
1536
Steven E
https://www.appliancepartspros.com/b/wp-content/uploads/2020/11/app-logo-std.png
Steven E2025-09-05 10:21:462025-09-05 10:21:54How to Fix Lint Buildup in a Laundry Steam Closet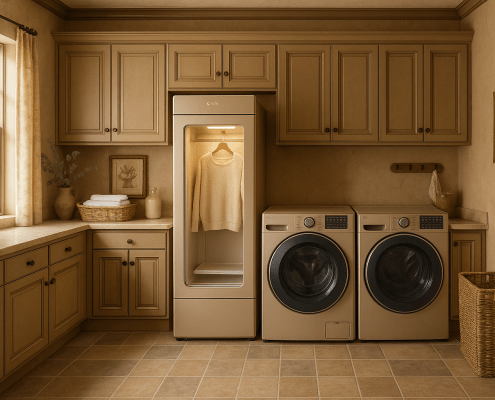 https://www.appliancepartspros.com/b/wp-content/uploads/2025/09/20250905_1121_Elegant-Laundry-Room_simple_compose_01k4d7e16qe33aqsnbg4pgwtwh.png
1024
1536
Steven E
https://www.appliancepartspros.com/b/wp-content/uploads/2020/11/app-logo-std.png
Steven E2025-09-05 10:13:342025-09-05 10:14:09How to Descale and Flush the Water System in a Steam Closet
https://www.appliancepartspros.com/b/wp-content/uploads/2025/09/20250905_1121_Elegant-Laundry-Room_simple_compose_01k4d7e16qe33aqsnbg4pgwtwh.png
1024
1536
Steven E
https://www.appliancepartspros.com/b/wp-content/uploads/2020/11/app-logo-std.png
Steven E2025-09-05 10:13:342025-09-05 10:14:09How to Descale and Flush the Water System in a Steam ClosetWith nearly a decade of experience in providing top-notch customer service regarding appliance parts and repair, Steven enjoys sharing practical advice, troubleshooting tips, and interesting information to help readers stay informed.