How to fix a stuck garbage disposal fast
Steven E / Monday March 17, 2025
There’s nothing more annoying than when your garbage disposal decides to quit on you right in the middle of cooking. But don’t worry, you can get it back in working order without needing to call in a pro. We’ve got you covered with simple steps to safely fix that jam and get things running smoothly again.
Heads up: The tips here might not exactly match your garbage disposal model. Appliances come in all shapes and sizes, so there could be differences in how you troubleshoot or fix them. For the best advice, it’s a good idea to check your owner’s manual or find your appliance’s model number and reach out to us if you’ve got any questions.
Understand the basics
Before you get your hands dirty, it’s helpful to know a bit about how your garbage disposal works. That way, you can figure out what’s causing the jam and avoid running into the same problem down the road.
Common causes of a jammed garbage disposal

- Items like forks or spoons accidentally slipping down the drain.
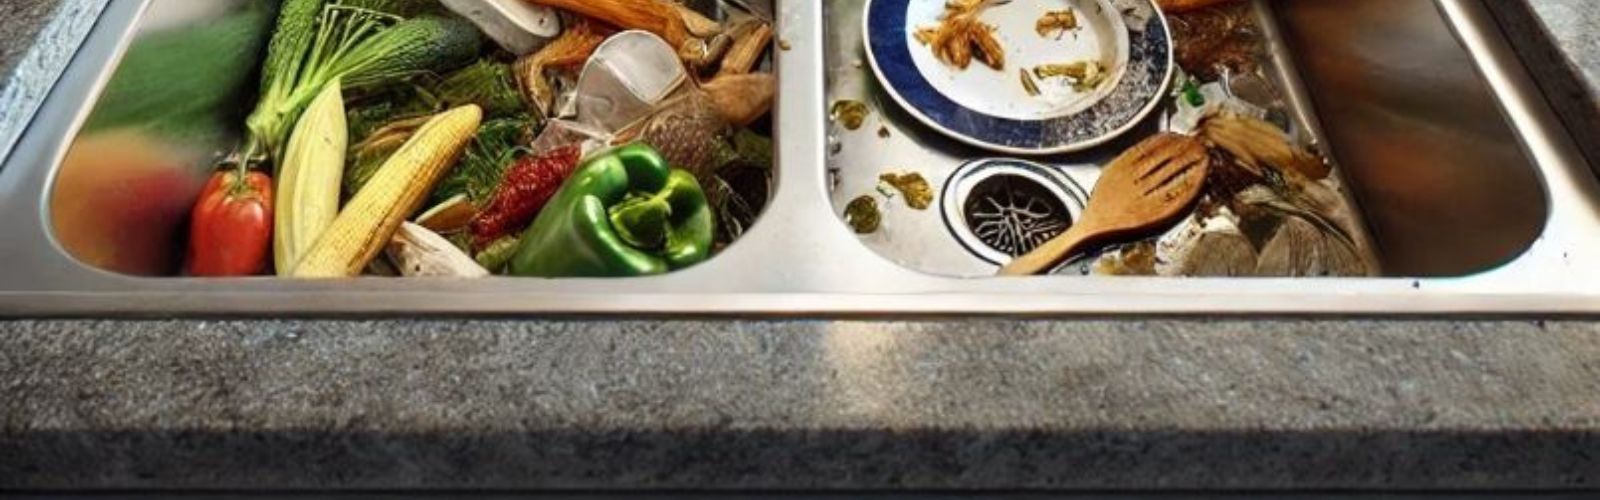
- Stringy foods like celery stalks or corn husks wrap around the blades.
- Grease and fat build up and make parts stick.
- Trying to dispose of too much food waste at once.
Safety first: precautions before you begin
When working on any appliance, remember to keep safety first. Here are some tips to keep in mind:
- Always power off and unplug your appliance or switch off the circuit breaker before attempting any maintenance or replacement work. This keeps you safe by preventing any risk of injury from electric shock.
- Wear insulated work gloves to protect your hands from sharp metal parts, pinching hazards and debris.
- Take your time and don’t rush while working to prevent accidents and personal injuries.
- Work in a well-lit area so you can clearly see and access the interior parts.
- Clear your workspace of clutter and other obstacles. Keep children and pets away from the work area.
- Never work on internal parts with bare wet hands. Make sure the work area is completely dry.
- Check your user manual to see if there are specific installation or safety instructions for your part or appliance.
- Be gentle when handling or removing parts. Excessive force might damage the appliance or cause injury.
- Wear safety glasses when working with chemicals, dust or cleaning large debris to prevent injury.
- If the appliance has recently been used, give it plenty of time for any heating parts to cool down before working on it.
- Take pictures or make a note of wiring terminals or other connections before disconnecting to prevent any problems with reassembly.
- When working with wires, avoid touching any exposed wires or terminals. If you need to touch a wire, use a non-conductive tool or wear insulating gloves to prevent electrical shock.
Tools you’ll need
Here’s what you’ll need to get started:
- An Allen wrench (usually 1/4 inch) or a disposal wrench
- A flashlight
- Pliers or tongs
- A plunger
- Baking soda and vinegar
Steps to unclog your garbage disposal
1. Inspect the disposal
Shine your flashlight down into the disposal. Don’t put your hands in there! You’re looking for anything that shouldn’t be there, like utensils, bones, or big chunks of food.
2. Remove visible obstructions
If you spot something, carefully pull it out with your pliers or tongs. Keep your fingers out, you don’t want any nasty surprises from sharp edges or sudden movements.
3. Reset the disposal
Find the reset button, usually a red button underneath the disposal. Give it a press to reset the motor. Sometimes, that’s all you need to kickstart it back into action.
4. Manually turn the impellers
Stick the Allen wrench into the hex hole under the disposal. Twist it back and forth to manually spin the blades and free up any jams.
5. Test the disposal
Turn the power back on. Run some cold water and flip on the disposal to see if it’s working. If it’s still jammed, keep going to the next step.
6. Plunge the drain
Place a plunger over the drain opening. Fill the sink until the rubber part of the plunger is submerged. Plunge up and down quickly for about half a minute to build up pressure and clear the clog.
7. Use baking soda and vinegar
Pour half a cup of baking soda down the disposal, then add a cup of white vinegar. Let it fizz for around 20 minutes, it helps break down a blockage. When time’s up, flush it out with cold water.
8. Clean the P-trap
If you’re still having trouble, the clog might be in the P-trap (that’s the curved pipe under your sink).
Steps to clean the P-trap
- Put a bucket underneath to catch any water.
- Loosen the slip nuts on both ends of the P-trap with pliers.
- Take off the P-trap and check for clogs.
- Clean out any gunk with a brush or wire.
- Rinse it out, then put it all back together.
Preventive measures for the future
Use cold water
Remember to run cold water whenever you’re using the disposal. Cold water keeps grease solid so it can be chopped up and flushed out, instead of melting and sticking to the insides.
Avoid certain foods
Try to keep stuff like fibrous veggies, coffee grounds, and starchy foods (like pasta or rice) out of the disposal, they can cause clogs. Just toss them in the trash instead.
Perform regular maintenance
Every now and then, grind up some ice cubes and citrus peels. The ice scrapes off any buildup, and the citrus peels make it smell nice and fresh.
When to seek further assistance
If you’ve done everything and it’s still not working, it might be time to think about getting a new disposal. Don’t forget, you can find top-quality replacement parts and get expert help at AppliancePartsPros.com. We’re here for you, whatever you need.
If you need more help, check out our repair help section for more tips and how-tos.
Got questions? Just give us a shout. We’re always happy to help you out with your appliance repairs.
Stay in the loop with the latest DIY tips and updates. Follow us on Facebook and Twitter.
With nearly a decade of experience in providing top-notch customer service regarding appliance parts and repair, Steven enjoys sharing practical advice, troubleshooting tips, and interesting information to help readers stay informed.