How To Install A New Dryer: A Step-by-Step Guide
APP Expert / Wednesday July 5, 2023
Introduction
Installing a dryer in your home can seem like an intimidating task, but with the right guidance, it doesn’t have to be! Installing a dryer is a relatively simple process that will save you time and money in the long run. In this article, we’ll provide you with step-by-step instructions and helpful tips on how to install a new dryer like a pro.
Having your own dryer at home empowers you with greater control over how and when your clothes get dried, whether you’re replacing an old model or installing one for the first time. Plus, it ensures that your laundry is always done on time, making it a great way to stay organized. When you’re able to complete this task yourself, it gives you an immense sense of satisfaction and accomplishment!
You don’t need professional experience or special tools; just some patience and determination. With our help, we’ll show you exactly how easy it is to install a dryer in your home. Let’s get started!
Tools Needed
Before installing your new dryer, make sure you have the necessary tools and materials on hand. Here are the tools you’ll need to prepare the space:
- Measuring tape: Use a measuring tape to measure the height, width, and depth of the installation area to ensure that your new dryer will fit.
- Carpenter’s level: Use a carpenter’s level to ensure that the installation area is level. This will help prevent the dryer from vibrating or moving during operation.
- Screwdriver: A screwdriver will be needed to remove any screws or brackets that may be holding the old dryer in place, as well as to secure the new dryer in position.
- Adjustable wrench: An adjustable wrench will be needed to tighten any bolts or nuts during installation.
- Drill and drill bits: A drill may be necessary if you need to install new brackets or secure the dryer to the wall.
- Vent or ductwork: If your new dryer requires venting or ductwork, make sure you have the necessary materials on hand before beginning the installation.
Power cord
If a power cord is not included with the appliance, replace it with a new universal part, depending on your electrical needs and the distance of the appliance from the outlet. If you need a power cord for your new appliance, you can contact us for help locating the correct part or check out these options available on our website-
Universal 6 Ft, 30 Amp, 3 Wire
Universal 10 Ft, 30 Amp, 4 Wire
Prepare the Space
Preparing the space where your new dryer will be installed is an essential step that shouldn’t be overlooked. By taking the time to prepare the space, you’ll ensure that the dryer is properly supported, stable, and safe to use. Here are some detailed steps to prepare the space for your new dryer:
Measure the space:
Measure the height, width, and depth of the area where the dryer will be installed. Make sure to measure the height from the floor to the top of the space where the appliance will sit, as well as the width and depth of the space.
Check the location of electrical outlets:
Ensure that there is an electrical outlet nearby that meets the voltage and amperage requirements of your new dryer. If there isn’t, you’ll need to hire an electrician to install a new outlet.
Clear the space:
Remove any objects that may be obstructing the installation area, such as old appliances or furniture. This will help you have a clear workspace and prevent damage to the dryer during the installation process.
Level the space:
Ensure that the installation area is level by using a carpenter’s level. If the space isn’t level, use shims or adjustable feet to adjust the dryer’s height and make it level.
Install any necessary vents or ductwork:
If your new dryer requires venting or ductwork, install it before placing the dryer. Carefully follow the manufacturer’s instructions to guarantee the correct installation of the venting.
Check for clearance:
Ensure that there is enough clearance around the dryer for it to operate safely. The dryer should be at least one inch away from the back wall and any other nearby obstacles.
Install the Dryer
Now that you’ve prepared the space for your new dryer, it’s time to install it. Here are some detailed steps to follow:
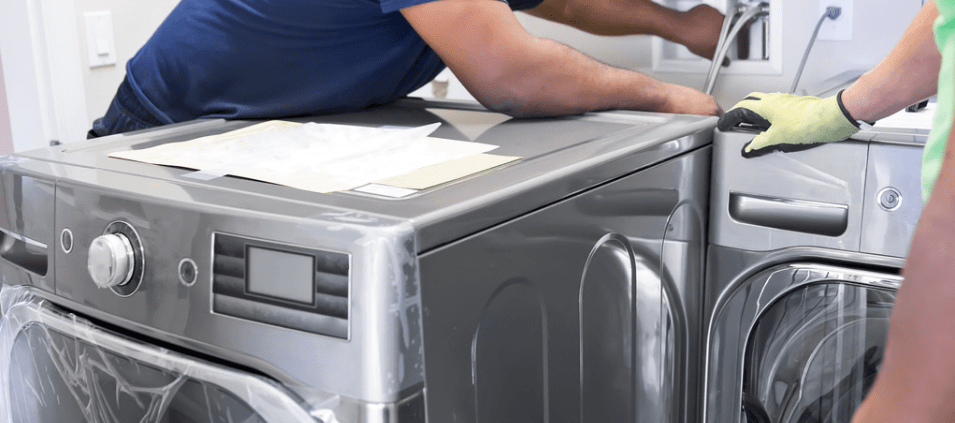
- Move the dryer into position: With the help of a friend, carefully move the dryer into the installation area, making sure that it’s centered and aligned with the vent or ductwork. Take care not to damage any nearby walls or flooring.
- Adjust the legs: Adjust the legs of the dryer to ensure that it’s level. Use a carpenter’s level to check the dryer from side to side and front to back, adjusting the legs as necessary.
- Connect the vent or ductwork: If your new dryer requires venting or ductwork, connect it to the back of the dryer. Use the manufacturer’s instructions to ensure that the connection is secure and airtight.
- Plug in the dryer: Plug the dryer’s power cord into an electrical outlet that meets the voltage and amperage requirements specified in the manufacturer’s instructions. Ensure proper grounding of the outlet and, if necessary, use a new power cord in case one is not provided.
- Test the dryer: Turn on the dryer and run a test cycle to ensure that it’s working properly. Check for any strange noises or vibrations and ensure that the dryer is producing heat and properly drying clothes.
- Clean up: Once the installation is complete, clean up any debris or packaging materials from the installation area. Make sure that the area is free of any obstacles that could obstruct the dryer’s ventilation.
By following these detailed steps, you’ll be able to install your new dryer safely and efficiently. Don’t forget to refer to the manufacturer’s instructions for specific details on your particular dryer model. A properly installed dryer will operate safely and efficiently, giving you years of trouble-free service.
Safety Tips
When installing a dryer, it’s important to follow safety guidelines to prevent injury or damage to your property. Here are some safety tips to keep in mind:
- Use protective gear: Wear gloves and protective eyewear to protect your hands and eyes while working.
- Turn off power to the area: Before beginning the installation process, turn off the power to the outlet where the dryer will be installed to avoid electrocution.
- Avoid overloading the dryer: Overloading the dryer can cause it to malfunction, and in some cases, can be a fire hazard. Follow the manufacturer’s recommendations for load size and don’t overload the dryer.
- Keep the area clear: Keep the area around the dryer clear of any objects or debris that could obstruct the dryer’s ventilation.
Conclusion
Installing a new dryer can seem overwhelming, but by following these steps, you can do it safely and efficiently. Successful installation of a dryer requires repairing the space, connecting vents/ducts, and plugging it in. It’s also important to take safety precautions. Wear protective gear, avoid overloading the dryer, and keep the area clear. For more DIY tips and tricks, be sure to check out our Facebook and Youtube pages as well.
Hi! I’m Matt H., and I’m thrilled to be your guide through the world of appliance repair with over 25 years of invaluable experience in the industry.
From the early days of my career, I have been deeply passionate about appliances and their inner workings. Over the years, I’ve seen it all – from vintage models to the latest cutting-edge technology – and I’ve dedicated myself to mastering the art of repair. With a toolbox in one hand and a wealth of knowledge in the other, I’ve tackled every challenge that has come my way, learning and growing with each repair.
Join me as we dive into the intricacies of appliance repair. From step-by-step repair guides to explanations of common problems and their solutions, I’ll be here to simplify the repair process and empower you with the knowledge you need to keep your appliances running smoothly.
Feel free to explore our blog, ask questions, and leave comments – this platform is a space for learning, sharing, and growing together. Let’s work together to ensure that your appliances continue to serve you for years to come.
Thank you for joining me on this journey, and I look forward to being your go-to resource for all things related to appliance repair!


Leave a Reply
Want to join the discussion?Feel free to contribute!