How to Remove an Oven Door: Easy and Safe DIY Steps
Steven E / Tuesday April 15, 2025
Have you ever wanted to give your oven a thorough cleaning or check for minor repairs by removing the door yourself? This guide shows you exactly how to remove an oven door using a simple process. With clear instructions, practical safety tips, and plenty of advice along the way, you’ll feel empowered to handle this DIY project. Let’s dive right in!
Why Would You Remove an Oven Door?
Before we jump into the how, let’s talk about the why. Here are a few common reasons people remove their oven door:
- Deep Cleaning: It’s much easier to clean all the nooks and crannies of your oven with the door out of the way.
- Replacing Parts: Swapping out a broken hinge, cracked glass panel, or the entire door.
- Moving or Storage: Lightening the oven for transportation or temporary disassembly.
- Fixing Misalignment: If your oven door isn’t closing properly or hanging unevenly, removing and resetting it might solve the issue.
What You’ll Need
You don’t need a ton of tools or a fancy toolbox. Here’s a basic list of what you’ll want to have on hand:
- Flathead screwdriver or small pry tool
- Work gloves
- Towel or soft surface
- Optional: Flashlight to see hinge locks clearly
- Owner’s manual how to find your appliance’s model number
- A second person (if the door is large or heavy)
Safety First: A Few Quick Tips
Let’s make sure you stay safe before and during the process.

- Unplug the oven. If it’s electric, disconnect it from power. For gas ovens, make sure the gas is turned off if you’re doing any other work inside the appliance.
- Let it cool. Never try to remove the door right after baking or self-cleaning. Wait until the oven is 100% cool.
- Watch your fingers. Oven doors are heavier than they look and can snap shut during removal. Wear gloves and take your time.
How to Remove an Oven Door
Most modern oven doors are designed to be removable, and many of them follow a very similar process. The exact steps might vary slightly depending on the brand (like GE, Whirlpool, Frigidaire, etc.), but the concept is the same.
Step 1: Open the Door Fully
Start by opening the oven door all the way, yes, to the fully flat position. This exposes the hinges and hinge locks (if your oven has them), and gives you full access to what you’ll need to work with.
Most oven doors sit on two hinges at the bottom, one on each side. These are what you’ll be working with to remove the door.
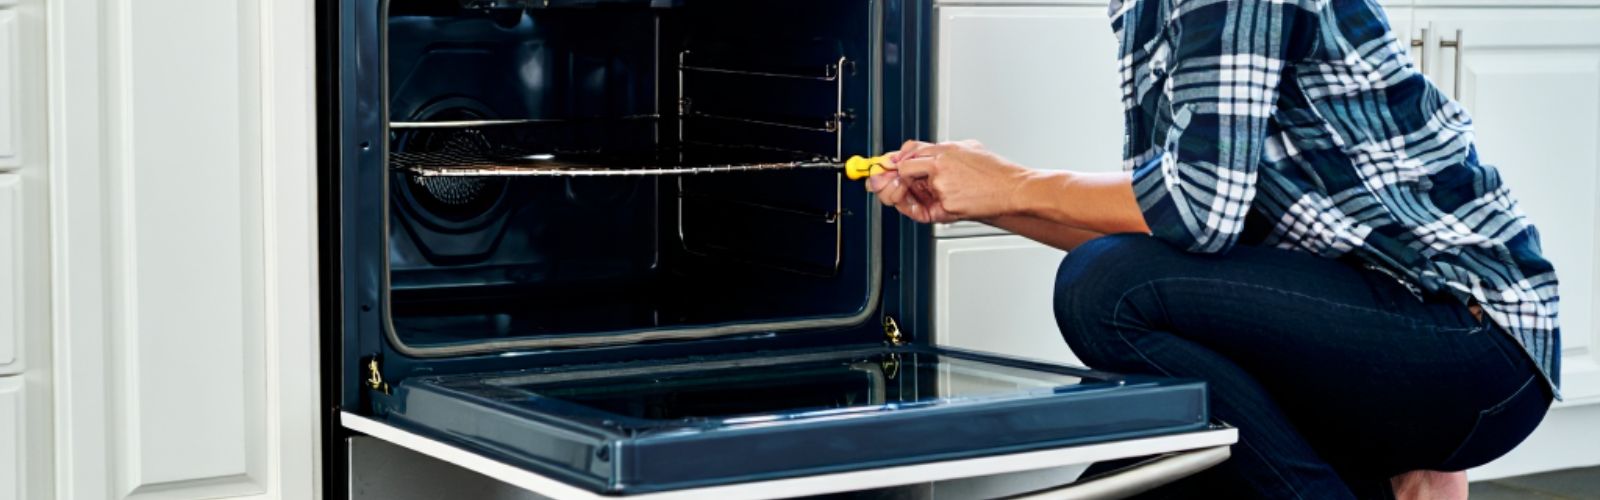
Step 2: Locate the Hinge Locks
Near the base of each hinge, you should see a small metal tab or latch. These are hinge locks, and they’re the key to releasing the door.
What to look for:
- They’re usually made of shiny metal.
- You may need to use a flathead screwdriver to gently pry them up.
- On some models, the hinge lock flips outward or downward, others might rotate upward.
Once the locks are released, the hinge should be in what’s called the “removal position.”
Step 3: Partially Close the Door (About 20 Degrees)
Here’s the part where people get nervous, but it’s pretty easy if you take it slow.
Once the hinge locks are engaged in the removal position, slowly start closing the oven door. But stop when it’s about a quarter of the way closed, usually around a 20 to 30-degree angle.
At this point, you should feel the door stop or become harder to move. That’s your cue, it’s now ready to lift off.
Step 4: Lift the Door Up and Out
Grasp the sides of the oven door firmly, use both hands, and lift with your legs, not your back. You’ll want to lift the door straight up while keeping it at that slight angle. This will disengage the hinges from the oven frame.
Take your time here. If the door doesn’t lift off easily, double-check that:
- The hinge locks are properly engaged.
- You’re at the right angle.
- You’re lifting straight up, not tugging sideways.
Once the door is off, place it gently on a towel or padded surface with the inside facing up. You don’t want to scratch the glass or chip the edges.
Step 5: Reinstall the Oven Door
Putting it back on is just the reverse of removal, but here’s a quick refresher:
- Hold the door at the same angle (about 20°).
- Slide the hinges back into their slots on the oven body.
- Lower the door slowly to the fully open position.
- Flip the hinge locks back to their locked position.
- Close the door fully and test it. If it’s aligned and shuts properly, you’re golden.
Where To Find Us
If you need any replacement parts for your appliances, you can enter your model number at AppliancePartsPros.com to locate and order them quickly. Most orders arrive in just two business days, and we have tons of great information in our repair help section and YouTube videos to help you troubleshoot.
Stay connected with the latest DIY tips, tutorial videos, and repair guides by following us on Facebook, Instagram, and Twitter. We love hearing about your repair stories and successes. If you need more help or want personalized guidance, feel free to reach out. We’re ready to help you take on your next project with confidence!
The information in this article may not apply to your specific appliance model. We recommend consulting your manufacturer’s documentation or contact us with any questions.
Keep Reading:
Whirlpool oven door won’t close: How to fix
How To Replace Oven Door Inner Glass
Oven Door Won’t Open After Self Cleaning Cycle: Top 4 Reasons & Fixes (With Video!)
With nearly a decade of experience in providing top-notch customer service regarding appliance parts and repair, Steven enjoys sharing practical advice, troubleshooting tips, and interesting information to help readers stay informed.