How to Repair a Broken Door Latch on a Laundry Steam Closet
Steven E / Friday July 11, 2025
Frustrated with your laundry steam closet door that just won’t stay shut? A broken latch is a common issue, but luckily, it’s usually an easy fix you can do yourself. Here’s how to repair your steam closet door latch and get your appliance working properly again, no stress, no expensive repair call.
The information in this article may not apply to your specific appliance model. We recommend consulting your manufacturer’s documentation or contact us with any questions.
Why the Door Latch Is Important
The door latch serves two main purposes:
- Safety: It ensures the door stays closed during operation so hot steam cannot escape and cause burns or damage.
- Performance: It keeps the door tightly sealed so steam stays inside the chamber, where it can properly treat your clothes.
If the latch is broken, loose, or misaligned, you may notice:

- The door won’t stay shut
- Steam leaks around the door
- The closet won’t start or displays an error code
- Clothes don’t come out as fresh or wrinkle-free as they should
These issues usually mean it’s time to inspect and replace the latch.
Tools and Supplies You’ll Need
Before you start, gather the following:
- Replacement door latch designed for your model (check your owner’s manual for the correct part number)
- Phillips screwdriver
- Flathead screwdriver or putty knife (optional, for prying if needed)
- Clean cloth to wipe surfaces
- Small bowl to hold screws
Step 1: Turn Off and Unplug the Steam Closet
Always start by turning off the appliance and unplugging it from the wall. If it is hardwired, switch off the circuit breaker. This keeps you safe while working on the latch.
Wait a few minutes for the appliance to cool if it has been recently used.
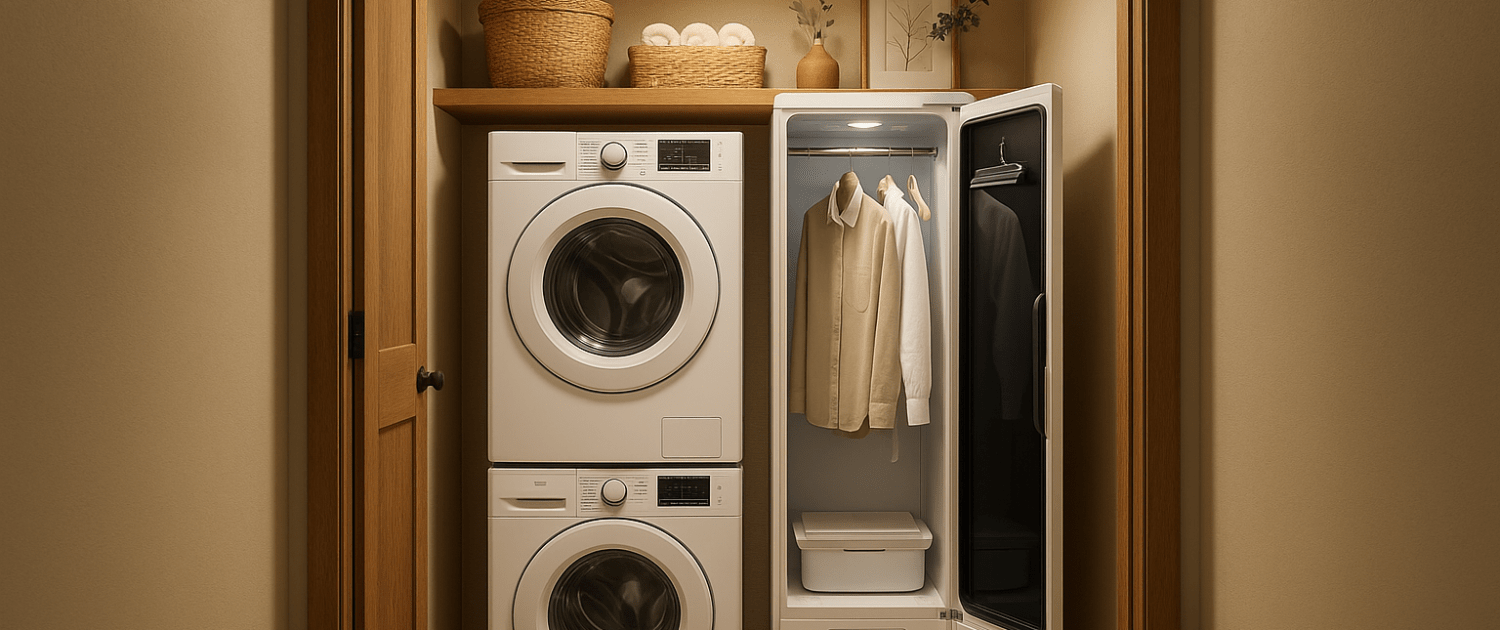
Step 2: Open the Door and Inspect the Latch
With the appliance powered off, open the door and take a good look at the latch mechanism.
If the latch appears cracked, bent, or no longer engages with the strike plate properly, it needs to be replaced.
Step 3: Remove the Broken Latch
Most latches are secured with two or three screws on the inside edge of the door.
- Locate and remove these screws using a Phillips screwdriver.
- Keep the screws in a small bowl so they don’t get lost.
- Gently pull the latch assembly out of the door. You may need to wiggle it slightly to disengage it from the door panel.
- If there are any small clips or tabs holding it in place, press them carefully with a flathead screwdriver.
Step 4: Clean the Area
Before installing the new latch, wipe down the inside of the door and the latch opening with a clean cloth. Remove any dust, lint, or moisture that may have accumulated.
Also inspect the strike plate on the steam closet body and clean it if necessary. If it is loose, tighten its screws so it aligns properly with the new latch.
Step 5: Install the New Latch
Take your replacement latch and slide it into the opening on the door. Make sure it is oriented correctly so the hook engages with the strike plate when the door is closed.
- Align the screw holes on the latch with the holes in the door.
- Insert and tighten the screws, but don’t overtighten, just snug enough to hold it securely.
- Check that the latch moves freely when you press the door handle.
Step 6: Test the Door
Close the door and see if it clicks into place. You should feel it engage with the strike plate firmly. If everything works properly, your repair is complete.
Where To Find Us
If you need any replacement parts for your appliances, you can enter your model number at AppliancePartsPros.com to locate and order them quickly. Most orders arrive in just two business days, and we have tons of great information in our repair help section and YouTube videos to help you troubleshoot.
Stay connected with the latest DIY tips, tutorial videos, and repair guides by following us on Facebook, Instagram, and Twitter. We love hearing about your repair stories and successes. If you need more help or want personalized guidance, feel free to reach out. We’re ready to help you take on your next project with confidence!
 https://www.appliancepartspros.com/b/wp-content/uploads/2025/09/20250902_1604_Cozy-Country-Laundry_simple_compose_01k460chwnemn9kxzss4s0w8yr.png
1024
1536
Steven E
https://www.appliancepartspros.com/b/wp-content/uploads/2020/11/app-logo-std.png
Steven E2025-09-05 10:33:302025-09-05 10:33:38When and How to Clean Your Steam Closet’s Water Tank
https://www.appliancepartspros.com/b/wp-content/uploads/2025/09/20250902_1604_Cozy-Country-Laundry_simple_compose_01k460chwnemn9kxzss4s0w8yr.png
1024
1536
Steven E
https://www.appliancepartspros.com/b/wp-content/uploads/2020/11/app-logo-std.png
Steven E2025-09-05 10:33:302025-09-05 10:33:38When and How to Clean Your Steam Closet’s Water Tank https://www.appliancepartspros.com/b/wp-content/uploads/2025/09/20250626_1532_Luxury-Laundry-Retreat_simple_compose_01jypvj1sye128rnzdeje9fzse.png
1024
1536
Steven E
https://www.appliancepartspros.com/b/wp-content/uploads/2020/11/app-logo-std.png
Steven E2025-09-05 10:21:462025-09-05 10:21:54How to Fix Lint Buildup in a Laundry Steam Closet
https://www.appliancepartspros.com/b/wp-content/uploads/2025/09/20250626_1532_Luxury-Laundry-Retreat_simple_compose_01jypvj1sye128rnzdeje9fzse.png
1024
1536
Steven E
https://www.appliancepartspros.com/b/wp-content/uploads/2020/11/app-logo-std.png
Steven E2025-09-05 10:21:462025-09-05 10:21:54How to Fix Lint Buildup in a Laundry Steam Closet https://www.appliancepartspros.com/b/wp-content/uploads/2025/09/20250905_1121_Elegant-Laundry-Room_simple_compose_01k4d7e16qe33aqsnbg4pgwtwh.png
1024
1536
Steven E
https://www.appliancepartspros.com/b/wp-content/uploads/2020/11/app-logo-std.png
Steven E2025-09-05 10:13:342025-09-05 10:14:09How to Descale and Flush the Water System in a Steam Closet
https://www.appliancepartspros.com/b/wp-content/uploads/2025/09/20250905_1121_Elegant-Laundry-Room_simple_compose_01k4d7e16qe33aqsnbg4pgwtwh.png
1024
1536
Steven E
https://www.appliancepartspros.com/b/wp-content/uploads/2020/11/app-logo-std.png
Steven E2025-09-05 10:13:342025-09-05 10:14:09How to Descale and Flush the Water System in a Steam ClosetWith nearly a decade of experience in providing top-notch customer service regarding appliance parts and repair, Steven enjoys sharing practical advice, troubleshooting tips, and interesting information to help readers stay informed.