How to Replace a Refrigerator Light Socket
Steven E / Monday August 21, 2023
Is your fridge shrouded in darkness due to a faulty light bulb socket? Discover how this small yet essential component can be the difference between an easy snack search and a frustrating hunt in the dark. Dive into our step-by-step guide and video tutorial below to shed some light on your refrigerator troubles and restore it to full brightness!
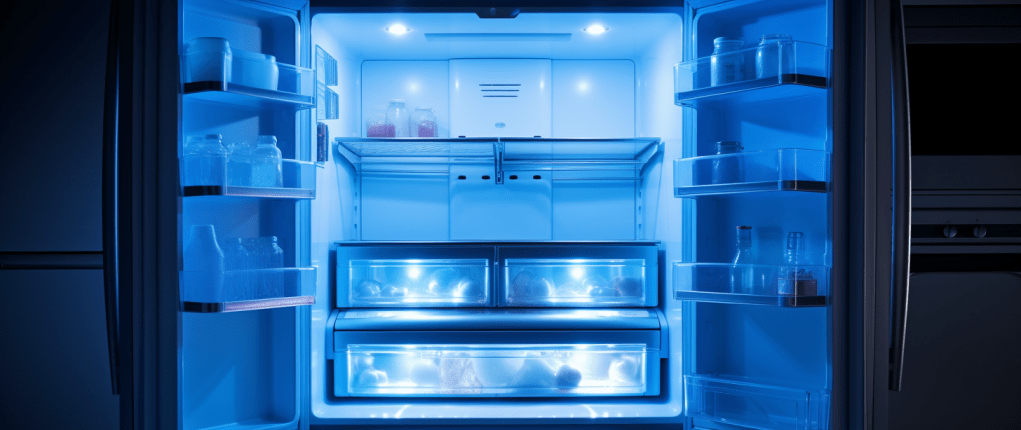
The light bulb socket in your refrigerator may seem like a minor component, but it plays a crucial role in illuminating the interior of your appliance. It establishes a connection between the light bulb and the refrigerator’s electrical circuit. If the socket is corroded, damaged, or otherwise impaired, it might fail to maintain reliable contact with the light bulb, resulting in an unlit or inconsistently lit refrigerator interior. This can make it challenging to find items in your fridge, particularly in low-light conditions.
Gathering the Necessary Tools
Before embarking on this task, make sure you have the necessary tools on hand. They include:
- Flat Blade Screwdriver: This tool is used for a variety of tasks in this repair process. You’ll use it to help remove the light lens and disconnect the fridge light socket from the refrigerator’s wiring.
- Phillips Screwdriver: This type of screwdriver will be used to remove the screw that secures the lens in place.
- Putty Knife: While not essential, a putty knife can be helpful in prying out the old light bulb socket if it’s particularly stuck.
- Replacement OEM Part: You can purchase a new OEM replacement Whirlpool refrigerator light by visiting our website and clicking here.
Having these tools on hand before you begin will ensure a smoother and more efficient repair process.
The Light Bulb Socket: A Closer Look
When you order your replacement light bulb socket, you’ll receive only one piece in the package. However, it’s important to note that this model of Whirlpool refrigerator uses three identical sockets: two are located in the fresh food compartment and one in the freezer. This guide is equally applicable to the replacement of any one of these sockets.
Safety Precautions: Prioritizing Safety During Repair
Before you start the repair, it’s crucial to disconnect the refrigerator from the power supply to prevent any risk of electric shock. You can do this by simply unplugging the fridge or switching off the circuit breaker. Always prioritize safety when conducting any type of appliance repair to protect yourself and others around you.
Step-by-Step Guide on Replacing the Light Bulb Socket
Step 1: Preparing Your Workspace
Begin by opening both doors of your Whirlpool French-door refrigerator. The light bulbs, and consequently the sockets, are located inside the fresh food compartment. To create a comfortable and spacious workspace, you’ll need to remove the two shelves in this compartment.
Step 2: Lens Removal
The lens cover serves a protective function for both the light bulbs and the socket. To remove it, use your Phillips screwdriver to unscrew the single screw holding it in place. Once the screw is out, utilize your flat-blade screwdriver to press on the lens tab. This action releases the side of the lens, enabling you to remove it from the refrigerator.
Step 3: Light Bulb Socket Assembly Removal
Once the lens is out of the way, it’s time to remove the light bulb socket assembly. Use your flat-blade screwdriver to release the clip that secures the assembly. Insert the screwdriver into the opening and gently lift the clip. Once the clip is dislodged, pull out the rear end of the assembly.
Step 4: Old Socket Removal
To remove the old socket, first, unscrew the light bulb by turning it counterclockwise. Then, use your flat-blade screwdriver to release the wires from the old socket. The socket is held in place by a retaining clip. To remove it, press down on the clip and push the socket down.
Step 5: Installing the New Socket
Now comes the installation of the new light bulb socket. Place the socket in the cutout and push it upwards until you hear audible clicks, indicating that it’s securely in place. Next, attach the wires back to the socket. The wider, pinkish wire connects to the larger, white connector, while the narrower, black wire connects to the smaller connector. Once the wires are securely in place, screw in the light bulb by turning it clockwise.
Step 6: Reassembling the Fridge
With the new socket installed, you can now reassemble your appliance. Start by repositioning the light lens and securing it with the Phillips screw. Next, replace the shelves you removed at the beginning and close the refrigerator doors. If you’re replacing the light bulb socket in the freezer, repeat the same process.
Step 7: Testing Your Repair Work
The final step is to test the newly installed light bulb socket. Reconnect the power supply and open the refrigerator doors. If the light comes on, congratulations! You’ve successfully replaced the light bulb socket in your Whirlpool refrigerator.
Wrapping Up
Replacing the refrigerator light socket in your Whirlpool refrigerator is a manageable task that can be completed in a relatively short period. Notably, by following this guide, you’re not only restoring your refrigerator’s lighting but also picking up valuable DIY skills.
Regular inspection and maintenance of your appliances can help you catch minor issues before they escalate into significant problems, saving you considerable time, effort, and resources in the long run. As you can see, with a little patience and the right tools, you can become your own appliance repair technician. For a further look into this repair, check out our YouTube video over it by clicking here.
Where To Find Us
If you need any replacement parts for your appliances, you can enter your model number at AppliancePartsPros.com to locate and order them quickly. Most orders arrive in just two business days, and we have tons of great information in our repair help section and YouTube videos to help you troubleshoot.
Stay connected with the latest DIY tips, tutorial videos, and repair guides by following us on Facebook, Instagram, and Twitter. We love hearing about your repair stories and successes. If you need more help or want personalized guidance, feel free to contact or call us at 877-477-7278. We’re ready to help you take on your next project with confidence!
Since 1999, AppliancePartsPros.com has helped millions of people repair their broken appliances by providing high-quality original parts at well below retail prices, free support and troubleshooting, and award-winning customer service from an expert, friendly, US-based customer support team!
With nearly a decade of experience in providing top-notch customer service regarding appliance parts and repair, Steven enjoys sharing practical advice, troubleshooting tips, and interesting information to help readers stay informed.


