How To Replace A Samsung Freezer Temperature Sensor
APP Expert / Wednesday February 1, 2023
Is your ice cream turning into soup while your fridge runs nonstop? A faulty temperature sensor might be to blame. But don’t worry—our step-by-step guide will have your Samsung French door refrigerator back in top shape in no time, complete with a how-to video just below to make it even easier!
A temperature sensor is a small but vital component in your appliance’s defrost system, signaling to the control board when the defrost cycle should start or stop based on the temperature in the freezer. If it fails, you may find yourself with melted ice cream or a fridge that won’t stop running. Luckily, it’s an easy fix – one you can handle yourself in just a few minutes with AppliancePartsPros.com on your side!
Keep reading for our guide to replacing the temperature sensor in a Samsung French door refrigerator’s freezer compartment.
Finding The Right Replacement Part
To find a compatible OEM replacement part, you’ll need the model number for your appliance. You can find that on a sticker somewhere on your appliance’s body. Check the following spots:
- On the exterior door or sides of the appliance
- Inside the door or on the door frame
- On the interior ceiling of the freezer or refrigerator compartment
- On the inside wall of either compartment
- On the fridge floor, beneath the crisper drawers
- Behind the kickplate at the bottom of the appliance
Once you’ve got that model number in hand, you can track down what you need in no time! Type the model number for your fridge into the search bar on our website to get a full list of compatible parts. You can also browse our Samsung refrigerator temperature sensors directly, if that’s your preference. Either way, order through AppliancePartsPros.com and you’ll have your replacement temperature sensor in as little as two days!
How To Replace The Freezer Temperature Sensor In A Samsung Refrigerator
For this guide, we’ll be showing you how to replace the temperature sensor found in the freezer of a Samsung French door refrigerator. While some of the steps laid out here may help you with swapping out similar parts in other refrigerator brands, it probably won’t line up perfectly. Head over to our YouTube channel if you’re working on a different brand or style of refrigerator, such as a top-mounted freezer fridge. We’ve got repair guides for all the most popular refrigerator brands and styles!
Tools for the job
You’ll want to get these items together before you start:
- A compatible, genuine OEM replacement temperature sensor (for us, that was Part No. DA32-00006S)
- A small flathead screwdriver
- A Phillips screwdriver – if it has a magnetic end, even better! Some of the screws you’ll be unthreading are in hard to reach spots.
- Wire cutters
- Two zip ties
- 10mm socket with ratchet
- Coolers or another temperature controlled container for food
- Work gloves
- An old towel – you may want to lay one down if you’re dealing with icy buildup
Before you begin…
To reach the freezer’s temperature sensor probe, you’ll need to completely clear out your refrigerator’s freezer compartment. Move items into a temperature safe container – even the fresh food compartment could be sufficient if you have room. If there’s a lot of frost buildup in your freezer, you’ll want to remove that, also.
Once your frozen goods are relocated, disconnect the appliance from power, either by unplugging it or flipping the circuit breaker. This is vitally important! You should never perform maintenance on an appliance that is still receiving power, especially if you are working with the wiring.
With that done, you can finally get started!
Replacing A Freezer Temperature Sensor
Set aside at least 25 minutes to get this job done – more if you haven’t cleared your freezer out yet. If you’re an experienced DIYer, we should have you on your way even faster!
Step One: Remove the upper drawer
We’re starting out assuming you’ve already cleared out your freezer, so if you haven’t done that yet, now’s the time to do so! Once it’s empty, remove the upper bin.
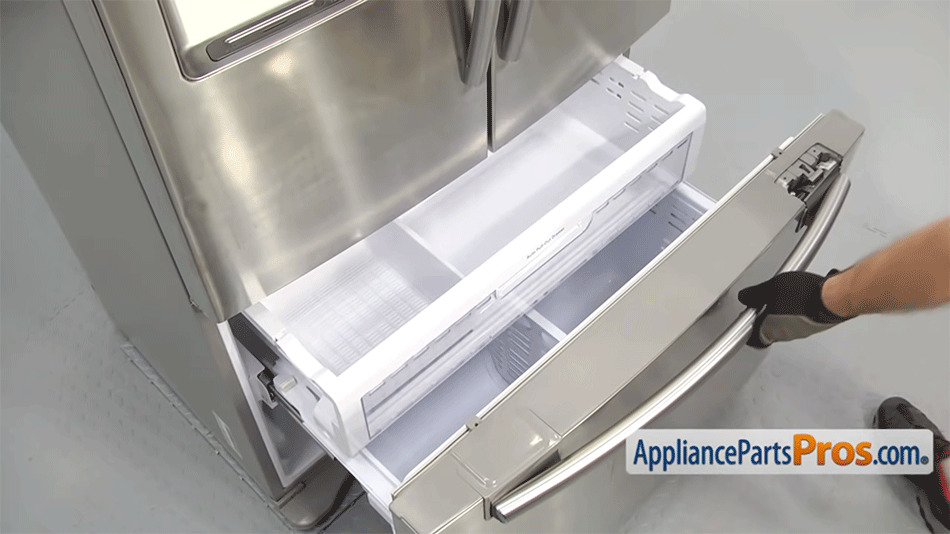
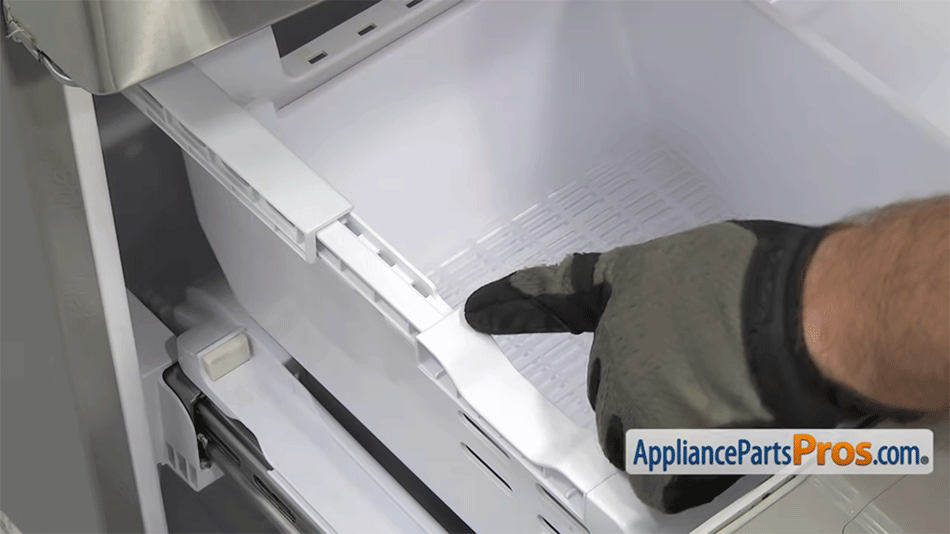
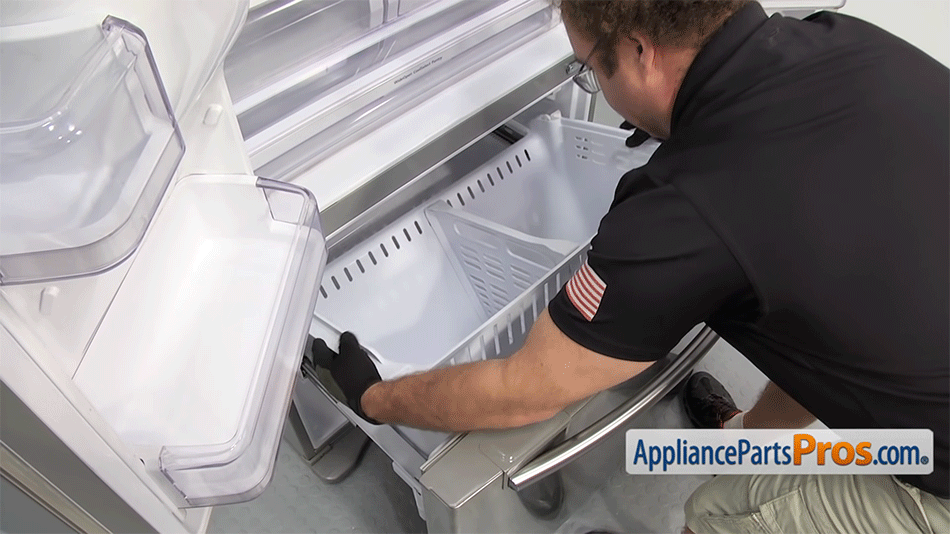
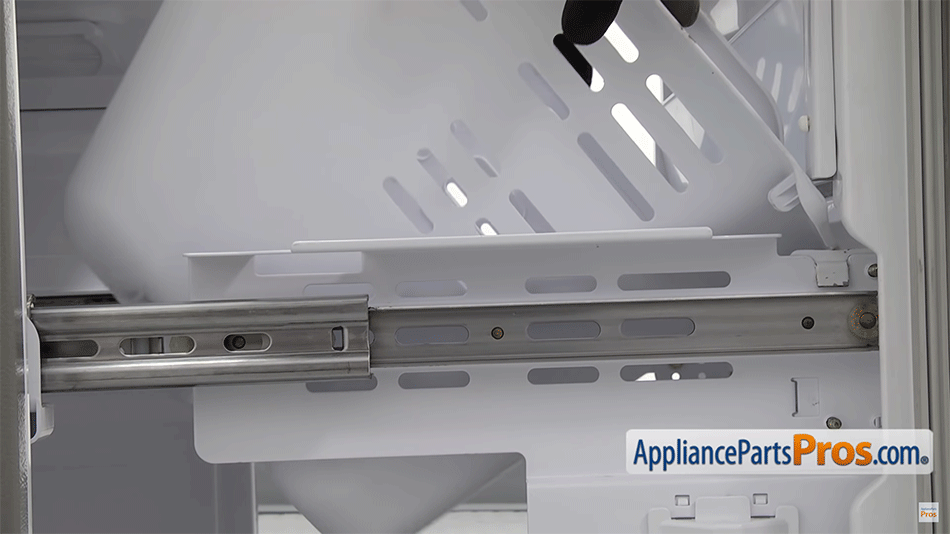
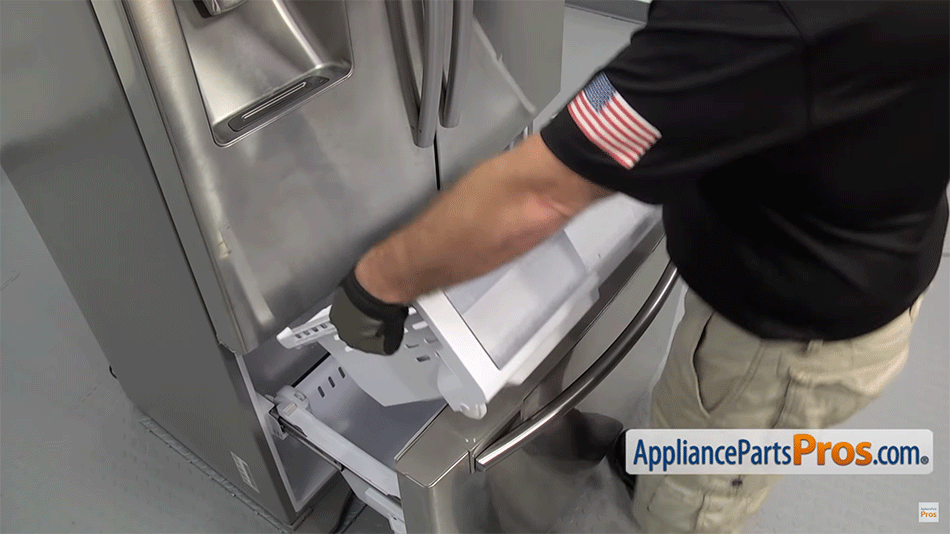
To do this, start by pulling the drawer out a bit. You’ll then want to move the rails up as far as they will go. Gripping both sides, tip the bin up slightly and carefully remove it from the freezer. You can set that aside for now.
Step Two: Remove the lower basket
To make this part a little easier, open the refrigerator doors. This will give you a bit more clearance to get the bins out of the way.
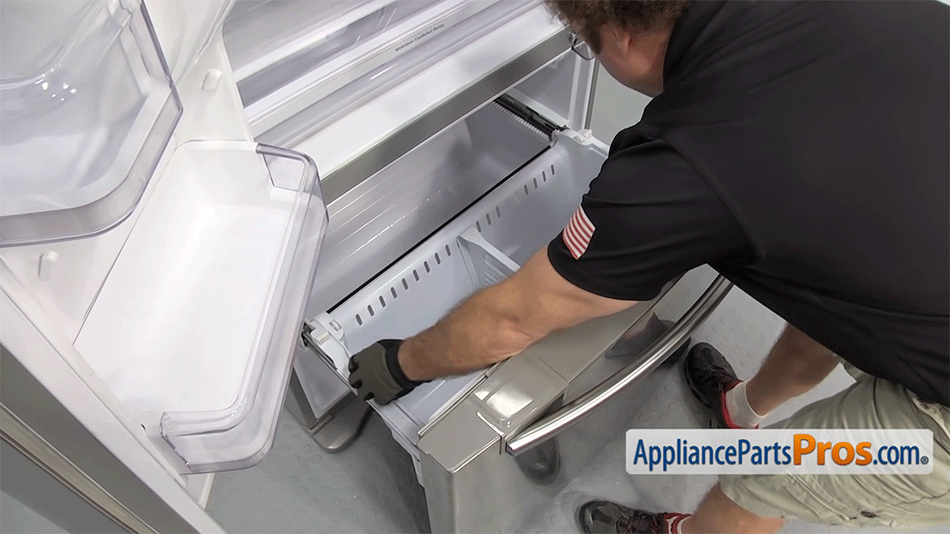
Grip the basket on either side and then lift from the back. You will then need to slide the bins toward the back to dislodge them and lift them out of the refrigerator. Once the basket is out, you can set it aside.
Don’t forget to close the refrigerator doors back up, especially if you’re still storing food in there!
Step Three: Remove the freezer door
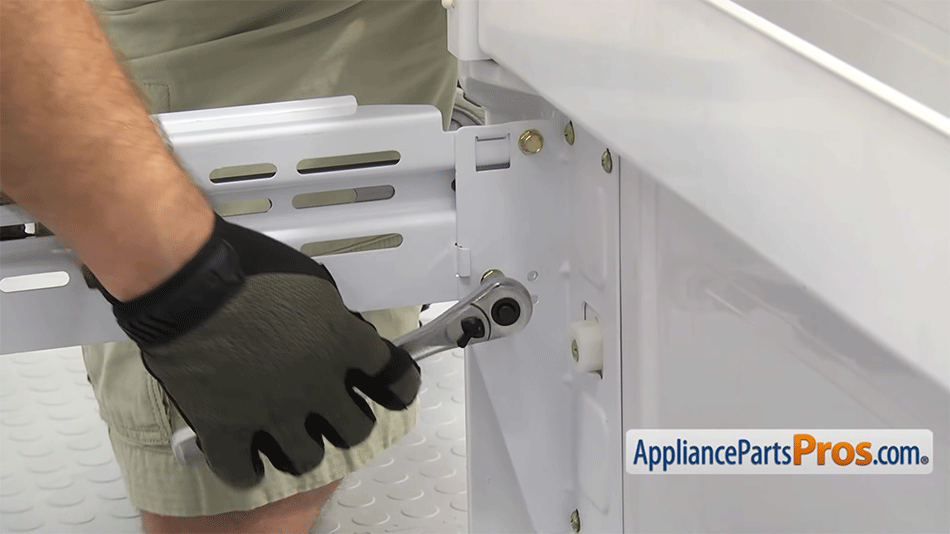
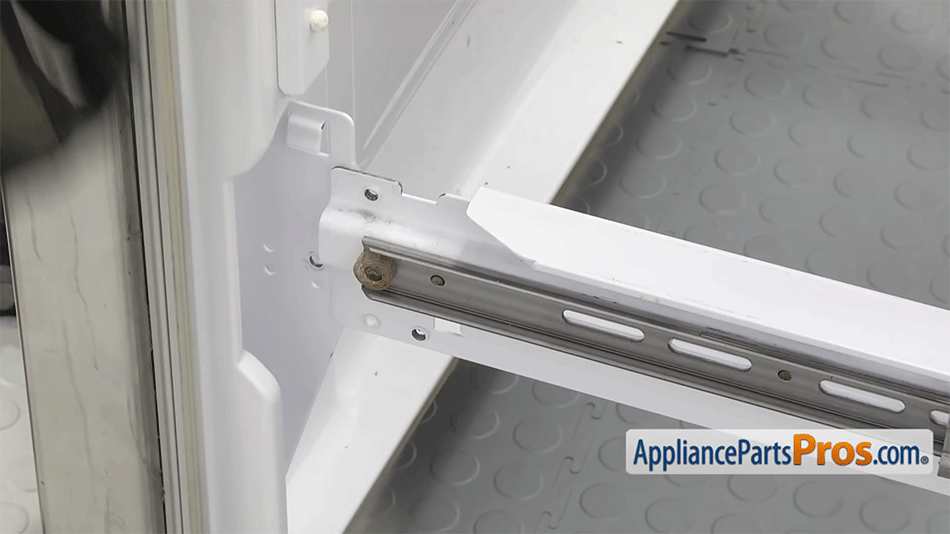
Make sure the freezer door is open as far as it will go. To remove the door, you’ll need to first remove the four bolts holding it in place. There are two on either side, inside the rail, close to the door. They can be removed with a 10mm socket and ratchet.
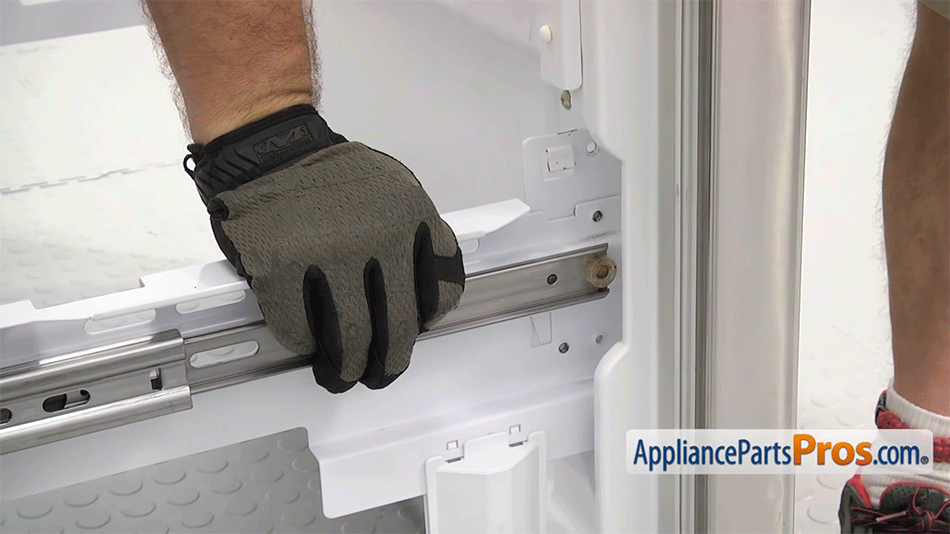
With the bolts out, the door can be removed. First, though, you may need to free it from the rails. To do this, simply press down on each rail to dislodge it from the tab holding it in place. Once freed up, lift up on the door and pull it away from the freezer rails.
Step Four: Remove the connecting rod
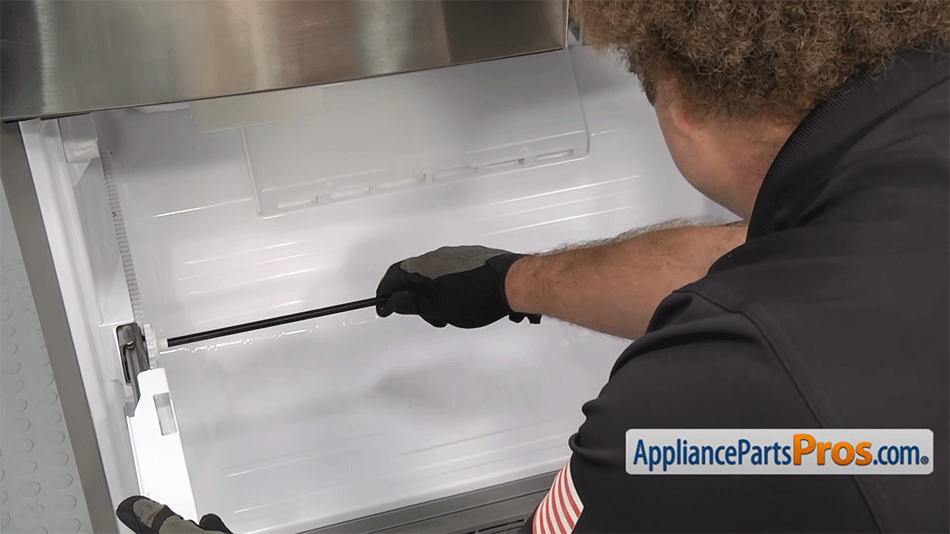
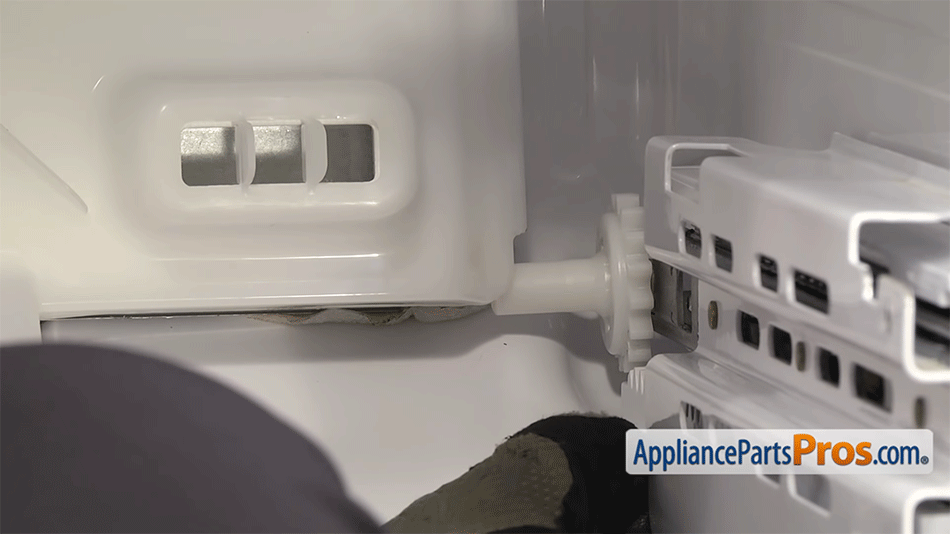
There should be a black bar connected to some gears back in the freezer cavity. This will need to be removed as well. To do that, grip it and push it to the right until you’re able to remove it from the left gear. This should free it up so you can set it aside.
With the connecting rod out, you can push the rails back into the freezer.
Step Five: Remove the ice maker
Time to take the ice maker out of the freezer. Here’s how you do that:
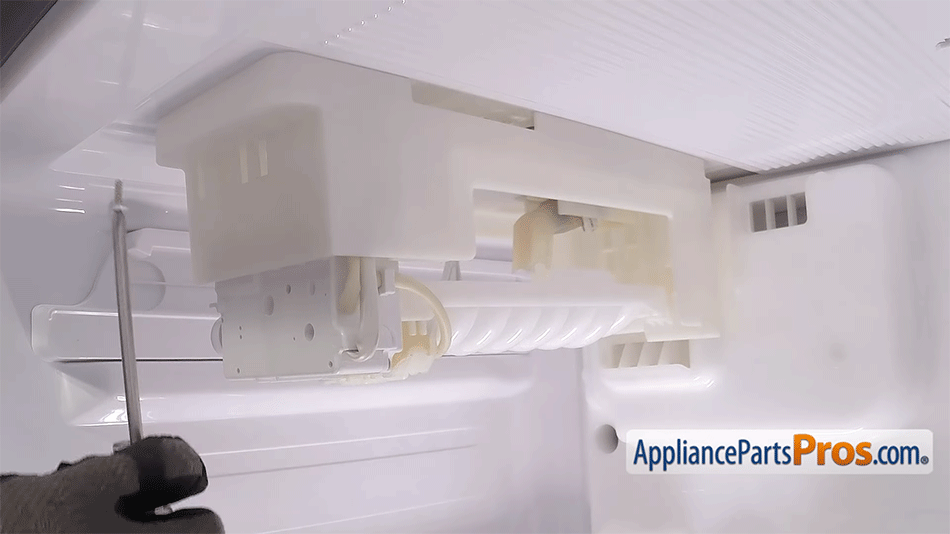
- Start by removing the plastic cover on the front of the ice maker. Simply grip and pull to remove it.
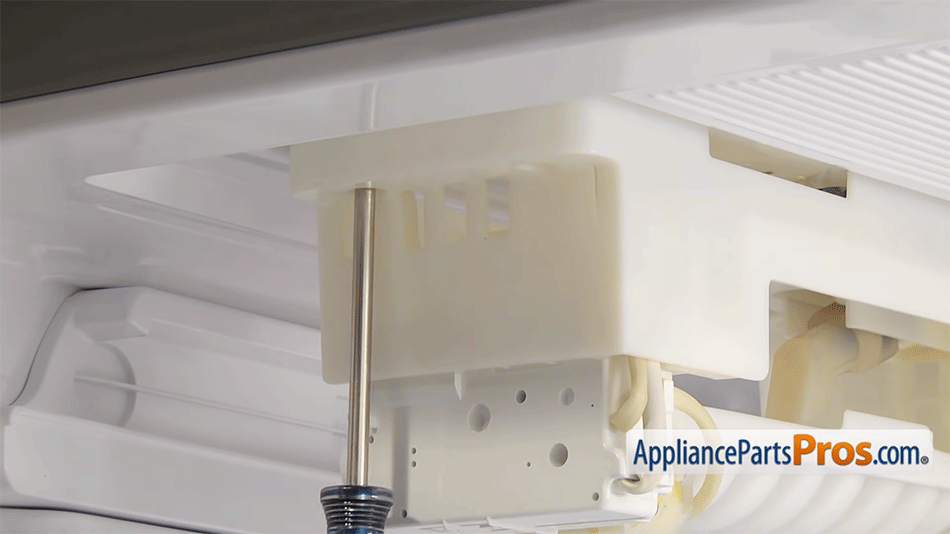
- Using your Phillips screwdriver, remove the two screws along the top that hold the ice maker assembly in place.
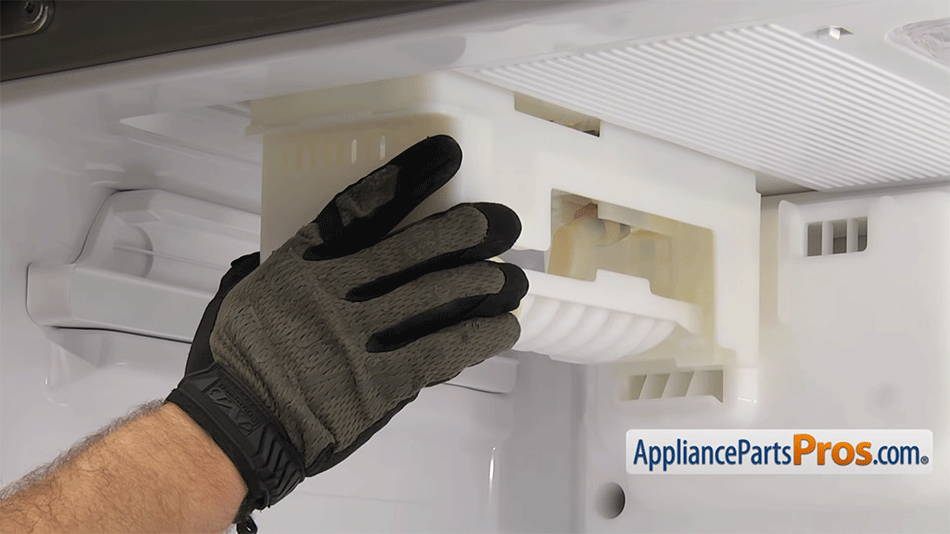
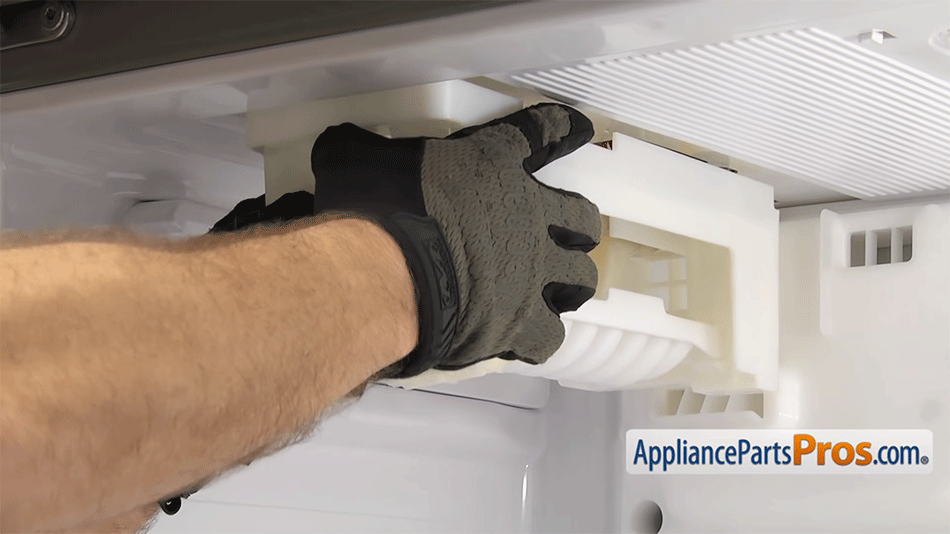
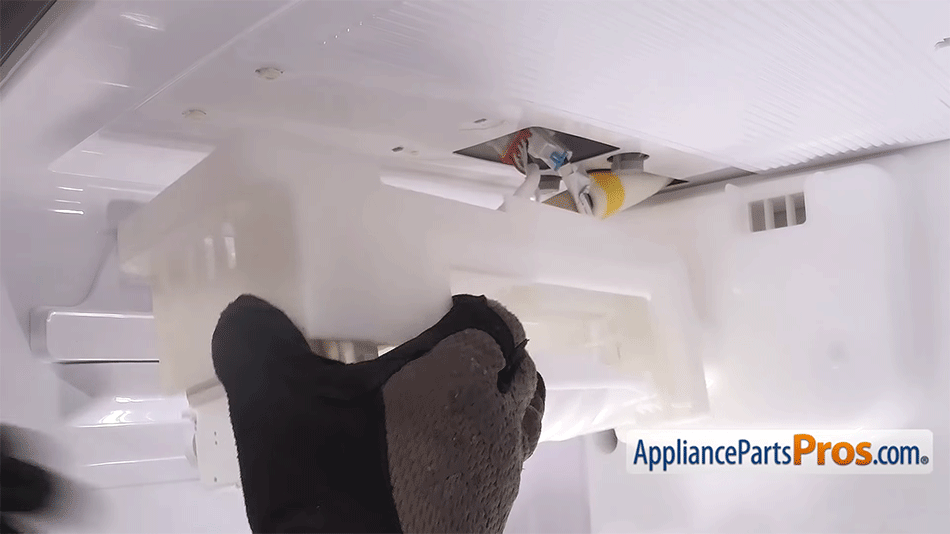
- With the screws out, reach in and pull forward on the ice maker. It will click as it releases from its mounting tabs. Don’t pull it out of the refrigerator! Just drop it down slightly for now.
- Carefully disconnect the wire harness still securing the ice maker in place. If you’re having difficulty disconnecting it, use a flathead screwdriver to press down the locking tab that is securing it.
With the wire harness disconnected, you can remove the ice maker and set it aside.
Step Six: Remove the back panel
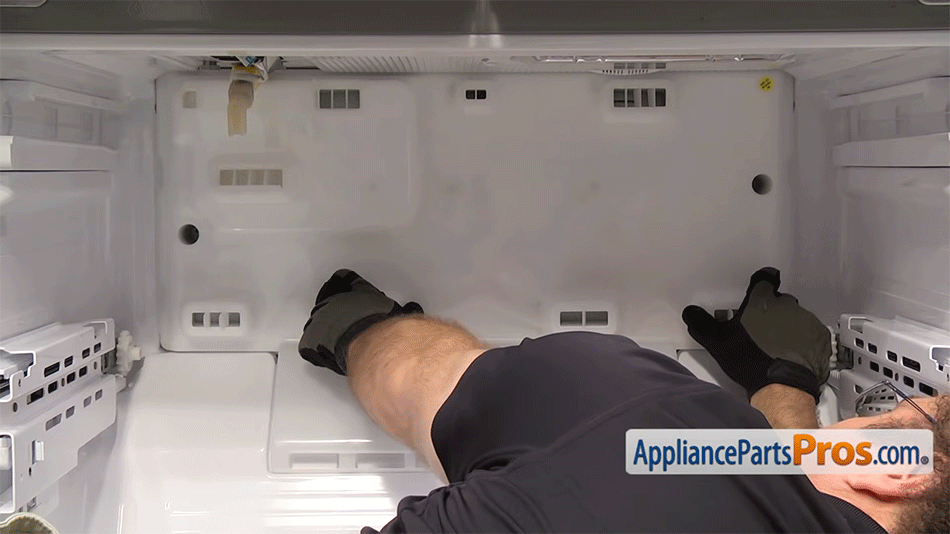
The back panel is held in place by two Phillips screws. Remove those, and you should be able to pop the back panel off. Start by freeing up the bottom, then tilt back to dislodge the top. Drop it down a little, but do not yank it away from the freezer wall, because it should be connected to the refrigerator by three wire harnesses.
Carefully unplug those and then remove the back panel and set it aside.
Step Seven: Remove the cover from the large wire harness block
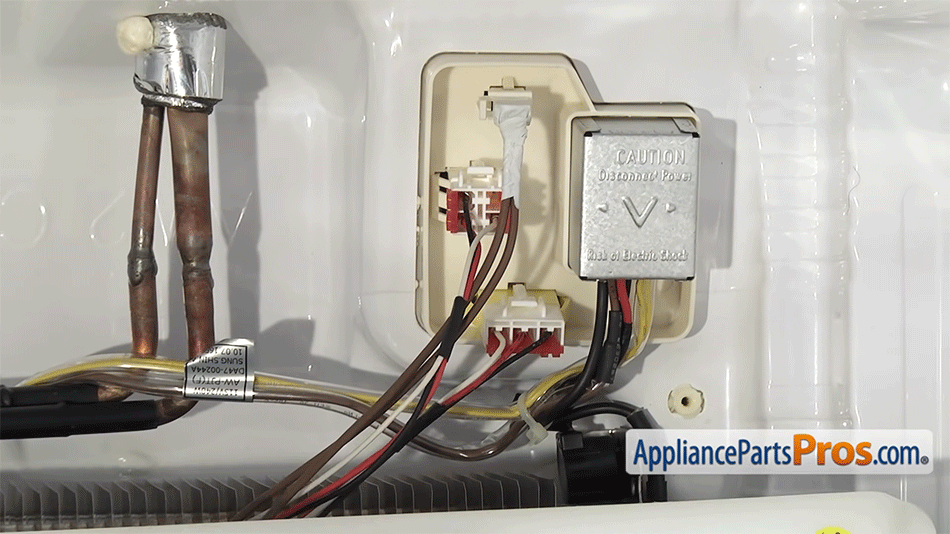
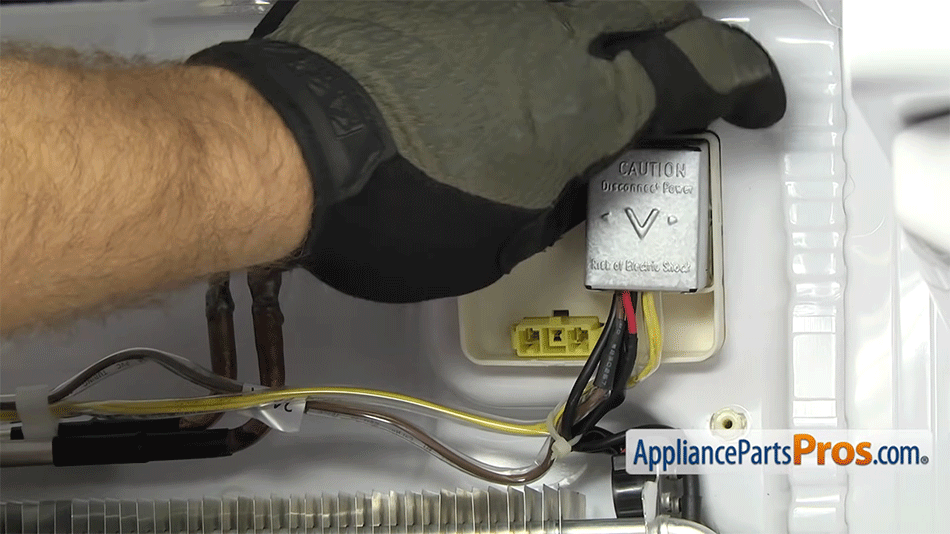
There should be a metal cover near the plugs you just disconnected. Remove that by squeezing it to release the tabs holding it in place.
Step Eight: Remove the old temperature sensor
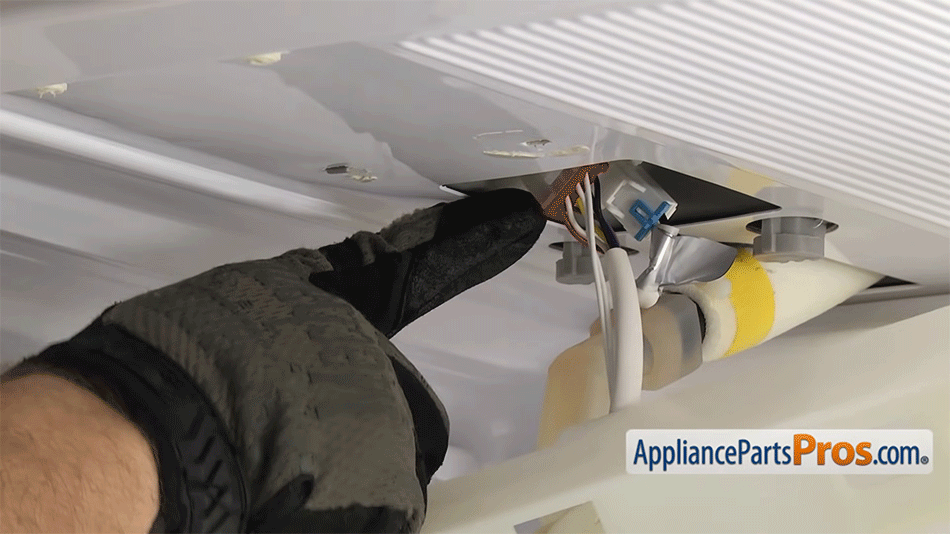
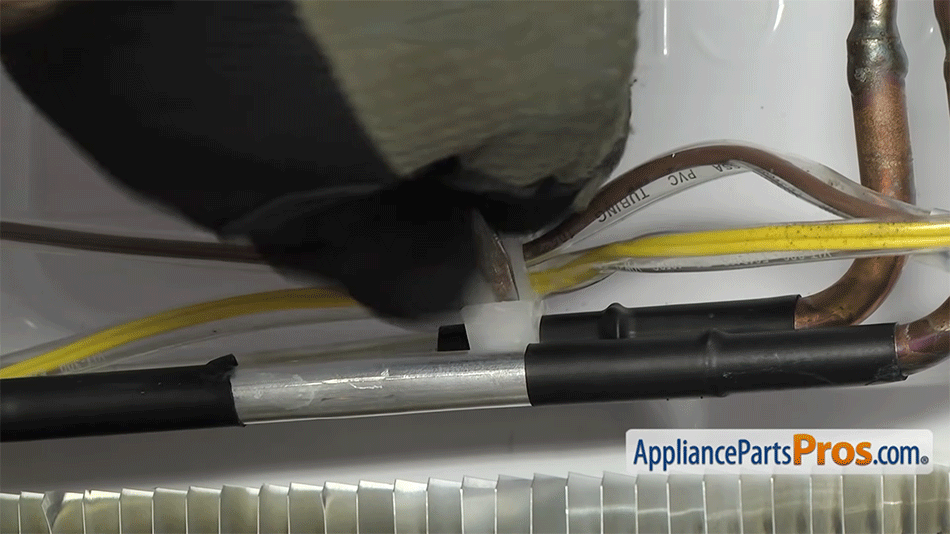
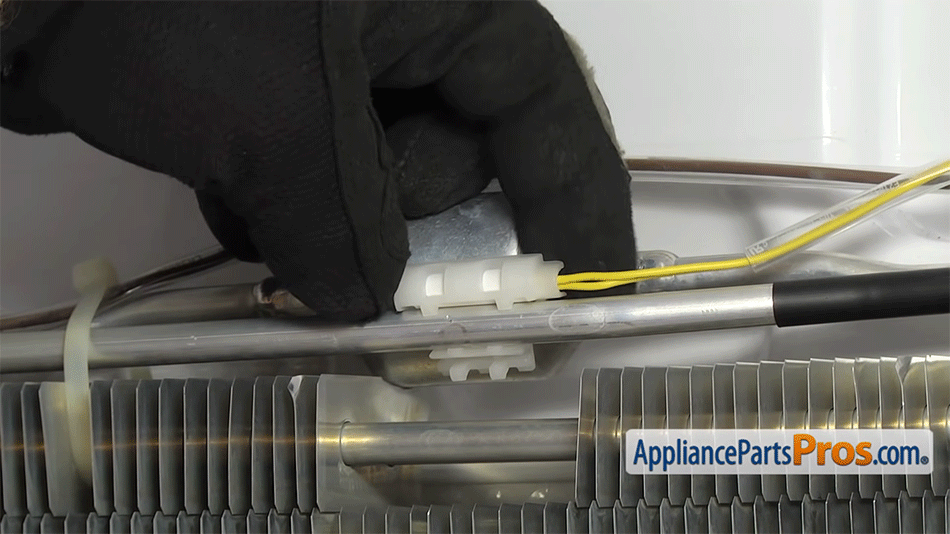
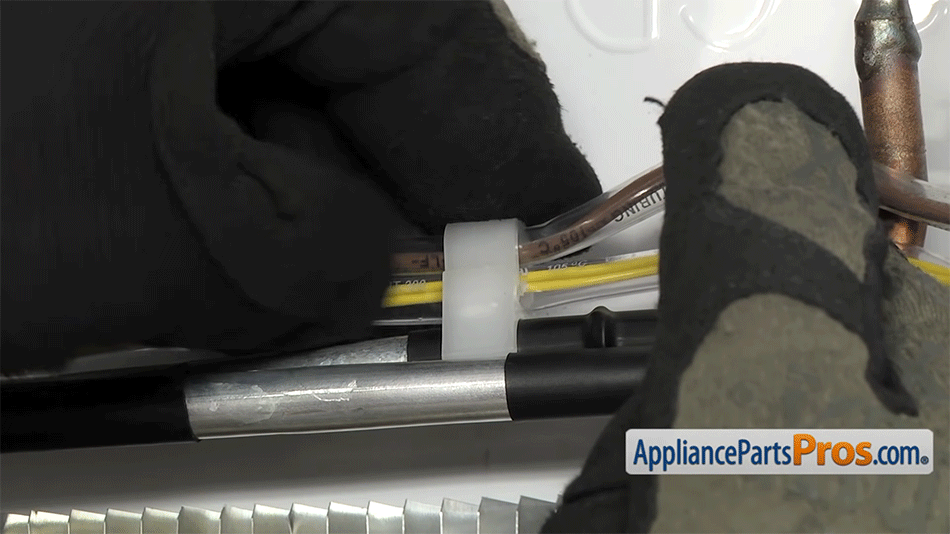
Start by releasing the white plastic clip holding the wires in place on the copper tubing. You can use a flathead screwdriver to do this. Next, clip the zip ties holding the sensor’s wire in place. There should be two, one on either end of the wire.
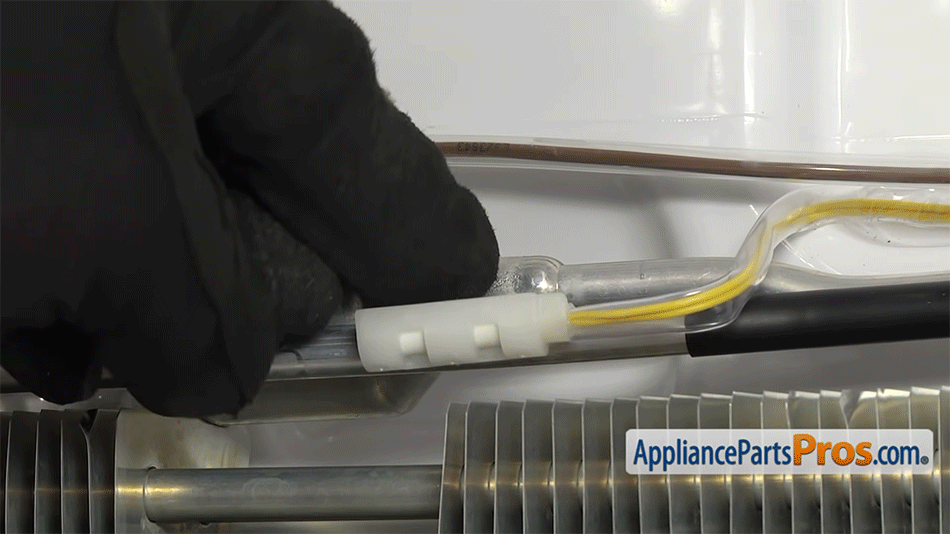
With the zip ties off, carefully remove the plastic bracket holding the temperature sensor probe in place. Slide it to the right, then pop it off and remove the temperature sensor from it. Set the plastic bracket aside for now.
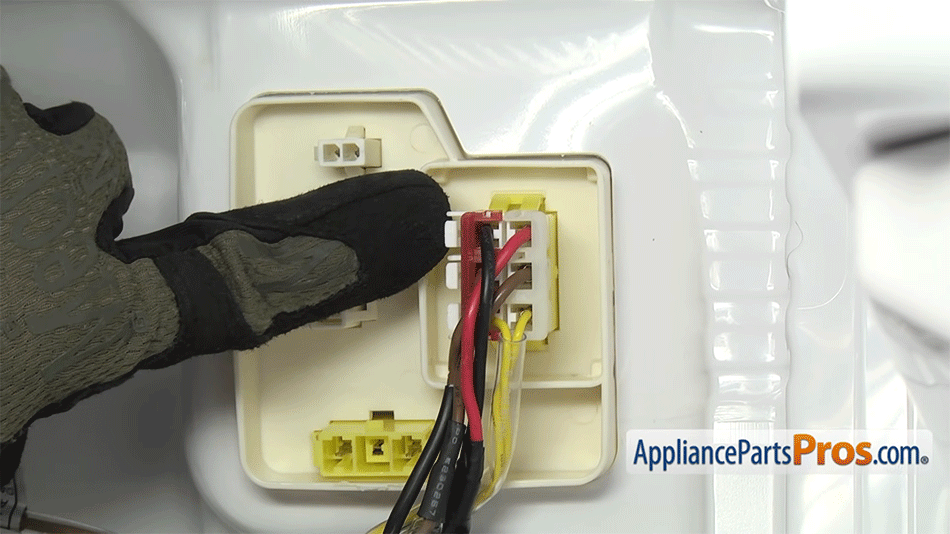
Now, disconnect the large wire harness block from the back wall of the freezer. It’s held in place by a few locking tabs that you can depress by hand.
Step Nine: Partially disassemble the wire harness block
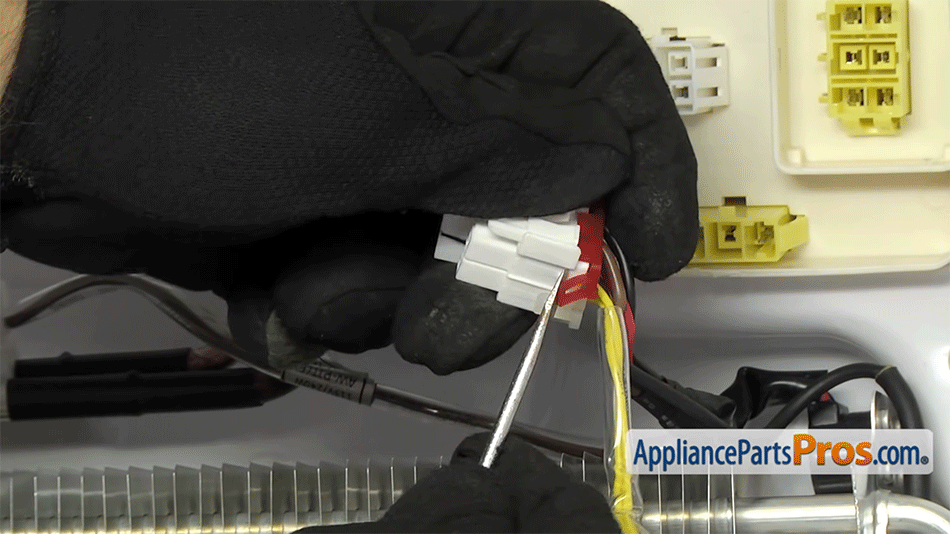
You need to get just the plug for the temperature sensor out of the harness block. To do this, lift up on the tabs holding it in place with a flathead screwdriver. That should let you slide the sensor probe’s plug out of the block.
Step Ten: Connect the new temperature sensor to the harness block
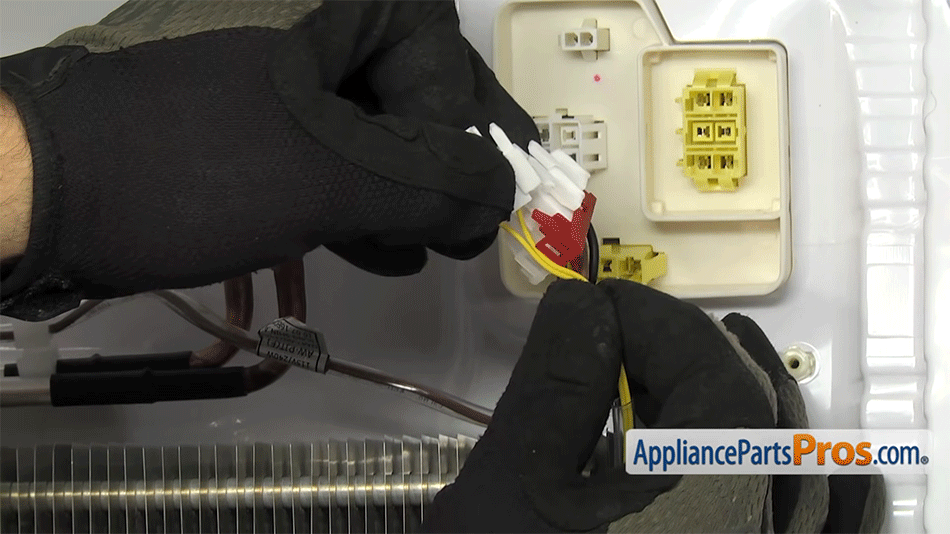
Grab the new temperature sensor. It’s time to install! Slide the wire between the red and white locking tabs, then pull the plastic harness part into place. It should snap.
Once in place, you can snap the harness block back into the plug at the back of the freezer.
Step Eleven: Route the new temperature sensor into place
Run the temperature sensor’s wire through the clip and resecure it, then snap the probe into the white plastic bracket.
Once the bulb is back in the bracket, carefully place the bracket back onto the line and slide it into place. With that done, you can install new zip ties. Be sure to cut off the excess plastic!
Step Twelve: Reassemble the back of the freezer
First, put the metal cover back on the wire harness block. Then, reinstall the back panel assembly. Here’s how you do that:
- First, plug all three wire harnesses from the back of the assembly into the back wall of the freezer.
Next, move the back panel into place. Seat the top first, then push it into place at the bottom. You may need to move the rails out of the way slightly to do this.
- Reinstall the two mounting screws.
Step Thirteen: Reinstall the ice maker
Here’s how you handle that:
- Plug the wire harness back in.
- Lift the ice maker assembly into place, making sure it’s properly mounted at the back before pressing it into place in the freezer compartment ceiling.
- Reinstall the front screws.
- Put the plastic cover for the front of the assembly back on.
Step Fourteen: Reinstall the door
Start by putting the connector bar back in place, mounting it on the right and then the left. Then, you can put the door back on. Line it up and push it into place, making sure the brackets are properly seated on the rails. When the door is steady, reinstall the four bolts you removed earlier.
Step Fifteen: Put the basket back in place
Open the refrigerator doors to give yourself more clearance. Lower the basket in on its side, front first, and gradually tip it back as you clear the freezer. The basket is held in place by locking tabs, so you’ll need to press down on it lightly to make sure it secures.
With the basket in, you can close the refrigerator doors again.
Step Sixteen: Reinstall the drawer
Make sure the slides are still all the way up before lowering the drawer back into place. The slides should sit on the glides on either side of the freezer compartment’s walls. Test and make sure that the drawer opens and closes easily before calling this part done!
Wrapping Up
That’s a wrap on the actual repair! Your next task is to restore power to your refrigerator and load it back up with all the food you removed. Keep an eye on it, but know that it generally takes 24 hours for a refrigerator’s temperature to stabilize. Don’t call the job done until it’s been a full day since you finished your repairs and plugged your fridge back in.
If you have any other questions beyond what was covered in this article, head on over to our website for help. We’ve got tips and tutorials from experts and other DIYers just like you. Our friendly staff is on hand to help answer any appliance repair questions you might have.
Hi! I’m Matt H., and I’m thrilled to be your guide through the world of appliance repair with over 25 years of invaluable experience in the industry.
From the early days of my career, I have been deeply passionate about appliances and their inner workings. Over the years, I’ve seen it all – from vintage models to the latest cutting-edge technology – and I’ve dedicated myself to mastering the art of repair. With a toolbox in one hand and a wealth of knowledge in the other, I’ve tackled every challenge that has come my way, learning and growing with each repair.
Join me as we dive into the intricacies of appliance repair. From step-by-step repair guides to explanations of common problems and their solutions, I’ll be here to simplify the repair process and empower you with the knowledge you need to keep your appliances running smoothly.
Feel free to explore our blog, ask questions, and leave comments – this platform is a space for learning, sharing, and growing together. Let’s work together to ensure that your appliances continue to serve you for years to come.
Thank you for joining me on this journey, and I look forward to being your go-to resource for all things related to appliance repair!

