How To Replace a Samsung Refrigerator Temperature Sensor
APP Expert / Friday January 20, 2023
Is your Samsung refrigerator struggling to keep your veggies crisp and your milk fresh? A faulty temperature sensor could be the culprit, disrupting your fridge’s cooling cycle and leaving you with spoiled food. Fortunately, this DIY guide, complete with an easy-to-follow how-to video just below, will walk you through replacing the sensor in under an hour, bringing your appliance back to peak performance.
The temperature sensor is part of your refrigerator’s defrost system, signaling to the rest of the appliance when the defrost cycle should start or stop. It’s a small component with a big job, and if it fails or malfunctions, it can seriously ruin your menu plans for the week. Luckily, replacing a faulty sensor is an easy job that you can do yourself in under an hour – so long as you’ve got AppliancePartsPros.com to walk you through it!
Keep reading for a thorough guide to replacing the temperature sensor in your Samsung refrigerator’s fresh food compartment.
Signs Your Refrigerator Temperature Sensor Has Failed
In the fresh food compartment, there are a few telltale signs that the temperature sensor has gone bad:
- The compartment’s temperature is way off. You may notice that it’s extremely cold – your leafy veggies are wilting or getting iced over where they shouldn’t – or a bit too warm. If the evaporator coils are icing over, this can actually prevent the fresh food compartment from cooling properly.
- Food doesn’t seem to last as long as it should. Is your milk turning before the expiration date? Maybe those leftovers aren’t stretching as long as they have in the past. This is a sign that your fridge is running warm or is fluctuating temperatures too much.
- The defrost cycle never seems to run or seems to be running nonstop.
If you still aren’t sure, you can test the temperature sensor itself with a multimeter. Follow the steps laid out in this tutorial to reach your fridge’s temperature sensor for testing.
Finding The Right Replacement Part
When it comes to fixing a faulty component in Samsung refrigerators, you’re going to need that genuine OEM replacement part, but which one is the one you need?
That question can be quickly answered with your refrigerator’s model number. You’ll want the full number, not the partial one found in the manual. To get that, look at the appliance. You’ll find a sticker with that information in one of these locations:
- On the exterior door or sides of the appliance
- Inside the door or on the door frame
- On the interior ceiling of the freezer or refrigerator compartment
- On the inside wall of either compartment
- On the fridge floor, beneath the crisper drawers
- Behind the kickplate at the bottom of the appliance
Once you’ve got that model number in hand, type it into the search bar on our website to get a full list of compatible parts. You can also browse our Samsung refrigerator temperature sensors directly, if that’s your preference. Either way, order through AppliancePartsPros.com and you’ll have your replacement temperature sensor in as little as two days!
How To Replace The Fresh Food Compartment Temperature Sensor In A Samsung Refrigerator
In this tutorial, we are outlining the steps for replacing a faulty fresh food compartment temperature sensor in a Samsung French door refrigerator. Because it was written with Samsung refrigerators in mind, this outline may not work for other brands of refrigerator, like those in the Whirlpool family of brands. If you’re looking for instructions to replace the temperature sensor in another make or model of refrigerator, check out our YouTube channel. We’ve got tons of refrigerator repair guides!
Tools for the Job
Here’s what you’ll need to complete this job:
- A compatible replacement temperature sensor (for us, that was Part No. DA32-00006S)
- A small flathead screwdriver
- A Phillips screwdriver
- Wire cutters
- Zip tie
- Coolers or another temperature controlled container for food
- Work gloves
Before You Begin…
To complete this job, you’ll need access to the back of your refrigerator’s fresh food compartment, and you’ll be working with the wiring, so there’s some prep work to do.
- First, completely clear out your refrigerator’s fresh food compartment. This includes the veggie bins, and, for a somewhat easier time, the doors, as well.
- Move items that could potentially spoil to coolers with ice or to the freezer compartment.
- Disconnect your refrigerator from power, either at the wall outlet or by flipping the circuit breaker. This is crucial! Do not perform maintenance on an appliance that is still receiving power.
Replacing A Samsung Fridge Temperature Sensor
Set aside at least 25 minutes to complete this job. More time may be necessary if your fridge is packed with food. If you’re an experienced DIYer, replacing this part may take a bit less time, but better to err on the safe side.
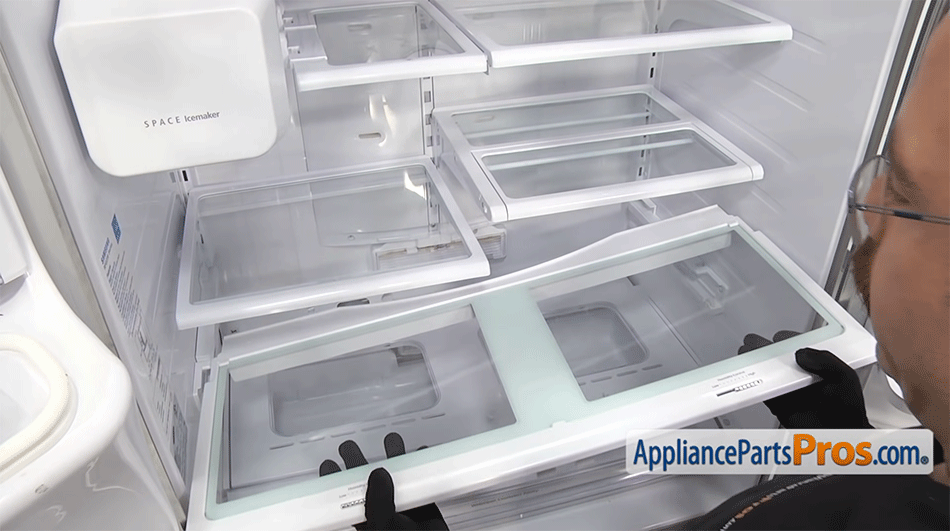
Step One: Remove all shelves and drawers
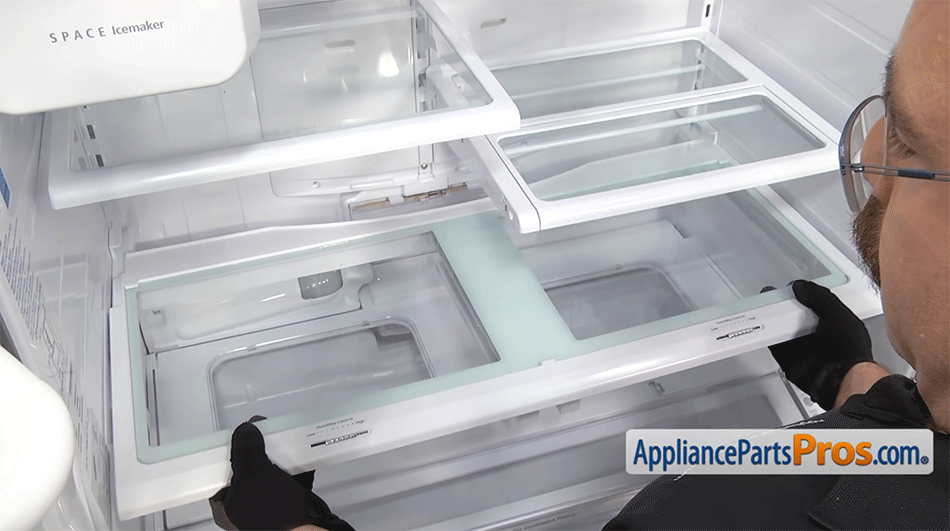
We’re starting off assuming you’ve already cleared out your refrigerator’s fresh food compartment. So, your first step is to get those shelves, drawers, and supports out of the way.
- For the drawers, pull them out until they stop and then lift up slightly to dislodge them from their brackets.
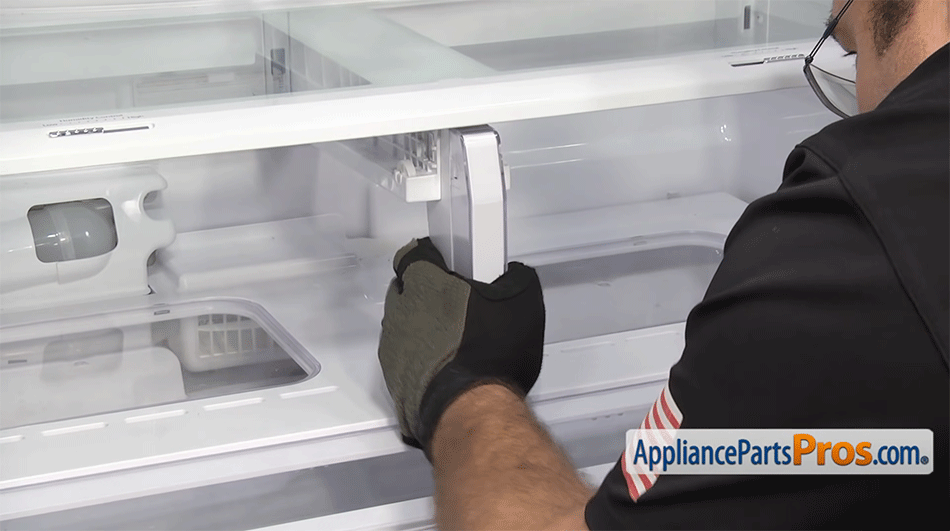
- Remove the center divider between the drawers, next. It’s held in place by locking tabs on either side.
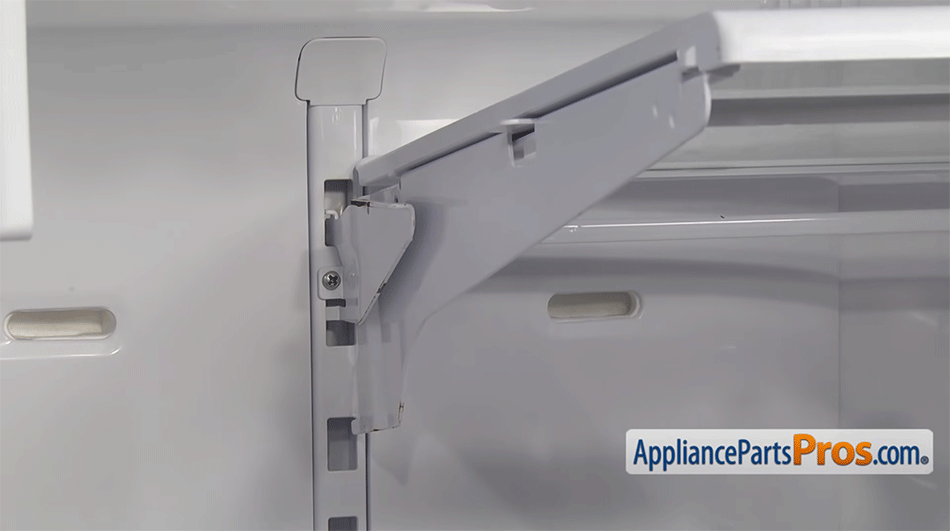
- All the shelves can be removed by lifting up on the front and carefully sliding them out.
- The ice maker stays in place. Just push the shelf attached to it up and lean it against the ice maker for now.
Step Two: Remove the screws holding the back panel in place
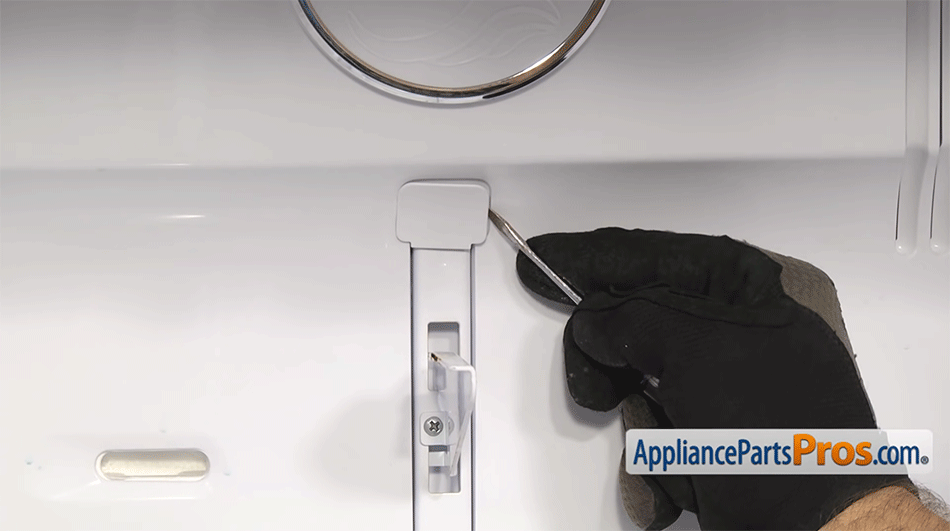
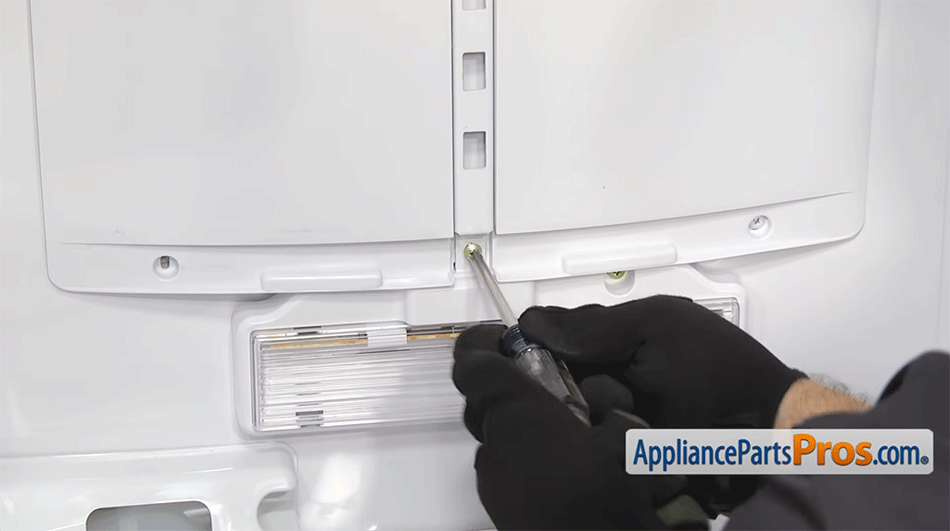
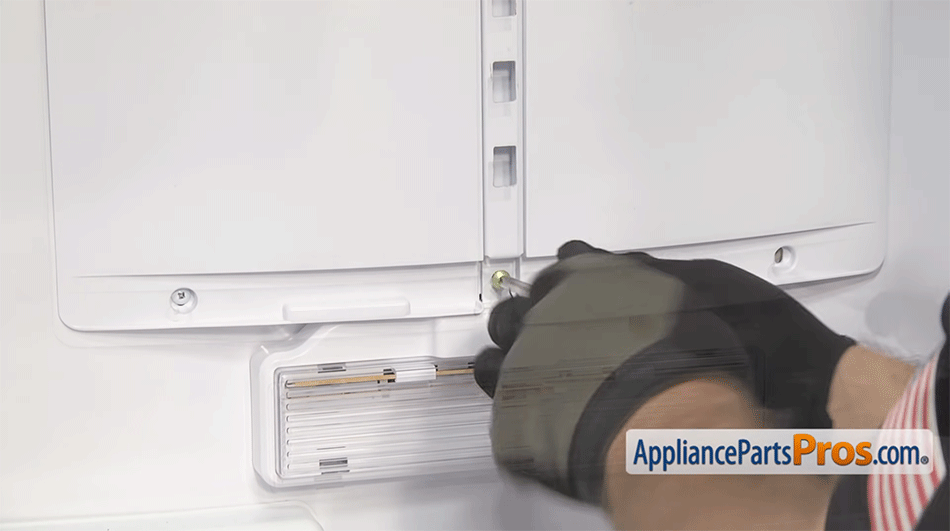
The back panel is held in place by four screws, the first of which is hidden behind a small cover near the top of that panel. You’ll need to use a flathead screwdriver to pry the cover off to reach that first screw.
Once the cover is off, you can remove all four screws – three on the bottom and the one near the top – with a Phillips screwdriver.
Step Three: Remove the back panel
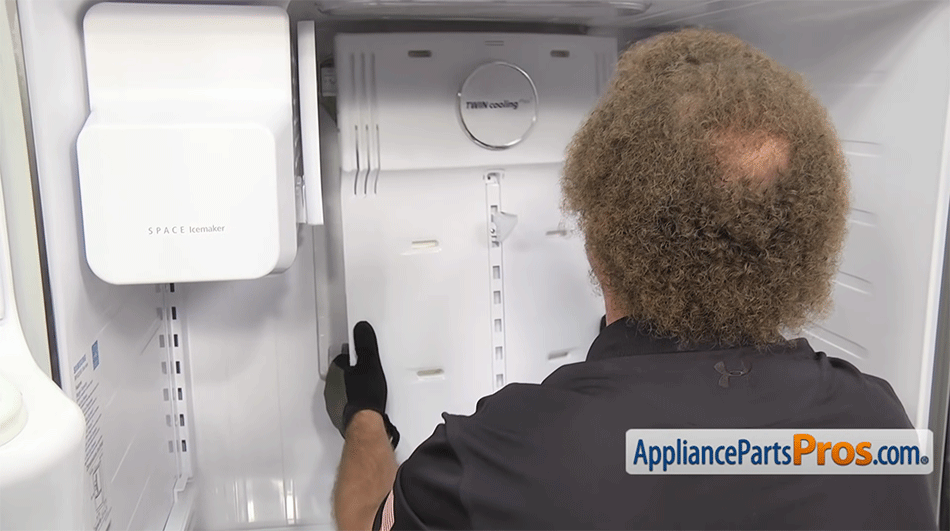
Starting from the bottom, dislodge the back panel from the back wall of the refrigerator, carefully working your way up. It will be held in place by some wires at the top, so don’t yank it away.
The wires are connected to the refrigerator proper by a couple of locking wire harnesses. You can disconnect those by hand by pressing on the tab. Once both are disconnected, you’ll be able to remove that back panel assembly. Set it aside.
Step Four: Free up the old temperature sensor
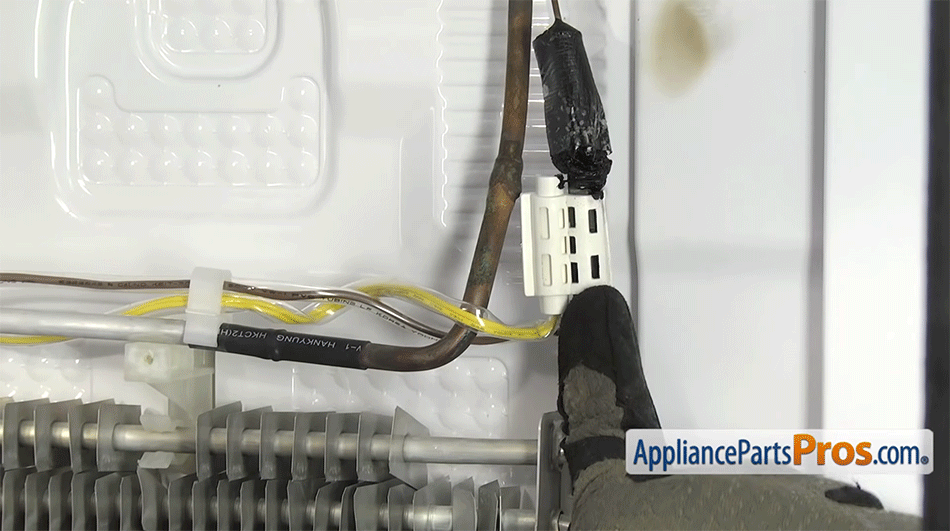
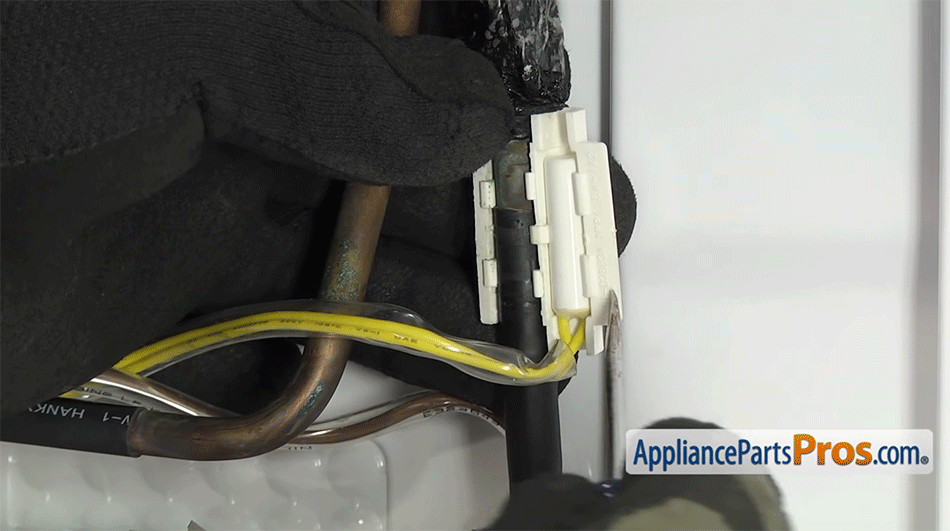
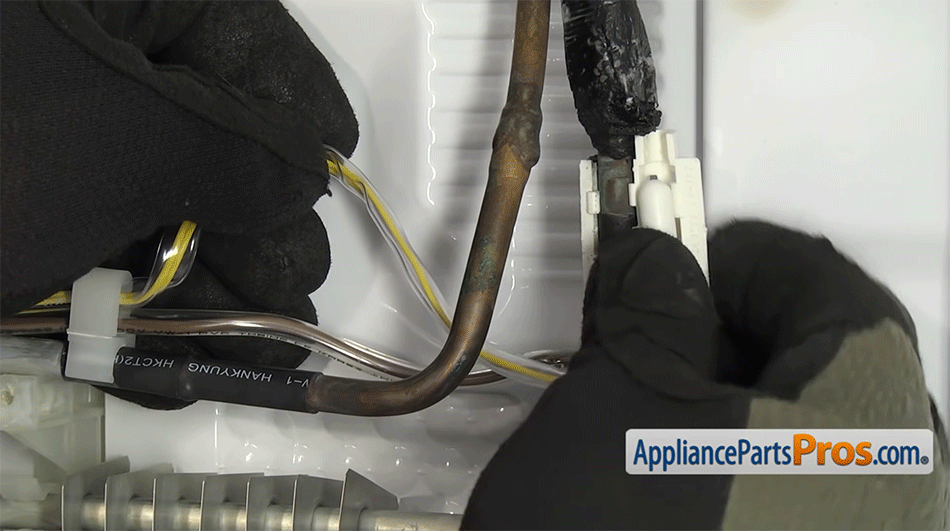
The old temperature sensor is mounted in a plastic bracket just above the evaporator coils. To get the old sensor out, carefully turn the bracket so that you can see where the sensor probe is snapped in, then use a flathead screwdriver to pop it out. Be mindful of the copper pipes around the sensor when doing this – damaging those in any way will turn a quick, easy repair into an expensive and potentially dangerous one.
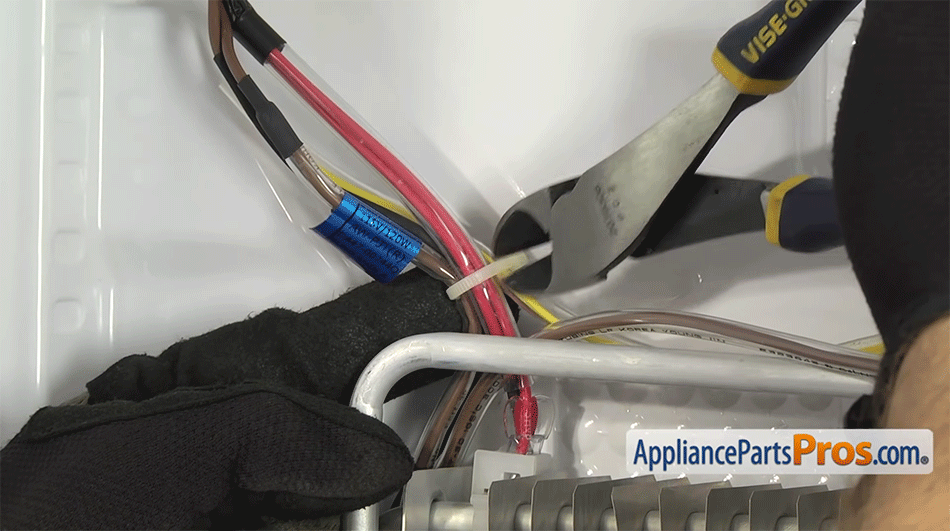
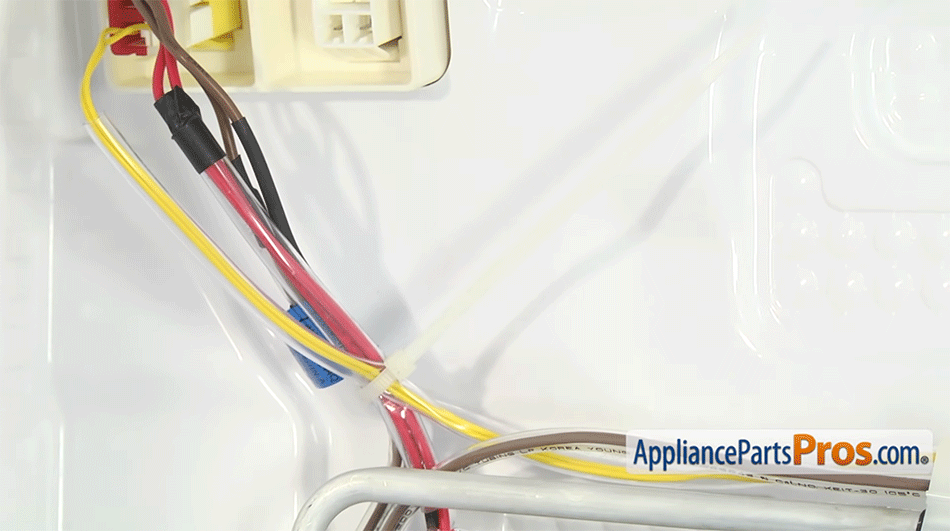
Once the sensor is popped out, follow the wire and unclip any clips holding it in place. You may need to use your wire cutters to snip one or more zip ties bundling wires together, also.
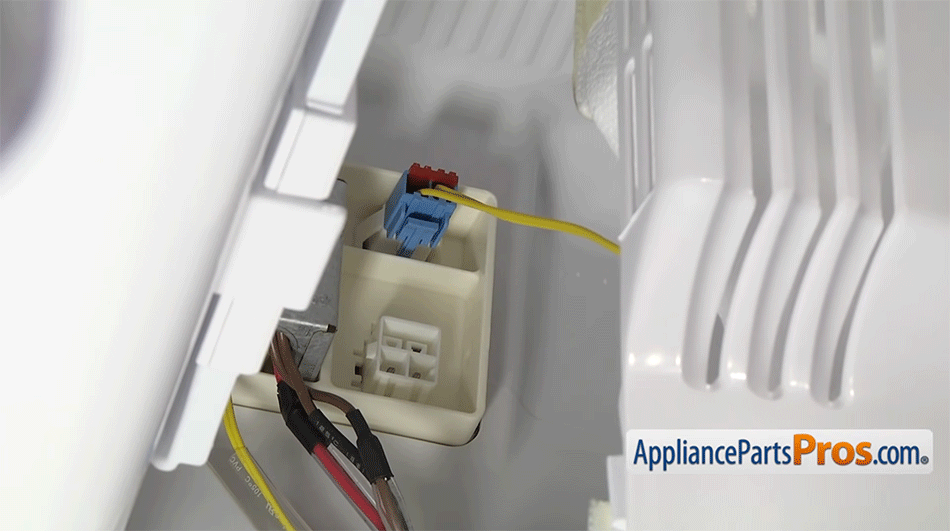
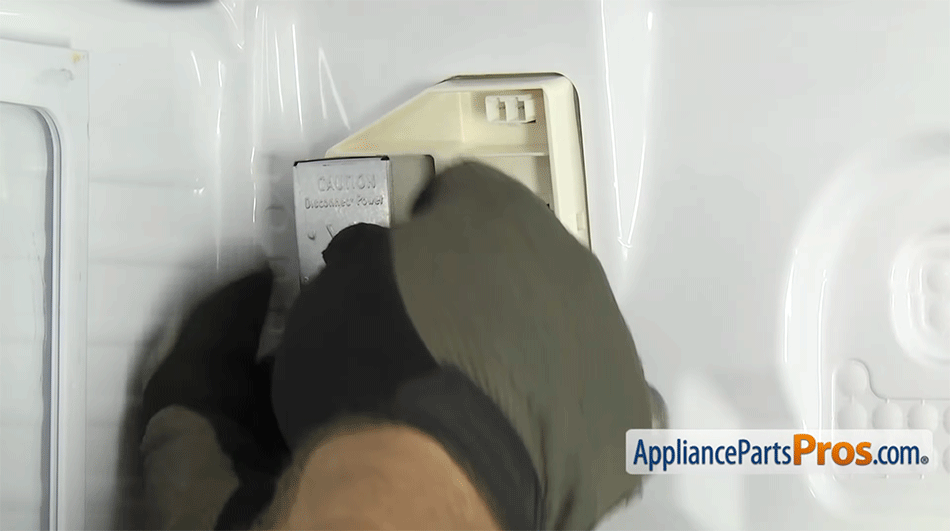
Continue following the wire up to its harness. This will likely be beneath a metal cover, which you can remove by hand. The harness block itself is held in place by another locking tab. Press that to disconnect it.
Step Five: Disassemble the wire harness block
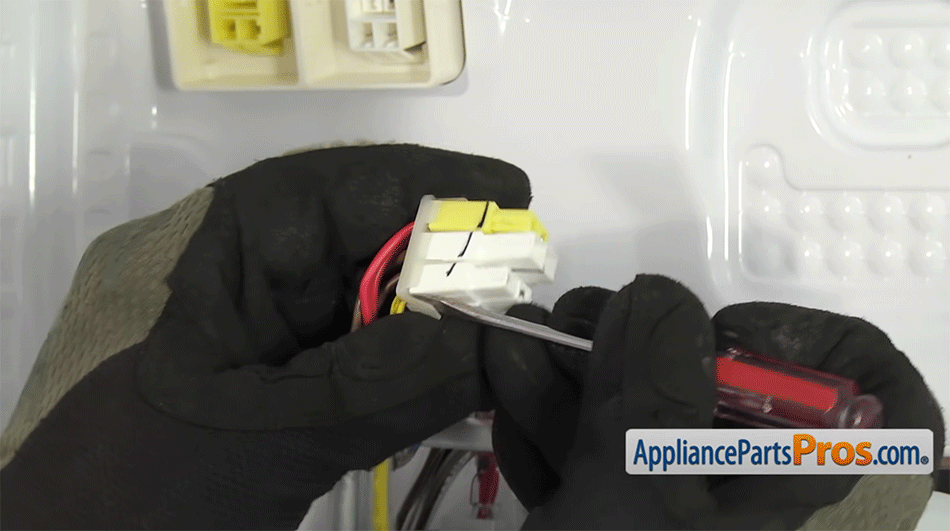
To completely remove the old temperature sensor, the wire harness block you’ve just removed will need to be partially disassembled. Use your flathead screwdriver to pop the tabs holding it together off. You need only remove the temperature sensor’s harness. All the others can be left in place.
Step Six: Connect the new temperature sensor’s wire harness
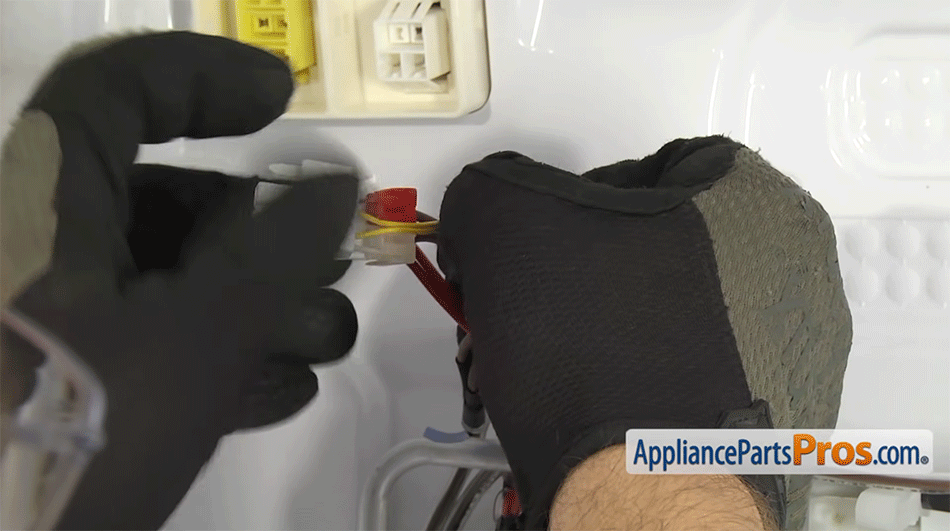
Time to snap the new temperature sensor’s wire harness to the harness block. To do this, slide the wire between the red and white locking tabs, then pull the plastic harness part into place. It should snap in.
Once you’ve done this, you can plug the harness block back in.
Step Seven: Route the new sensor’s wire into place
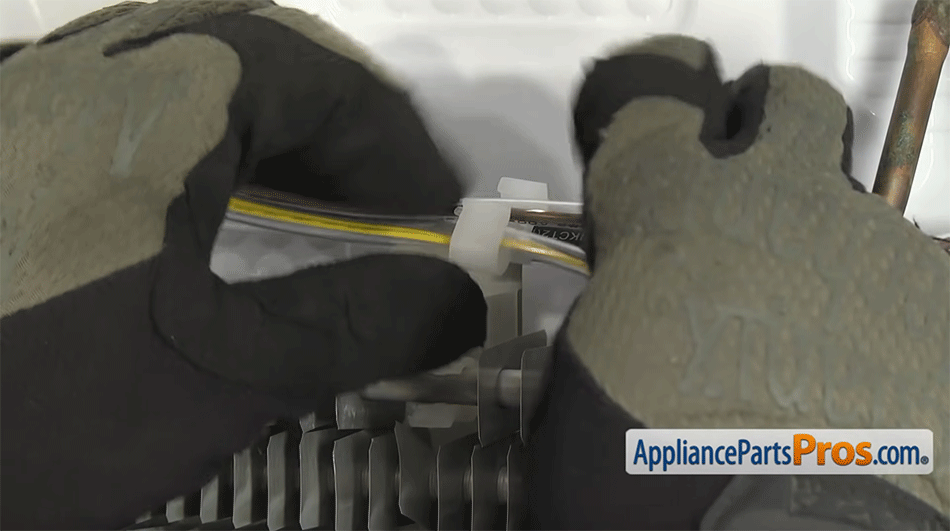
Feed the sensor wire through the plastic clip that was holding the old one in place, making sure to close the clip and turn it back into the up position. Next, run the temperature sensor probe behind that copper tube, then snap it into place in its holding bracket. Once it’s secure, you can turn the bracket back over to the position it was in when you started working.
Once it’s snapped into place, adjust it so that it’s not too slack on either end and remove any loops or serious kinks in the wire. When well positioned, you can secure the wires together again with a new zip tie. Be sure to cut off the excess with your wire cutters.
Step Eight: Reinstall the wire harness block cover
That metal cover should just snap into place. You can press it in by hand.
Step Nine: Reinstall the back panel
Lift the back panel up and into place. Before pushing it completely flush with the back wall, be sure to reconnect the two wire harnesses near the top of the assembly.
Once set in place, you can reinstall the four screws that secure it, starting with the three bottom screws. Don’t forget to snap the cover back into place once you’ve installed the fourth screw.
Step Ten: Reinstall the shelving
The upper shelves are reinstalled in basically the same way. Set them in back first, making sure that they’re hooked in place before lowering them down into place. Once the upper shelves are in, you can flip the ice maker shelf back down, as well.
For the crisper cover shelf, you may need to slide it into the fridge at a slight angle. Set it down on the rails, holding up a bit at the front, then slide it back. The shelf should slip under the rails and click into place. Once this is done, you can snap the shelf support into place by hand.
Finally, reinstall the drawers. The wider drawer goes on the left. You may have to install them at a slight angle, with the front tilted up.
Wrapping Up
By following our tutorial, you should have successfully replaced the temperature sensor in the fresh food compartment of your Samsung refrigerator. To wrap this job up, plug your refrigerator back in, load it back up with food. It can take a refrigerator up to 24 hours to reach a stable temperature, so don’t call it until it’s been a full day since you finished your repairs.
If you have any other questions not answered by this article, head on over to our website for help. We’ve got tips and tutorials from experts and other DIYers just like you. Our friendly staff is on hand to help answer any appliance repair questions you might have.
Hi! I’m Matt H., and I’m thrilled to be your guide through the world of appliance repair with over 25 years of invaluable experience in the industry.
From the early days of my career, I have been deeply passionate about appliances and their inner workings. Over the years, I’ve seen it all – from vintage models to the latest cutting-edge technology – and I’ve dedicated myself to mastering the art of repair. With a toolbox in one hand and a wealth of knowledge in the other, I’ve tackled every challenge that has come my way, learning and growing with each repair.
Join me as we dive into the intricacies of appliance repair. From step-by-step repair guides to explanations of common problems and their solutions, I’ll be here to simplify the repair process and empower you with the knowledge you need to keep your appliances running smoothly.
Feel free to explore our blog, ask questions, and leave comments – this platform is a space for learning, sharing, and growing together. Let’s work together to ensure that your appliances continue to serve you for years to come.
Thank you for joining me on this journey, and I look forward to being your go-to resource for all things related to appliance repair!


