How To Replace A Washer Filter Plug (With Video!)
APP Expert / Wednesday January 19, 2022
Are your clothes coming out of the wash covered in lint? Before you blame your dryer, the real culprit may be an overlooked filter plug in your top-loading washing machine. Don’t worry—swapping out those worn-out plugs is a breeze, and our step-by-step guide below includes a helpful video to make sure you get it right the first time.
Need a replacement washer filter plug? Search below using your specific washing machine model number to identify the exact part needed:
Is there a lot of lint on your laundry? Your first instinct is probably to check the dryer, but the problem could actually be starting even earlier. Older washing machines that aren’t high efficiency filter out lint and debris in the tub itself, and if the parts that do that are wearing out they’ll leave a whole lot of that lint on your clothes at the end of the wash. Luckily, if this is your trouble, it isn’t a tough problem to fix. The lint filter plugs you find on top-load washers are affordable parts, easy to access and replace. With our how-to guide, switching out a set of worn out plugs with new ones should only take you a few minutes.
What Is A Washer Filter Plug?
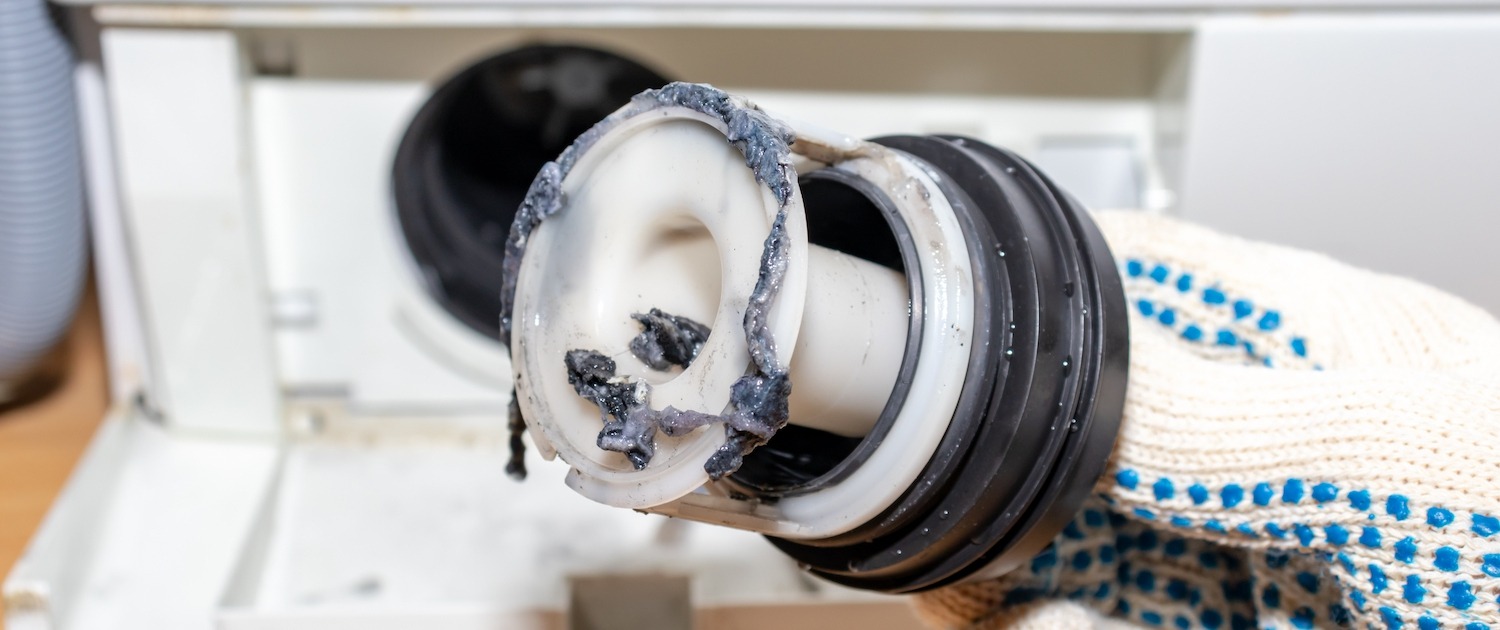
In this article we’re dealing specifically with the filter plugs for a top-loading washer. These small, toothed plastic rings sit in the bottom of your washer’s spin basket. They catch and trap lint and other debris during a wash cycle. Because these parts are made of plastic, they can break within the standard lifespan of your appliance. The prongs that catch the lint are especially prone to wearing down with regular use. If your laundry is coming out of the wash covered in lint or looking less clean than it should, it’s probably that your filter plugs need to be replaced. In some extreme cases, a faulty filter plug can make your washer drain less efficiently, too. To prolong the lives of your washer filter plugs, make sure you check laundry before you load it. Remove things like coins, lip balm, gum, and anything else that could potentially damage the teeth on the plugs. You can also help the filters out by cleaning the inside of your tub regularly.
Finding The Right Replacement Part
To find compatible OEM parts, you’ll need to start with your washer’s model number. If you don’t have your appliance’s manual, you can find that information on the machine itself. Check behind the washer door, either along the wall of the front panel or on the door itself, for a sticker that lists this information. You may also find the washer’s model number behind the kickplate or front access panel. Once you have that model number, type it into our search bar below to find compatible OEM parts quickly! You’ll get what you need in just a few days. Filter plugs are generally sold in packs of four, but depending on the model of your washer, you may only need two. Since you’re getting a four pack, even if one of your current filter plugs looks to be in good shape, you should replace them all in one go. This ensures all parts have an even amount of wear. These plugs should fit fairly easily into the larger holes at the bottom of your washer tub, so if you feel like you need to force two of them into place, it’s not that you’ve got the wrong part–they probably just don’t actually go there! We’ll go into this in more detail in the step-by-step guide below.
Older models of top-load washer may have a larger lint trap filter found beneath the agitator. These circular plastic rings can replace this old style of filter – just toss the old one and follow our guide’s steps to install the new rings. High-efficiency (HE) washers, on the other hand, do not use lint traps like this, so if you have a high-efficiency washer, top- or front-loading, and you’re having issues, you’ll want to check the appliance’s self-cleaning pump filter.
How To Replace A Washer FIlter Plug
We completed this tutorial on a Whirlpool washer, but if your appliance is a different brand, the steps outlined should still work for you! This how-to guide is specifically for top-loading washers, though, and if your machine is high efficiency, it likely does not use this part. If something in the text isn’t clear, don’t forget to check out our video guide above for a detailed look at exactly how this job is done!
Tools for the Job
To complete this job, you’ll need just a few tools:
- Flathead & Phillips screwdrivers
- 7/16″ socket with ratchet and 10″ extension
- Work gloves
Replacing A Top Load Washer Filter Plug
- Before starting the repair:
- Make sure that the appliance is completely disconnected from power either at the wall outlet or circuit breaker. Never complete maintenance or repairs on an appliance that is still receiving power. You shouldn’t need to disconnect the water supply for this job unless you’re also working on other parts of the appliance.
- You’re going to be working mostly in the washer’s tub for this one, so if for some reason there is still water in the appliance, you will want to drain it before you begin.
- Open the washer’s lid to access the tub and remove the fabric softener dispenser from the agitator. That’s the cap on top of your agitator. You may be able to pull this off by hand, but on some washers, this cup is secured by a lock ring. Pull up on the lock ring to disengage it, and then you’ll be able to remove the dispenser.
- If there is a cap beneath the fabric softener dispenser, pry it off with a flat head screwdriver. Your washer may not have one, though.
- Remove the dust cap from inside the agitator and check it for signs of damage. This is a flat plastic component that protects the agitator from water and fabric softener. Most washers should have one. If your washer is missing its dust cap, or if the one in your washer is damaged (be sure to check the seal, too), you should replace it.
- Loosen the agitator bolt. You will need a 7/16” socket with a ratchet and a long (10”) extension to reach it. While you’re first loosening the bolt, reach down into the tub and steady the lower agitator with one hand. This will make it easier to get the bolt free.
- Once you can tell that the bolt is free of its threads, lift the entire agitator out of the washer. The bolt can stay in the agitator for now.
- Use a flathead screwdriver to pry the old filter plugs out. Once they’ve been removed, clear the area of any debris. Just wiping it down with an old towel should be fine.
- Install each filter plug. These can be pressed into place by hand. If you’re meeting a lot of resistance, check the other available holes. It’s likely that you only need to install two plugs, but if none of them fit, you may not have the correct size. Each plug will have a tab on the outside of the ring. Make sure that that tab points toward the center of the tub where the transmission is.
- Take the bolt out of the agitator and lower the agitator back into the washer. Make sure it’s sitting properly.
- Grab the agitator bolt and your ratchet with the extender and socket still attached. Hold the bolt onto the socket with one finger and guide the bolt back into its spot in the agitator. Once it’s in, you can tighten it down. You may need to steady the lower agitator again to get it sufficiently tightened.
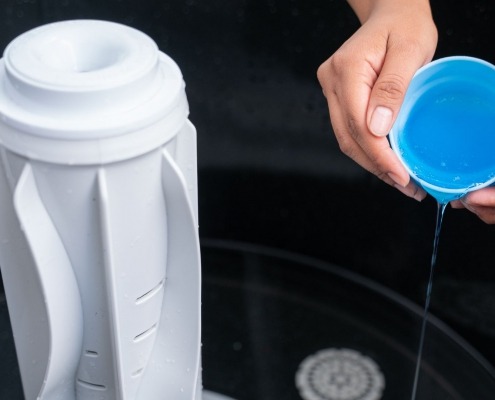
- Next up, reinstall the dust cap. Before you slide it into place, put a very small amount of liquid detergent around the seal of the cap. This will make reinstallation a little easier, and will keep the seal from folding or flipping up.
- Reinstall any remaining caps or fabric dispenser parts. It should be as easy as snapping these components back into place!
- Alright! Now that you’ve installed those new filter plugs, it’s time for a test run or two.Plug your washer back in (and turn the water supply back on if you had it turned off) and start with an empty cycle – no laundry! You’ll want to check for leaks, excessive debris in the water, or a failure to drain at the end of the cycle. If everything checks out, you can get back to laundry day. Your clothes should come out a lot less linty with those new plugs in place.You’re all done! If you feel like you need a bit more guidance on this particular job, don’t forget to check out our how-to video guide!
Wrapping Up
With the right replacement parts and just a few minutes, you’ll rescue your laundry from linty build up and save yourself an unnecessary repair bill. If you’re surprised by how easy that job was and impressed with the results, why not check out our other tips, tutorials, and how-to guides? Visit AppliancePartsPros.com to get expert advice and genuine OEM replacement parts you can rely on. Our friendly staff is happy to help you fix your appliance yourself!
If you need any replacement parts for your appliances, you can enter your model number at AppliancePartsPros.com to locate and order them quickly. Most orders arrive in just two business days, and we have tons of great information in our repair help section and YouTube videos to help you troubleshoot.
Stay connected with the latest DIY tips, tutorial videos, and repair guides by following us on Facebook, Instagram, and Twitter. We love hearing about your repair stories and successes. If you need more help or want personalized guidance, feel free to contact or call us at 877-477-7278. We’re ready to help you take on your next project with confidence!
Since 1999, AppliancePartsPros.com has helped millions of people repair their broken appliances by providing high-quality original parts at well below retail prices, free support and troubleshooting, and award-winning customer service from an expert, friendly, US-based customer support team!
Hi! I’m Matt H., and I’m thrilled to be your guide through the world of appliance repair with over 25 years of invaluable experience in the industry.
From the early days of my career, I have been deeply passionate about appliances and their inner workings. Over the years, I’ve seen it all – from vintage models to the latest cutting-edge technology – and I’ve dedicated myself to mastering the art of repair. With a toolbox in one hand and a wealth of knowledge in the other, I’ve tackled every challenge that has come my way, learning and growing with each repair.
Join me as we dive into the intricacies of appliance repair. From step-by-step repair guides to explanations of common problems and their solutions, I’ll be here to simplify the repair process and empower you with the knowledge you need to keep your appliances running smoothly.
Feel free to explore our blog, ask questions, and leave comments – this platform is a space for learning, sharing, and growing together. Let’s work together to ensure that your appliances continue to serve you for years to come.
Thank you for joining me on this journey, and I look forward to being your go-to resource for all things related to appliance repair!


