How to replace LG freezer defrost heater 5300JK1005K
Steven E / Thursday February 8, 2024
Is your LG refrigerator’s freezer failing to keep things cold or frosting up too badly? Don’t call the repairman just yet! Discover how replacing the defrost heater can solve the issue, and check out our step-by-step video guide below to tackle this DIY project with confidence.
Are you having issues with the freezer in your LG refrigerator not cooling properly or icing up? The defrost heater may need to be replaced. This part helps melt away frost buildup on the evaporator coils to maintain the right freezer temperature.
Before you pick up the phone to call a repair technician, try replacing the defrost heater yourself. Let’s dig in together.

You can find a replacement defrost heater 5300JK1005K here. If you need any other replacement parts for your LG refrigerator, just enter your model number at AppliancePartsPros.com to find them. Most orders arrive in just two business days, and we have thousands of guides to show you how to install your new parts.
What you need
- Phillips screwdriver
- Flat-blade screwdriver
- Needle nose pliers
- Metal shears
- Plastic zip tie
- Replacement defrost heater 5300JK1005K (check your model number to make sure it’s compatible with your unit)
Keep safety first
When taking on any DIY appliance repair, please remember to keep safety first.
- Always power off and unplug your fridge or switch off the circuit breaker before you attempt any maintenance or replacement work. This keeps you safe by preventing any risk of electric shock.
- If your fridge has any parts that hold water, turn off the water supply at the outlet before beginning repairs. Keep towels ready to catch any residual water in the system when removing parts.
- If the fridge has recently been used, give it plenty of time to cool down before working on it.
- Take your time while working to prevent accidents and personal injuries. Rushing is the enemy of precision.
- Work in a well-lit area so you can clearly see and access fridge parts.
- Keep your workspace free of clutter and other obstacles. Keep children and pets away from the work area.
- Never work on internal parts with wet hands. Make sure the work area is completely dry.
- Check the user manual to see if there are specific installation or safety instructions related to your fridge or replacement part.
- Be gentle when handling or removing parts. Excessive force might damage the fridge or cause personal injury.
- Wear insulated work gloves to protect your hands from sharp metal parts and debris.
- When working with wires, avoid touching any exposed wires or terminals. If you need to touch a wire, use a non-conductive tool or wear insulating gloves to prevent electrical shock.
- Consider wearing safety glasses and/or a dust mask when working with chemicals, dust or a large amount of debris to prevent irritation or injury.

Replacement instructions
Step 1 – Take out the shelves and rails
- Open both refrigerator doors and pull out the freezer drawer completely.
- Remove the upper and lower slide-out shelves/trays.
- Use a flat-blade screwdriver to detach and remove the side rails. Be careful not to break the tabs holding them.
- Use a Phillips screwdriver to unscrew the screws connecting the rail on either side of the drawer.
Step 2 – Disconnect plugs and remove the cover panel
- After removing the screws holding the rail supports, slide them off.
- Disconnect the door switch wires.
- Remove the screws holding the upper left side support and air duct cover.
- Carefully detach the air duct cover clips with a putty knife.
- Take out the right side supports and rails by removing the Phillips screws.
- At the back, find an access panel secured with large tabs. Carefully pull the tabs out and lower the panel.
- Disconnect the three electrical plugs for the temperature sensor and other components.
Step 3 – Cut out and remove the old heater
- Disconnect the power plug to the defrost heater assembly.
- Use pliers to detach the left side of the heater from the evaporator coil bracket.
- Cut through the right side bracket with metal shears. Bend it out of the way with pliers.
- Carefully slide out the old defrost heater.
READ MORE: Refrigerator Not Defrosting: Top 6 Reasons & How to Fix
Step 4 – Transfer the bracket and insert the new heater
- Remove the bracket from the old heater and attach it to the new replacement part in the same central position.
- Slightly lift the evaporator coil and slide the new heater into place between the coil rows. Insert it into the left bracket.
- Use pliers to bend the right bracket over the heater to secure it.
Step 5 – Reconnect the plug and secure the harness
- Plug in the new heater connection until it clicks and locks.
- Pull down the harness and tape it to provide some slack.
- For strain relief, use a zip tie to attach the harness to the nearby bracket.
Step 6 – Replace the cover panel and plugs
- Reconnect the three electrical plugs on the back access panel.
- Carefully position the back access panel into place by pushing in the bottom tabs first.
Step 7 – Reinstall rails, shelves and doors
- Screw the upper and lower rails back into their positions.
- Replace the air duct cover and upper support bracket.
- Fully extend the rails out and reattach the freezer doors. Secure them with the screws.
- Replace the slide-out shelves and trays in their original positions.
Step 8 – Close up the freezer and test the repair
- With everything back in place, close up the freezer doors.
- Plug the refrigerator back in.
- Give the fridge a few hours to cool and check to see if it’s working correctly.
READ MORE: How To Keep Food Fresh When Your Refrigerator Fails
More information
Thanks for reading! We hope this article helped you replace the freezer defrost heater in your LG refrigerator.
If you still need some replacement parts, grab your model number and head over to AppliancePartsPros.com. We offer over two million parts and most orders arrive in two business days. If you need some help with finding the right part or placing an order, you can contact our team at 1 (877) 477-7278.
While you’re waiting for your new part to arrive, you can explore our DIY blog and watch thousands of video tutorials on our YouTube channel. We can also help you troubleshoot common fridge problems here.
Be sure to follow us on Facebook, Twitter and Instagram to see our latest repair guides!
 https://www.appliancepartspros.com/b/wp-content/uploads/2025/06/20250618_1147_Refrigerator-Air-Ducts_simple_compose_01jy1vhs1ee0ss9k8d258eehzm.png
1024
1536
Steven E
https://www.appliancepartspros.com/b/wp-content/uploads/2020/11/app-logo-std.png
Steven E2025-06-19 06:20:382025-08-20 10:53:32Whirlpool Refrigerator Air Duct WP2316186 Replacement Guide
https://www.appliancepartspros.com/b/wp-content/uploads/2025/06/20250618_1147_Refrigerator-Air-Ducts_simple_compose_01jy1vhs1ee0ss9k8d258eehzm.png
1024
1536
Steven E
https://www.appliancepartspros.com/b/wp-content/uploads/2020/11/app-logo-std.png
Steven E2025-06-19 06:20:382025-08-20 10:53:32Whirlpool Refrigerator Air Duct WP2316186 Replacement Guide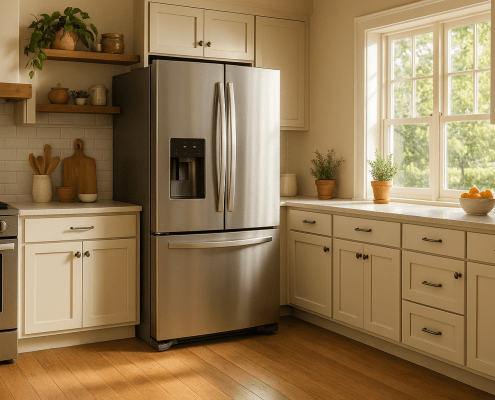 https://www.appliancepartspros.com/b/wp-content/uploads/2025/06/20250523_1507_Spacious-Kitchen-with-Refrigerator_simple_compose_01jvz8k873e1rbvmbfpse1e7dn.png
1024
1536
Steven E
https://www.appliancepartspros.com/b/wp-content/uploads/2020/11/app-logo-std.png
Steven E2025-06-19 06:11:212025-08-20 10:39:40Easily Replace Drawer Handle DA63-04275B on a Samsung Fridge
https://www.appliancepartspros.com/b/wp-content/uploads/2025/06/20250523_1507_Spacious-Kitchen-with-Refrigerator_simple_compose_01jvz8k873e1rbvmbfpse1e7dn.png
1024
1536
Steven E
https://www.appliancepartspros.com/b/wp-content/uploads/2020/11/app-logo-std.png
Steven E2025-06-19 06:11:212025-08-20 10:39:40Easily Replace Drawer Handle DA63-04275B on a Samsung Fridge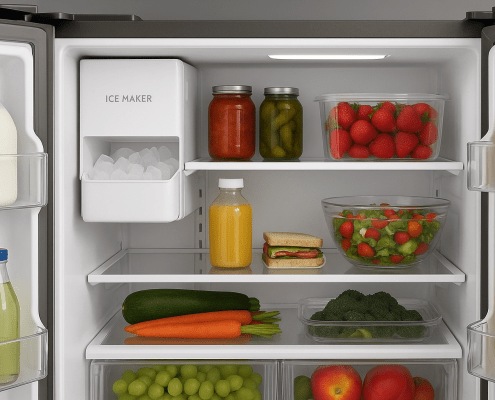 https://www.appliancepartspros.com/b/wp-content/uploads/2025/06/20250617_1527_Refrigerators-Ice-Maker_simple_compose_01jxznp0v7fvctbmy7qy4pvd68.png
1024
1536
Steven E
https://www.appliancepartspros.com/b/wp-content/uploads/2020/11/app-logo-std.png
Steven E2025-06-19 06:03:112025-08-20 10:15:33LG Fridge Icemaker Cooling Fan 5209JA1044A DIY Replacement
https://www.appliancepartspros.com/b/wp-content/uploads/2025/06/20250617_1527_Refrigerators-Ice-Maker_simple_compose_01jxznp0v7fvctbmy7qy4pvd68.png
1024
1536
Steven E
https://www.appliancepartspros.com/b/wp-content/uploads/2020/11/app-logo-std.png
Steven E2025-06-19 06:03:112025-08-20 10:15:33LG Fridge Icemaker Cooling Fan 5209JA1044A DIY ReplacementWith nearly a decade of experience in providing top-notch customer service regarding appliance parts and repair, Steven enjoys sharing practical advice, troubleshooting tips, and interesting information to help readers stay informed.