How to replace LG or Kenmore refrigerator ice maker assembly AEQ73110210
Steven E / Thursday March 21, 2024
Is your LG or Kenmore refrigerator leaving your drinks high and dry without any ice? The culprit may be a faulty ice maker assembly, but don’t worry—we’ve got you covered with a step-by-step guide to resolve the issue yourself in just an hour. Watch the handy how-to video below to get started and regain your fridge’s chill.
If your LG or Kenmore fridge is no longer making ice, the issue may lie with the ice maker assembly. This part produces ice inside the fridge and dispenses it.
The assembly is usually found in the left French door, inside a closed compartment and includes a motor, ice mold and control module. The assembly works by filling the ice mold with water, freezing it and ejecting the ice cubes into the ice bin.

This is a fairly straightforward repair that you should be able to complete yourself within an hour.
Still need a replacement? You can order ice maker assembly AEQ73110210 right here. If you need other replacement parts for your fridge, just enter your model number at AppliancePartsPros.com to find them. It’s that easy! Most orders arrive in just two business days, and we have thousands of guides to show you how to install your new parts.
When to replace the ice maker assembly
Some common issues that point to a failing ice maker include:
- Lack of ice cube production
- Ice maker failing to cycle or make a clicking sound
- Water leaking and/or pooling in the ice maker area
- Frozen or jammed ice cubes in the ice maker assembly
- Visible damaged or worn ice maker parts
What you need
- Phillips head screwdriver
- Flat blade screwdriver
- Replacement LG/Kenmore ice maker assembly AEQ73110210 (check to see if it’s compatible with your specific model before installing)
Safety tips
When working on any appliance, remember to keep safety first. Here are some tips to keep in mind:
- Always power off and unplug your appliance or switch off the circuit breaker before you attempt any maintenance or replacement work. This keeps you safe by preventing any risk of electric shock.
- Turn off the water supply at the outlet before beginning repairs. Keep towels ready to catch any residual water in the system when removing parts.
- If the appliance has recently been used, give it plenty of time to cool down before working on it.
- Take your time while working to prevent accidents and personal injuries. Rushing is the enemy of precision.
- Work in a well-lit area so you can clearly see and access appliance parts.
- Keep your workspace free of clutter and other obstacles. Keep children and pets away from the work area.
- Never work on internal parts with wet hands. Make sure the work area is completely dry.
- Check the user manual to see if there are specific installation or safety instructions related to your appliance or replacement part.
- Be gentle when handling or removing parts. Excessive force might damage the appliance or cause personal injury.
- Wear insulated work gloves to protect your hands from sharp metal parts and debris.
- Consider wearing safety glasses and/or a dust mask when working with chemicals, dust or a large amount of debris to prevent irritation or injury.
How to replace the ice maker assembly
Step 1 – Remove the ice bin
- Make sure the fridge is unplugged and disconnected from the water supply.
- Open the left refrigerator door where the ice maker is located.
- Push up on the lever to open the front ice compartment door.
- Lift the ice bin and pull it straight out to remove it. Set it aside.
Step 2 – Detach the ice maker assembly
- Remove the three Phillips screws holding the front cover panel of the ice maker compartment.
- Loosen – but do not remove – the top panel screw.
- Slowly pull off the cover panel.
- Detach the wire harness plug connector.
- Take out the single screw and ground wire at the top right. Unwrap the wiring.
- Remove the temperature sensor by gently prying it off.
- Unplug the wire harness.
- Take out the two Phillips screws at the bottom corners.
Step 3 – Remove the old ice maker & install the new one
- Lift the front of the old ice maker, rotate it outward and slide it off the mounting hooks in the back.
- Flip the old ice maker over and remove the small screw on the back to fully detach it from the cover panel.
- Install the new ice maker by sliding it onto the mounting hooks and rotating it inward.
- Replace the small screw on the backside to secure the new ice maker to the cover panel.
Step 4 – Reinstall the ice maker assembly
Now reassemble the ice maker housing with the new part installed:
- Make sure the new ice maker’s wire harness runs through the top of the cover panel before reattaching it.
- Plug the connector into the new ice maker. Make sure it clicks into place.
- Reinstall the temperature sensor and plug it into the main wire harness.
- Wrap and tape down all the loose wiring to secure it.
- Align the cover panel and press it into place. Replace the three Phillips screws.
- Reconnect the wire harness plug you removed earlier.
Finish up
- Slide the ice bucket back into place with the top going in first. Press the bottom in to lock it.
- Plug the fridge back in and reconnect the water supply.
- Turn the power switch on the new ice maker to the ON position. This will initiate the ice-making process.
- Close the ice compartment door and refrigerator door.
- Allow several hours for ice to be produced.
More information
Thanks for reading! We hope this guide helped you replace the ice maker in your LG or Kenmore refrigerator.
If you still need some replacement parts, grab your model number and head over to AppliancePartsPros.com. We offer over 2 million parts and most orders arrive in 2-3 business days. If you need some help with finding the right part or placing an order, you can contact our team at 1 (877) 477-7278.
While you’re waiting for your new part to arrive, you can explore our DIY blog and watch thousands of video tutorials on our YouTube channel. We can also help you troubleshoot common fridge problems here.
Be sure to follow us on Facebook, Twitter, and Instagram to see our latest repair guides!
 https://www.appliancepartspros.com/b/wp-content/uploads/2023/07/the-evolution-of-refrigerators.jpg
576
768
Steven E
https://www.appliancepartspros.com/b/wp-content/uploads/2020/11/app-logo-std.png
Steven E2023-07-27 13:22:362023-07-27 13:22:53The Evolution of Refrigerators: From Iceboxes to Internet
https://www.appliancepartspros.com/b/wp-content/uploads/2023/07/the-evolution-of-refrigerators.jpg
576
768
Steven E
https://www.appliancepartspros.com/b/wp-content/uploads/2020/11/app-logo-std.png
Steven E2023-07-27 13:22:362023-07-27 13:22:53The Evolution of Refrigerators: From Iceboxes to Internet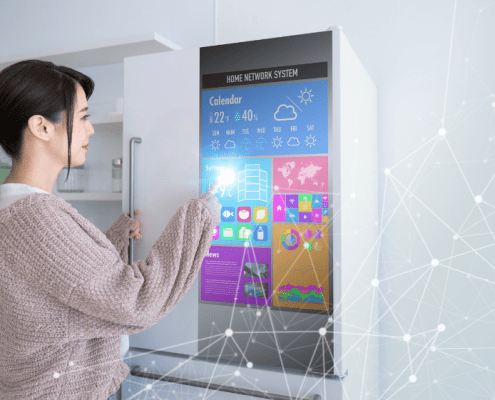 https://www.appliancepartspros.com/b/wp-content/uploads/2023/07/modern-touch-screen-fridge-with-innovative-refrigerator-features-1.png
561
867
Steven E
https://www.appliancepartspros.com/b/wp-content/uploads/2020/11/app-logo-std.png
Steven E2023-07-27 10:49:572023-07-27 11:12:15Innovative Refrigerator Features: The Future is Cool
https://www.appliancepartspros.com/b/wp-content/uploads/2023/07/modern-touch-screen-fridge-with-innovative-refrigerator-features-1.png
561
867
Steven E
https://www.appliancepartspros.com/b/wp-content/uploads/2020/11/app-logo-std.png
Steven E2023-07-27 10:49:572023-07-27 11:12:15Innovative Refrigerator Features: The Future is Cool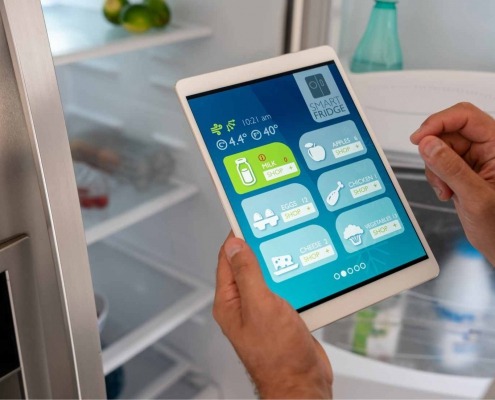 https://www.appliancepartspros.com/b/wp-content/uploads/2023/06/Smart-Fridge.jpg
1103
1706
Steven E
https://www.appliancepartspros.com/b/wp-content/uploads/2020/11/app-logo-std.png
Steven E2023-06-23 08:25:092023-06-23 08:25:21The Hidden Downsides To Smart Refrigerators
https://www.appliancepartspros.com/b/wp-content/uploads/2023/06/Smart-Fridge.jpg
1103
1706
Steven E
https://www.appliancepartspros.com/b/wp-content/uploads/2020/11/app-logo-std.png
Steven E2023-06-23 08:25:092023-06-23 08:25:21The Hidden Downsides To Smart RefrigeratorsWith nearly a decade of experience in providing top-notch customer service regarding appliance parts and repair, Steven enjoys sharing practical advice, troubleshooting tips, and interesting information to help readers stay informed.