How to replace LG refrigerator main control board CSP30021077
Steven E / Monday May 19, 2025
Is your LG or Kenmore refrigerator leaving you in the cold—or not cooling at all? It’s possible that a faulty main control board is to blame for those frustrating error codes or non-responsive appliances. Dive into our step-by-step guide, complete with a how-to video, and learn how to replace the main control board yourself, restoring your fridge to full functionality with ease.
Looking for the right part? Enter your appliance model number below to find the exact match and get your appliance running like new again!
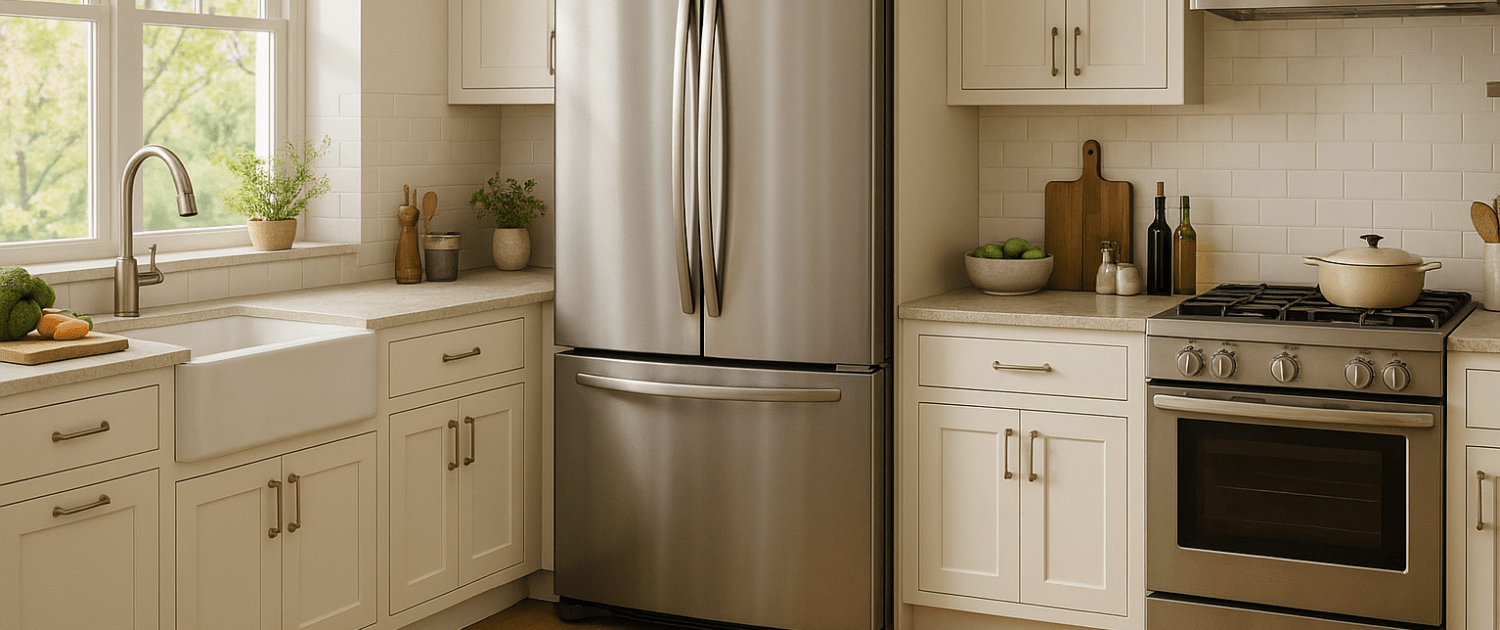
The main control board CSP30021077 is the brain of your LG or Kenmore refrigerator. It controls all of the functions, from temperature regulation to lighting. Over time, this component can fail, leading to issues like the refrigerator not turning on or error codes appearing. If you encounter these problems, replacing the main control board is often the fix.

We’ll walk through the full process of replacing the main control board with some simple tools and the new part, so you can swap out the old board for the new one and get your refrigerator running again.
How To Replace: LG/Kenmore Refrigerator Main Power Control Board CSP30021077
The information in this article may not apply to your specific appliance model. We recommend consulting your manufacturer’s documentation or contact us with any questions.
What You’ll Need
Before starting this repair, make sure you have the necessary replacement parts and tools:
- New main control board, LG/Kenmore (CSP30021077)
- Phillips head screwdriver
- Flathead screwdriver
- Camera or smartphone to take photos
You’ll also want to switch off power to the refrigerator at the circuit breaker before beginning. Safety first!
Removing the Old Control Board
With the power off, we’re ready to start the repair by removing the old main control board:
- Go around to the back of the refrigerator and locate the access panel on the lower left side. This is where we’ll find the control board.
- Using a Phillips head screwdriver, remove the screws from the access panel. Set them aside in a safe place.
- Carefully remove the access panel and set it aside. This exposes the main control board.
- Take clear, close-up photos of the wiring harness connections on the control board. This will help you reconnect them properly later.
- Using a flathead screwdriver, gently press down on the locking tabs for each wiring harness connector while pulling it free from the board.
- Detach all connector plugs in this manner and set aside the bundles of wires.
- On the left side of the control board, press down on the locking tabs while pulling that side of the board free.
- Slide the board to the right to detach it completely, then remove it from the refrigerator.
Now the old main control board is removed. Time to install the new replacement.
Installing the New Control Board
With the wiring harnesses disconnected and the old board removed, installing the new main control board is straightforward:
- First, align the right side of the new board and slide it partially into place. Make sure no wires are trapped behind it.
- Firmly press the left side of the board into the locking tabs until it clicks into place securely.
- Refer to your photos and reconnect each wiring harness in its proper location. Press firmly to seat the connectors.
- Double-check that all harness plugs are firmly locked into the receptacles on the new board. Tug gently to confirm.
- Once fully connected, use the flathead screwdriver to neatly tuck all the wiring into the enclosure.
The new control board is installed! Now we just need to button it back up.
Finishing Up
To complete this repair, we simply reinstall the access panel:
- With all the wires clear, position the access panel over the opening. Feed the power cord through the notch.
- Insert and tighten the Phillips screws to secure the panel back in place.
- With the panel replaced, restore power to the refrigerator circuit at the breaker box.
- It’s time for the moment of truth! Turn on your refrigerator and listen to it powering up.
- Give it 10-15 minutes to initialize, then open the door and check that the interior lights come on.
- Ensure the display panel is operational and all settings are retained.
- Verify the refrigerator is cooling by feeling the rear vent for cold airflow.
If all checks out, congratulations – you’ve successfully replaced the main control board! Your LG or Kenmore refrigerator should now be up and running like normal.
Where To Find Us
If you need any replacement parts for your appliances, you can enter your model number at AppliancePartsPros.com to locate and order them quickly. Most orders arrive in just two business days, and we have tons of great information in our repair help section and YouTube videos to help you troubleshoot.
Stay connected with the latest DIY tips, tutorial videos, and repair guides by following us on Facebook, Instagram, and Twitter. We love hearing about your repair stories and successes. If you need more help or want personalized guidance, feel free to reach out. We’re ready to help you take on your next project with confidence!
 https://www.appliancepartspros.com/b/wp-content/uploads/2025/09/groovetopia_macro_shot_of_frost_crystals_forming_irregular_patt_37deb777-ed26-4ba3-927c-946d5393a753.png
816
1456
appthr
https://www.appliancepartspros.com/b/wp-content/uploads/2020/11/app-logo-std.png
appthr2025-09-24 13:04:442025-09-25 06:50:45Refrigerator Sealed Systems: Where DIY Stops and Gauges Begin
https://www.appliancepartspros.com/b/wp-content/uploads/2025/09/groovetopia_macro_shot_of_frost_crystals_forming_irregular_patt_37deb777-ed26-4ba3-927c-946d5393a753.png
816
1456
appthr
https://www.appliancepartspros.com/b/wp-content/uploads/2020/11/app-logo-std.png
appthr2025-09-24 13:04:442025-09-25 06:50:45Refrigerator Sealed Systems: Where DIY Stops and Gauges Begin https://www.appliancepartspros.com/b/wp-content/uploads/2025/06/20250618_1202_Refrigerator-Door-Gasket-Issue_simple_compose_01jy1wbpw8fxvvpx4nn5ejvsk3.png
1024
1536
Steven E
https://www.appliancepartspros.com/b/wp-content/uploads/2020/11/app-logo-std.png
Steven E2025-06-20 06:21:482025-08-20 12:16:14How to Replace Door Gasket W10355582 on a Whirlpool Fridge
https://www.appliancepartspros.com/b/wp-content/uploads/2025/06/20250618_1202_Refrigerator-Door-Gasket-Issue_simple_compose_01jy1wbpw8fxvvpx4nn5ejvsk3.png
1024
1536
Steven E
https://www.appliancepartspros.com/b/wp-content/uploads/2020/11/app-logo-std.png
Steven E2025-06-20 06:21:482025-08-20 12:16:14How to Replace Door Gasket W10355582 on a Whirlpool Fridge https://www.appliancepartspros.com/b/wp-content/uploads/2025/06/20250617_1527_Refrigerators-Ice-Maker_simple_compose_01jxznp0v6ebzsggaqpx90xtq8.png
1024
1536
Steven E
https://www.appliancepartspros.com/b/wp-content/uploads/2020/11/app-logo-std.png
Steven E2025-06-20 06:06:492025-06-20 06:06:58Whirlpool Fridge Not Making Ice? How To Troubleshoot the Sensor
https://www.appliancepartspros.com/b/wp-content/uploads/2025/06/20250617_1527_Refrigerators-Ice-Maker_simple_compose_01jxznp0v6ebzsggaqpx90xtq8.png
1024
1536
Steven E
https://www.appliancepartspros.com/b/wp-content/uploads/2020/11/app-logo-std.png
Steven E2025-06-20 06:06:492025-06-20 06:06:58Whirlpool Fridge Not Making Ice? How To Troubleshoot the SensorWith nearly a decade of experience in providing top-notch customer service regarding appliance parts and repair, Steven enjoys sharing practical advice, troubleshooting tips, and interesting information to help readers stay informed.