How to replace the belt in a Maytag washer
Samantha Bullington / Monday March 25, 2024
Has your Maytag washer been sounding like a broken record? A worn or damaged belt might be the reason it’s struggling to spin effectively. Don’t fret—our step-by-step guide, complete with a helpful how-to video just below, will walk you through replacing the belt yourself, saving you time and money.
If your Maytag washer has been making strange noises or struggling to spin as it once did, the culprit could be a worn or damaged belt. This part helps transfer power from the motor to the drum and keeps the rotational force to tumble and clean your laundry.
If a failing belt seems like a daunting problem, don’t worry. By replacing it yourself, you can save a significant amount of money and hassle.

If you need a replacement belt for your Maytag washer, you can use your model number to find what you need at AppliancePartsPros.com. We also have thousands of free DIY troubleshooting and repair guides to help you fix your washer yourself.
Watch: How to replace a washer drive belt
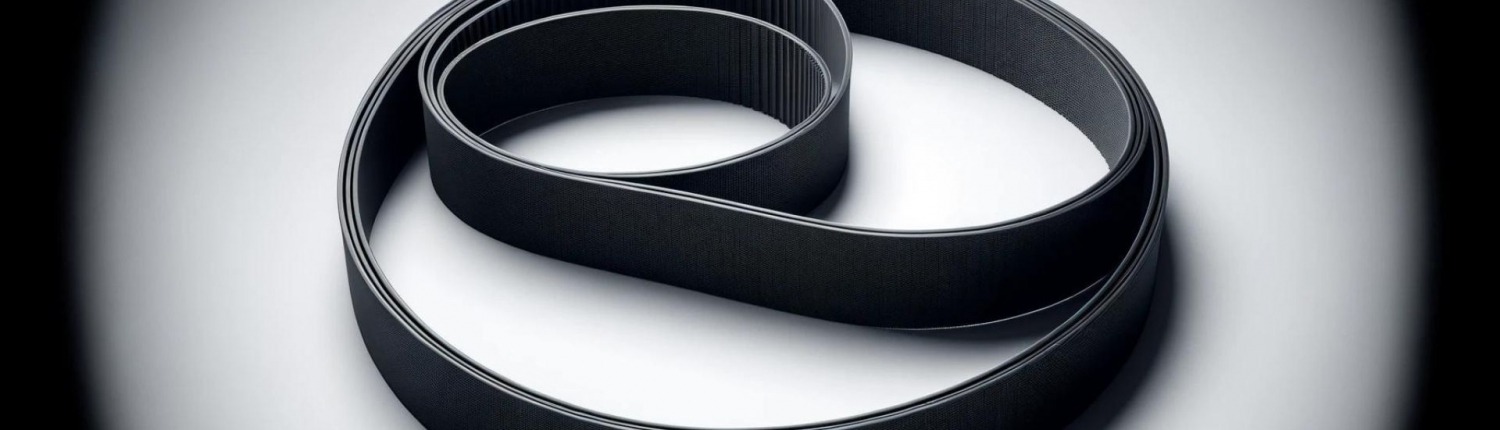
What is the belt & why would it need to be replaced?
Before we dive into the replacement process, let’s unpack why the belt is such an important component in your Maytag washer. The belt connects the motor to the transmission pulley, which translates the motor’s power into the rotational force that turns the drum.
Over time, however, the belt can become worn, stretched, or even cracked due to the constant stress and friction it endures. When this happens, the belt can slip or break entirely, which prevents the drum from spinning correctly. If the belt snaps, you’ll likely hear it since it makes a very loud noise.
READ MORE: 12 Easy DIY Ways to Lower Your Water Bill
What you need
- A 5/16-inch socket wrench
- A replacement drive belt- Take your model number to AppliancePartsPros.com to locate the correct part for your unit.
- A flashlight or work light
- A flathead screwdriver (optional, for prying or adjusting parts as needed)
Keep safety first
When working on any appliance, always keep safety first to avoid personal injury or damage to the appliance or parts. Here are some safety tips to keep in mind:
- Always power off and unplug your appliance or switch off the circuit breaker before you attempt any maintenance or replacement work. This keeps you safe by preventing any risk of electric shock.
- Turn off the water supply at the outlet before beginning repairs. Keep towels ready to catch any residual water in the system when removing parts.
- If the appliance has recently been used, give it plenty of time to cool down before working on it.
- Take your time while working to prevent accidents and personal injuries. Rushing is the enemy of precision.
- Work in a well-lit area so you can clearly see and access appliance parts.
- Keep your workspace free of clutter and other obstacles. Keep children and pets away from the work area.
- Never work on internal parts with wet hands. Make sure the work area is completely dry.
- Check the user manual to see if there are specific installation or safety instructions related to your appliance or replacement part.
- Be gentle when handling or removing parts. Excessive force might damage the appliance or cause personal injury.
- Wear insulated work gloves to protect your hands from sharp metal parts and debris.
READ MORE: Seven Steps to Master Your Laundry Day
How to replace the belt
Step 1 – Access the belt
- Turn off the washer and disconnect it from the power supply.
- Turn off the water supply to the washer and disconnect the hoses.
- Lean the washer back so you can access the bottom.
- Find the belt cover or shield, which is typically located at the bottom of the washer.
- Use your 5/16-inch socket wrench to remove the bolts that hold the belt shield in place. Check your washer’s user manual if you’re unsure about the exact location or type of fasteners used.
- Carefully remove the belt cover and set it aside.
READ MORE: Surprising Things That Can & Can’t Go in the Washer
Step 2 – Remove the old belt
Pull the old belt down off of the transmission pulley as you rotate it so that it can slide down easier. If the belt is particularly stubborn or stuck in place, you can use a flathead screwdriver or other tool to gently pry the belt off.
Be careful not to force or twist the belt excessively since this could cause further damage or create debris that could interfere with the new belt once it’s installed.
READ MORE: WHAT’S A FULL LOAD OF LAUNDRY? A GUIDE TO EFFICIENT WASHING
Step 3 – Install the new drive belt
- Position the new belt onto the motor pulley first, since this is typically the smaller and more accessible of the two pulleys.
- Once the belt is secure on the motor pulley, rotate the drum or transmission pulley while guiding the belt onto it. You may need to use a flathead screwdriver or other tool to help work the belt into place, but remember to be gentle to avoid damaging the new belt.
- Make sure the new belt is aligned and has good tension. The belt should be taut but not overly tight, and it should sit squarely on the pulleys without any twists or kinks.
If you encounter any difficulties or resistance during the installation process, stop and double-check your work. Forcing a misaligned or improperly seated belt could lead to premature failure or damage to other washer parts.
READ MORE: How to Decide What Water Temperature to Use for Laundry
Step 4 – Reassemble & test the washer
- Reattach the belt cover or shield with the bolts you removed earlier.
- Double-check that no tools, rags, or debris have been left in the belt area.
- Reconnect the water supply hoses.
- Plug the washer back into the power outlet or turn the circuit breaker back on.
- Run a test cycle to make sure that the new belt is functioning correctly. Listen for any unusual noises or vibrations.
READ MORE: Should you use fabric softener? Pros & Cons
Belt maintenance tips
Here are a few steps you can take to maintain the new belt and extend its lifespan:
- Avoid overloading your washer with laundry or allowing the washer to run while unbalanced. This can put unnecessary strain on the belt.
- Keep the washer on a smooth, stable surface to prevent excess friction and wear on the belt.
- Periodically inspect the belt area for any debris, lint, or foreign objects that could interfere with it or cause damage.
- Check your washer’s owner manual for any specific maintenance or care instructions related to the drive belt and other parts.
READ MORE: How to prevent appliance fire hazards
More information
Thanks for reading! We hope this guide helped you replace the belt in your washer.
If you still need some replacement parts, grab your model number and head over to AppliancePartsPros.com. We offer over two million parts and most orders arrive in two business days. If you need some help with finding the right part or placing an order, you can contact our team at 1 (877) 477-7278.
While you’re waiting for your new part to arrive, you can explore our DIY blog and watch thousands of video tutorials on our YouTube channel. We can also help you troubleshoot common washer problems here.
Be sure to follow us on Facebook, Twitter and Instagram to see our latest repair guides!
 https://www.appliancepartspros.com/b/wp-content/uploads/2021/07/shutterstock_1179730576.jpg
878
1500
APP Expert
https://www.appliancepartspros.com/b/wp-content/uploads/2020/11/app-logo-std.png
APP Expert2021-07-23 12:13:172025-07-16 10:07:20Washing Machine Won’t Stop Filling With Water: Top 5 Problems and Fixes for Top-Loading and Side-Loading Washers (With Video!)
https://www.appliancepartspros.com/b/wp-content/uploads/2021/07/shutterstock_1179730576.jpg
878
1500
APP Expert
https://www.appliancepartspros.com/b/wp-content/uploads/2020/11/app-logo-std.png
APP Expert2021-07-23 12:13:172025-07-16 10:07:20Washing Machine Won’t Stop Filling With Water: Top 5 Problems and Fixes for Top-Loading and Side-Loading Washers (With Video!) https://www.appliancepartspros.com/b/wp-content/uploads/2021/05/shutterstock_1412149130.jpg
982
1500
APP Expert
https://www.appliancepartspros.com/b/wp-content/uploads/2020/11/app-logo-std.png
APP Expert2021-06-01 14:36:032025-07-16 06:59:29Washing Machine Won’t Start: Top 7 Problems and Fixes for Top-Loading and Side-Loading Washers (With Video!)
https://www.appliancepartspros.com/b/wp-content/uploads/2021/05/shutterstock_1412149130.jpg
982
1500
APP Expert
https://www.appliancepartspros.com/b/wp-content/uploads/2020/11/app-logo-std.png
APP Expert2021-06-01 14:36:032025-07-16 06:59:29Washing Machine Won’t Start: Top 7 Problems and Fixes for Top-Loading and Side-Loading Washers (With Video!) https://www.appliancepartspros.com/b/wp-content/uploads/2020/11/pexels-hilary-halliwell-612341.jpg
1365
2048
Steven E
https://www.appliancepartspros.com/b/wp-content/uploads/2020/11/app-logo-std.png
Steven E2020-12-16 12:49:032024-03-15 13:41:29How to deep clean your washing machine
https://www.appliancepartspros.com/b/wp-content/uploads/2020/11/pexels-hilary-halliwell-612341.jpg
1365
2048
Steven E
https://www.appliancepartspros.com/b/wp-content/uploads/2020/11/app-logo-std.png
Steven E2020-12-16 12:49:032024-03-15 13:41:29How to deep clean your washing machineHey there, I’m Samantha and I’m super excited to be a part of the Appliance Parts Pros team! With 9 years of experience, I’ve had the awesome opportunity to assist countless customers in troubleshooting their home appliances and finding DIY repair solutions.