How To Replace the Samsung Washer Clutch DC97-18439A
Steven E / Thursday May 22, 2025
Is your Samsung washer leaving clothes sopping wet or refusing to spin altogether? A worn-out clutch assembly could be the culprit behind this troublesome issue. Don’t worry, because we’ve got a simple DIY video guide just below that shows you how to replace the clutch assembly, getting your washer back to peak performance in no time.
Looking for the right part? Enter your appliance model number below to find the exact match and get your appliance running like new again!
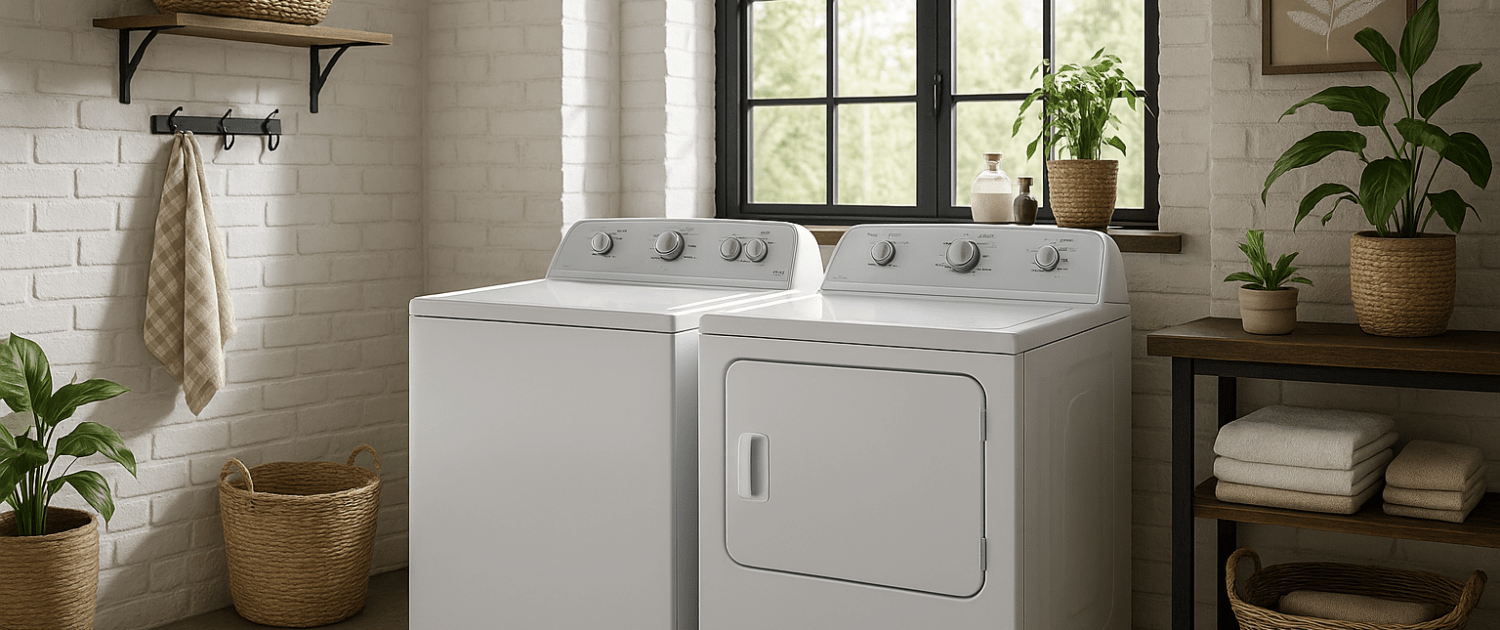
Is your Samsung washer spinning weakly or not at all? You might have a worn-out clutch assembly (part #DC97-18439A). This component controls the drum’s spin function, and when it fails, your washer may agitate but never reach full spin. The good news? Replacing the clutch is a DIY project you can handle with a few basic tools. I’ll walk you through how to remove the old clutch assembly and install the new one so your laundry gets spun out properly every time.

The information in this article may not apply to your specific appliance model. We recommend consulting your manufacturer’s documentation or contact us with any questions.
Watch: How to repair washer clutch assembly
Understanding the Samsung Washer Clutch Assembly
The clutch assembly is a crucial component in the drive system of your washing machine. It is a coupler between the electric motor and the inner wash tub. When engaged, it allows the motor to spin the tub during the spin and agitate cycles.
Symptoms of a failed or worn-out clutch assembly include:
- Washer won’t spin or spins slowly.
- The tub doesn’t agitate properly.
- Loud noises when spinning.
- Leaking due to a damaged clutch seal.
- Burning smell from slipping clutch.
Replacing this part requires disassembling much of the washer. But the repair can be done by an ambitious DIYer in the afternoon. Let’s go through the full process step-by-step.
Gather Tools and Supplies
Before taking your washer apart, some preparation is required. You will need an assortment of common hand and power tools along with new parts.
- Socket wrench set
- Adjustable pliers
- Flathead and Phillips screwdrivers
- Putty knife
- Hammer
- Woodblock for pounding
- Flashlight
- Tape for holding up the top assembly
- Samsung clutch assembly part #DC97-18439A (Use your model number to locate the correct one for your unit)
- Shop rags
- Gloves
- Water pump pliers (for clutch nut)
- Penetrating oil/WD40
Make sure you have all the necessary tools, parts, and ample working room before proceeding. Working on an appliance can involve sharp edges and heavy lifting. Use caution and enlist a helper if needed.
Safety Precautions
When working on any appliance, remember to keep safety first. Here are some tips to keep in mind:
- Always power off and unplug your appliance or switch off the circuit breaker before attempting any maintenance or replacement work. This keeps you safe by preventing any risk of injury from electric shock.
- Wear insulated work gloves to protect your hands from sharp metal parts, pinching hazards and debris.
- Take your time and don’t rush while working to prevent accidents and personal injuries.
- Work in a well-lit area so you can clearly see and access the interior parts.
- Clear your workspace of clutter and other obstacles. Keep children and pets away from the work area.
- Never work on internal parts with bare wet hands. Make sure the work area is completely dry.
- Check your user manual to see if there are specific installation or safety instructions for your part or appliance.
- Be gentle when handling or removing parts. Excessive force might damage the appliance or cause injury.
- Wear safety glasses when working with chemicals, dust or cleaning large debris to prevent injury.
- If the appliance has recently been used, give it plenty of time for any heating parts to cool down before working on it.
- Take pictures or make a note of wiring terminals or other connections before disconnecting to prevent any problems with reassembly.
- When working with wires, avoid touching any exposed wires or terminals. If you need to touch a wire, use a non-conductive tool or wear insulating gloves to prevent electrical shock.
Shut Off the Power and Water Supply
As with any major appliance repair, it’s important to shut off electricity and water connections prior to disassembly. This eliminates the risk of shock or water damage during service.
- Unplug the washer from the electrical outlet.
- Turn off the circuit breaker for the washer outlet.
- Locate the hot and cold water hoses on the rear of the machine. Turn off both shut-off valves completely. Place a bucket under the hoses to catch any residual water.
With power and water now off, you can safely begin disassembly.
Remove Back Panel, Hoses, and Top Panel
The first steps in accessing the internal components are removing the rear panel and top cover:
- Disconnect fill hoses: Use pliers to unscrew the plastic hose fittings. Removing the hoses will allow the top to tilt back later without damaging them. Be prepared for some water spillage. Label hoses “hot” and “cold” for proper reassembly.
- Remove back panel screws: The back panel is held on with several screws along the bottom and one under the bottom edge. Use a Phillips head screwdriver to back these screws out several turns and remove them. Slide off the back panel.
- Detach small access cover: There is also a smaller access cover located low on the back. Remove the screw holding this cover in place and detach it from the tabs.
- Take off top panel screws: Tilt back the lid of the washer. With the lid open, remove the screws holding the top panel down using a Phillips screwdriver. There are two screws along the back top edge.
- Lift off top panel: With the screws out, you can now lift upward on the front lip of the top panel to detach it. There are tabs that pop free along the front. Remove the panel completely and set it aside.
The machine interior is now exposed for further disassembly.
Remove the Pulsator and Clutch Nut
With the top panel removed, you now have access to the stainless steel wash tub.
- Pry off pulsator cap: In the center is a plastic pulsator cap. Use a flathead screwdriver to gently pry up and remove this cap. There is a lip visible where you can insert the blade.
- Extract pulsator bolt: Underneath the cap is a bolt holding the pulsator in place. Use a socket wrench with an extension to back the bolt counterclockwise and remove it. Then lift off the pulsator.
- Unscrew clutch nut: Within the stack is a reverse-threaded clutch retaining nut. Use a wrench (or water pump pliers) to turn this nut clockwise and remove it. You may need to hold the tub from spinning with another wrench while loosening. Retrieve the metal washer behind the nut as well.
With these three components removed, the clutch assembly is now accessible.
Lift Off Washer Top Assembly
To fully remove the wash tub and reach the clutch, the entire top assembly must be detached from the washer cabinet. Perform these steps carefully:
- Remove screws securing the top: Several long screws hold the top assembly down to the cabinet. Remove these screws using a screwdriver. There are visible holes at each corner of the tub.
- Tape lid closed: To allow clearance when tilting the top up, tape the washer lid closed temporarily using duct tape. This prevents it from flopping open.
- Carefully lift top: With the screws out, slowly lift upward on each side of the top assembly. Tilt it back as far as possible. You may need a helper for this step. Use blocks or poles to support and hold the top open while working.
Take care not to strain or damage any hoses or wiring still connected. The top will rest at an angle while disassembled.
Detach the Tub Cover and Remove the Inner Tub
With access from above, you can now see the tub cover surrounding the inner wash tub. Removing this exposes the clutch below:
- Unscrew tub cover: Use a screwdriver to remove the screws around the perimeter of the plastic tub cover. There are at least four screws. Also, unhook the spring clips by gently prying them up with a flathead screwdriver.
- Separate tub cover: Once unfastened, lift straight up on the tub cover to detach it. Some maneuvering is required to get it loose. Remove the cover completely.
- Remove inner tub: The stainless steel inner tub is now visible. Lift up on the tub while rocking it from side to side. It may take some force to break it free from the outer tub housing. Once loose, angle the tub to remove it.
Set the inner tub aside safely supported for access to the clutch.
Access the Clutch Assembly from Below
With the inner tub removed, you can now directly access the clutch assembly for replacement. Reaching it from above is difficult. The easier method is to remove the clutch from beneath the washer:
- Secure top assembly: Temporarily screw the top assembly back into the cabinet using just two screws. This holds it steady while tilting the machine.
- Lay washer down: Carefully tilt back the washer again, this time lowering it all the way to the floor. Place blocks/padding underneath to avoid damage. The machine can rest on its back or side.
- Inspect clutch components: Shining a flashlight underneath, you can now see the motor, clutch, outer tub, and related parts. Familiarize yourself with their configuration.
With the washer on its back, you can now remove the old clutch completely.
Remove Old Clutch Assembly
While access is open from below, follow these key steps to remove the faulty clutch assembly:
- Take off motor bracket: The motor bracket surrounds the clutch assembly and will need to be detached. Use a socket wrench to remove the four nuts holding it in place. Set the bracket aside.
- Remove rotor nut and bolt: There is a bolt connecting the motor rotor (spinning portion) to the drive shaft. Back this bolt out using an appropriate wrench or socket, along with washers behind it.
- Disconnect wiring plugs: The motor wiring has several plugs that need disconnecting. Release the plug clips and gently detach them from the sockets. Avoid pulling wires directly.
- Unfasten stator: With the wiring detached, use a wrench to loosen the bolts holding the motor stator (stationary portion) down. Pull off the stator.
- Detach actuator arm: The metal shift actuator arm is also connected to the clutch. Unbolt from its pivot using a wrench and disconnect from the clutch linkage.
- Loosen clutch bolts: Now you’re ready to detach the clutch itself. Use a socket wrench to loosen and remove the bolts securing the clutch assembly to the outer tub. Apply penetrating oil if needed.
- Pound-out clutch: With the retaining bolts out, the clutch should release. It may remain stuck to the tub seal. Place a wood block on top of the exposed clutch shaft. Use a hammer to firmly pound the wood and dislodge the clutch downward.
- Remove clutch: Once freed, slide the old clutch assembly out from the bottom of the outer tub. Clean any grime from the tub seal surface.
Thoroughly inspect the removed clutch and note any damage or excessive wear. Order a new Samsung clutch as needed.
Install New Samsung Clutch Assembly
Installation of the new clutch assembly is essentially the reverse of removal:
- Clean tub seal area: Remove any dirt, debris, or old soap buildup from the clutch seal area using a rag and cleaning agents. Proper sealing depends on a clean matting surface.
- Insert new clutch: Coat the new tub seal with a thin layer of grease or oil. This allows the clutch to slide into place easier. Orient the clutch properly and press onto the locating pins.
- Attach clutch bolts: Thread in the mounting bolts for the clutch and tighten down gradually using a criss-cross pattern. This evenly seats the seal. Ensure no gaps are visible around the edge.
- Reinstall components: Replace the shift actuator arm, motor stator, rotor and bolt, brackets, wiring plugs, and hardware. Tighten all fasteners securely.
- Return washer upright: Once fully reassembled below, carefully tilt the washer back upright onto its feet. Remove support blocks and padding.
The replacement clutch is now mounted. Next, reassemble the cabinetry and upper components.
Reinstall Top Assembly and Panels
With the new clutch installed, you’re ready to reassemble the washer’s outer hardware and panels:
- Replace inner tub: Set the stainless steel inner tub back into position on the clutch drive lugs. Rotate gently to align the spline grooves.
- Attach tub cover: Set the plastic tub cover over the inner tub. Press down firmly while engaging the spring clips around the perimeter. Replace the cover screws.
- Lower top assembly: With the tub reassembled, slowly lower the washer’s top assembly back down onto the cabinet. Align the mounting tabs and holes.
- Reattach screws: Insert the long screws previously removed around the top’s edges. Tighten down fully to secure the top assembly in place.
- Replace panels: Set the back upper panel onto the top of the machine, sliding under tabs. Reinstall the back access panel and screws.
- Reconnect hoses: Reattach the cold and hot water supply hoses to the proper fittings on the washer rear. Use pliers to tighten. Turn on shut-off valves.
- Reinstall pulsator: Drop the pulsator back into the tub neck and replace the retaining bolt. Replace the cap over it.
With all panels and components replaced, the washer reassembly is now complete.
Test and Confirm Repair
The final step is testing the washer to verify normal operation:
- Plug in washer: Reconnect the power cord back into the wall outlet. Turn on the appropriate circuit breaker.
- Check for leaks: With water valves open, check beneath and around the unit for any dripping from the hoses. Tighten if necessary.
- Power on the washer: Turn the washer on and start a test cycle. Verify proper fill, agitate, and spin motions without excessive noise.
- Confirm clutch engages: Listen and feel that the tub accelerates smoothly when transitioning to the spin cycle. This confirms the new clutch is engaging properly.
- Inspect seal: Remove the front panel and inspect the newly installed clutch seal for any signs of leakage. If leaking, tighten the mounting bolts fully.
Additional information
Thanks for reading! If you have any other appliance repair needs or projects, you can find other resources and our DIY blog at AppliancePartsPros.com. There, you can enter your model number to order the exact parts you need. Most orders arrive in 2-3 business days.
We’re here to help! You can reach our award-winning customer service team at 1-877-477-7278, chat with a pro on our website and watch thousands of free video tutorials on our YouTube channel.
 https://www.appliancepartspros.com/b/wp-content/uploads/2024/10/APP-blog-square-4.jpg
1080
1080
Steven E
https://www.appliancepartspros.com/b/wp-content/uploads/2020/11/app-logo-std.png
Steven E2024-10-11 05:42:412024-10-11 05:42:48How to test & replace the user interface control panel on a front-loading Whirlpool washer
https://www.appliancepartspros.com/b/wp-content/uploads/2024/10/APP-blog-square-4.jpg
1080
1080
Steven E
https://www.appliancepartspros.com/b/wp-content/uploads/2020/11/app-logo-std.png
Steven E2024-10-11 05:42:412024-10-11 05:42:48How to test & replace the user interface control panel on a front-loading Whirlpool washer https://www.appliancepartspros.com/b/wp-content/uploads/2024/10/APP-blog-square-3.jpg
1080
1080
Steven E
https://www.appliancepartspros.com/b/wp-content/uploads/2020/11/app-logo-std.png
Steven E2024-10-11 05:31:262024-10-11 05:31:33How to replace the main control on a front-loading Whirlpool washer
https://www.appliancepartspros.com/b/wp-content/uploads/2024/10/APP-blog-square-3.jpg
1080
1080
Steven E
https://www.appliancepartspros.com/b/wp-content/uploads/2020/11/app-logo-std.png
Steven E2024-10-11 05:31:262024-10-11 05:31:33How to replace the main control on a front-loading Whirlpool washer https://www.appliancepartspros.com/b/wp-content/uploads/2024/10/APP-blog-square-2.jpg
1080
1080
Steven E
https://www.appliancepartspros.com/b/wp-content/uploads/2020/11/app-logo-std.png
Steven E2024-10-11 05:23:442024-10-11 05:23:51Test & replace a front load Whirlpool washer noise filter with this easy guide
https://www.appliancepartspros.com/b/wp-content/uploads/2024/10/APP-blog-square-2.jpg
1080
1080
Steven E
https://www.appliancepartspros.com/b/wp-content/uploads/2020/11/app-logo-std.png
Steven E2024-10-11 05:23:442024-10-11 05:23:51Test & replace a front load Whirlpool washer noise filter with this easy guideWith nearly a decade of experience in providing top-notch customer service regarding appliance parts and repair, Steven enjoys sharing practical advice, troubleshooting tips, and interesting information to help readers stay informed.