How To Replace Whirlpool Fridge Cabinet Roller Axle W11594405
Steven E / Wednesday June 4, 2025
Is your refrigerator giving you a hard time with that stubborn wobble or refusal to roll smoothly? It’s likely that the cabinet roller axle is the culprit, and we’re here to help you tackle this simple repair. Check out our step-by-step video below to bring your fridge back to smooth sailing in no time, no technical expertise needed!
Looking for the right part? Enter your appliance model number below to find the exact match and get your appliance running like new again!
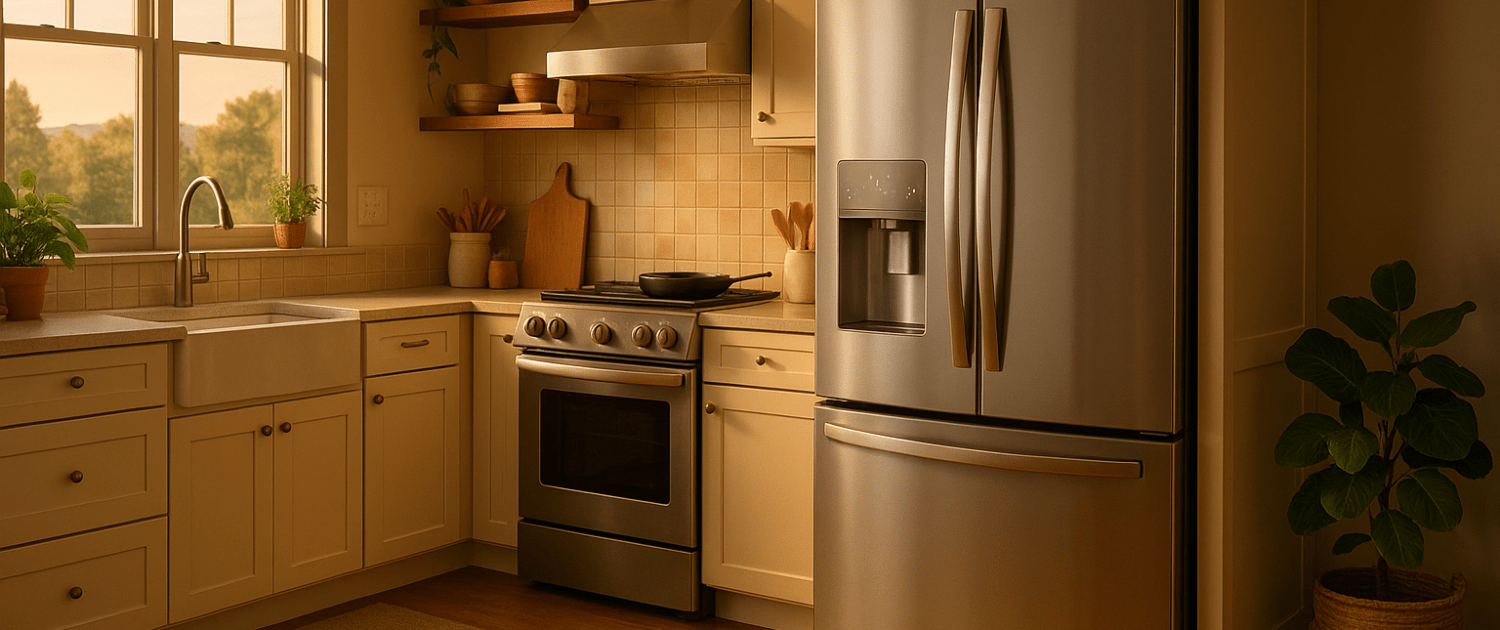
Having trouble moving your Whirlpool, KitchenAid, or Maytag refrigerator? If it’s wobbling or refusing to roll smoothly, the cabinet roller axle (part #W11594405) might be worn out or broken. This small part plays a big role in keeping your fridge level and easy to reposition. The good news? Replacing it is a quick DIY job that doesn’t require fancy tools. In this guide, we’ll walk you through how to replace the cabinet roller axle so your fridge is back on its feet in no time.

Watch the repair here: How to replace a refrigerator cabinet roller axle
The information in this article may not apply to your specific appliance model. We recommend consulting your manufacturer’s documentation or contact us with any questions.
Tools and materials
Before you start this repair, make sure you’ve gathered the following tools and parts:
- ¼” nut driver
- Second wrench (with 3/8″ and ½” sockets)
- Flat blade screwdriver
- Two wooden blocks (2×4 or 4×4)
- Replacement cabinet roller axle and clip Whirlpool part # W11594405 (Take your model number to AppliancePartsPros.com to locate the correct part for your appliance)
Safety precautions
When working on any appliance, remember to keep safety first. Here are some tips to keep in mind:
- Always power off and unplug your appliance or switch off the circuit breaker before attempting any maintenance or replacement work. This keeps you safe by preventing any risk of injury from electric shock.
- Wear insulated work gloves to protect your hands from sharp metal parts, pinching hazards and debris.
- Take your time and don’t rush while working to prevent accidents and personal injuries.
- Work in a well-lit area so you can clearly see and access the interior parts.
- Clear your workspace of clutter and other obstacles. Keep children and pets away from the work area.
- Never work on internal parts with bare wet hands. Make sure the work area is completely dry.
- Check your user manual to see if there are specific installation or safety instructions for your part or appliance.
- Be gentle when handling or removing parts. Excessive force might damage the appliance or cause injury.
- Wear safety glasses when working with chemicals, dust or cleaning large debris to prevent injury.
- If the appliance has recently been used, give it plenty of time for any heating parts to cool down before working on it.
- Take pictures or make a note of wiring terminals or other connections before disconnecting to prevent any problems with reassembly.
- When working with wires, avoid touching any exposed wires or terminals. If you need to touch a wire, use a non-conductive tool or wear insulating gloves to prevent electrical shock.
- Turn off the water supply at the outlet before beginning repairs to any appliance parts that hold water. Have towels ready for any residual water in the system when removing parts.
Removal and Disassembly Steps
- Open your refrigerator door to access the toe grille and water filter.
- Twist the water filter clockwise and pull it out gently (it might have water inside).
- Now remove the grille—just grab and pull it off.
- Remove the top screws (they’re 3/8″) using the second wrench.
- Next, take out the bottom screws (½”) the same way.
- Head to the back of the fridge.
- Remove the rear access panel using your ¼” nut driver.
- Slide the power cord out of its slot so you can lift the panel.
- Remove the two bottom bolts—one at each rear corner—with your ½” wrench.
- Use 2×4 wooden blocks to slightly lift one side of the fridge.
- Place the block 3–4 inches in from the corner.
- Lift slowly and slide the block in just an inch—don’t go further.
- Repeat on the opposite side.Slightly lift the base. Slide out the old cabinet roller axle and set it aside.
Important: Don’t put your hands in the gap or touch the wood while the fridge is lifted!
Installation and Reassembly Steps
- Align the holes on the roller and the base.
- Slide the new axle in until it goes all the way through.
- Lift the base slightly if needed to slide it in fully.
- Repeat for the opposite rear axle, if you’re replacing both.
- Carefully remove both wooden blocks.
- Lower the fridge slowly and gently.
- Push the base forward by about ½–1 inch so it sits correctly.
- Lift the front of the fridge slightly using a 4×4 block.
- Slide in the block (no more than an inch) to hold it up.
- Use your flat blade screwdriver to pry out the old axle.
- Align and slide in the new axle.
- Lift the fridge slightly again, pull out the block, and lower it down.
- Head to the back again.
- Use your ½” wrench to reinstall the two bolts on each corner.
- Slide the cardboard panel under the fridge base.
- Slide the power cord back into its slot.
- Reinstall the rear access panel with the ¼” screws—line up the holes and secure.
- Install the bottom front screws (½”)—start them by hand, then tighten with the wrench.
- Do the same for the top screws (3/8″).
- Clip the grille back on—align the pins and press into place.
- Slide the water filter back in, push, and turn it clockwise to lock.
Close the fridge door. Plug it back in. Turn on the water. Open the door and check for leaks—you’re all set!
More information
Thanks for reading! We hope this DIY guide helped you successfully replace a broken refrigerator cabinet roller axle. If you still need a replacement axle or other parts, grab your model number and visit AppliancePartsPros.com. With over 2 million parts in stock, most orders ship out in just 1-2 days.
If you need any help finding the right replacement part or placing an order, you can speak with our team directly at (877) 477-7278. We’re always happy to help!
While you wait for the delivery of your parts, be sure to explore our DIY repair guides and video tutorials for maintenance tips. Follow Appliance Parts Pros on Facebook, Twitter, and Instagram for our latest repair advice and special deals!
 https://www.appliancepartspros.com/b/wp-content/uploads/2025/09/groovetopia_macro_shot_of_frost_crystals_forming_irregular_patt_37deb777-ed26-4ba3-927c-946d5393a753.png
816
1456
appthr
https://www.appliancepartspros.com/b/wp-content/uploads/2020/11/app-logo-std.png
appthr2025-09-24 13:04:442025-09-25 06:50:45Refrigerator Sealed Systems: Where DIY Stops and Gauges Begin
https://www.appliancepartspros.com/b/wp-content/uploads/2025/09/groovetopia_macro_shot_of_frost_crystals_forming_irregular_patt_37deb777-ed26-4ba3-927c-946d5393a753.png
816
1456
appthr
https://www.appliancepartspros.com/b/wp-content/uploads/2020/11/app-logo-std.png
appthr2025-09-24 13:04:442025-09-25 06:50:45Refrigerator Sealed Systems: Where DIY Stops and Gauges Begin https://www.appliancepartspros.com/b/wp-content/uploads/2025/06/20250618_1202_Refrigerator-Door-Gasket-Issue_simple_compose_01jy1wbpw8fxvvpx4nn5ejvsk3.png
1024
1536
Steven E
https://www.appliancepartspros.com/b/wp-content/uploads/2020/11/app-logo-std.png
Steven E2025-06-20 06:21:482025-08-20 12:16:14How to Replace Door Gasket W10355582 on a Whirlpool Fridge
https://www.appliancepartspros.com/b/wp-content/uploads/2025/06/20250618_1202_Refrigerator-Door-Gasket-Issue_simple_compose_01jy1wbpw8fxvvpx4nn5ejvsk3.png
1024
1536
Steven E
https://www.appliancepartspros.com/b/wp-content/uploads/2020/11/app-logo-std.png
Steven E2025-06-20 06:21:482025-08-20 12:16:14How to Replace Door Gasket W10355582 on a Whirlpool Fridge https://www.appliancepartspros.com/b/wp-content/uploads/2025/06/20250617_1527_Refrigerators-Ice-Maker_simple_compose_01jxznp0v6ebzsggaqpx90xtq8.png
1024
1536
Steven E
https://www.appliancepartspros.com/b/wp-content/uploads/2020/11/app-logo-std.png
Steven E2025-06-20 06:06:492025-06-20 06:06:58Whirlpool Fridge Not Making Ice? How To Troubleshoot the Sensor
https://www.appliancepartspros.com/b/wp-content/uploads/2025/06/20250617_1527_Refrigerators-Ice-Maker_simple_compose_01jxznp0v6ebzsggaqpx90xtq8.png
1024
1536
Steven E
https://www.appliancepartspros.com/b/wp-content/uploads/2020/11/app-logo-std.png
Steven E2025-06-20 06:06:492025-06-20 06:06:58Whirlpool Fridge Not Making Ice? How To Troubleshoot the SensorWith nearly a decade of experience in providing top-notch customer service regarding appliance parts and repair, Steven enjoys sharing practical advice, troubleshooting tips, and interesting information to help readers stay informed.