How to Replace Your Bathroom Fan Timer Switch Like a Pro
Steven E / Thursday July 3, 2025
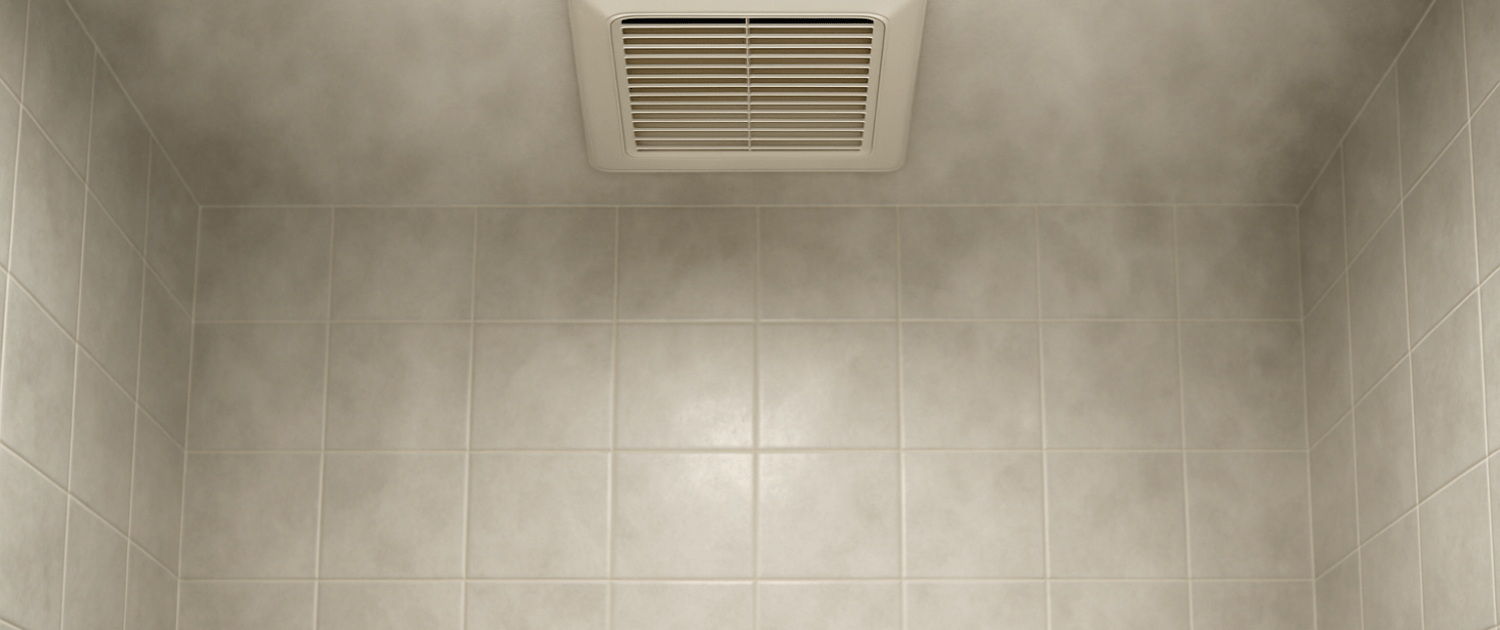
A bathroom fan timer switch is a convenient feature that allows you to set the fan to run for a specific period after turning it on, ensuring proper ventilation even after you’ve left the bathroom. However, like any electrical component, the timer switch can wear out or malfunction over time. If your bathroom fan timer switch is no longer working as it should, replacing it is a straightforward DIY task that can restore proper function and keep your bathroom ventilation in check.
We recommend consulting your manufacturer’s documentation or contact us with any questions.
Why You Might Need to Replace a Bathroom Fan Timer Switch
There are a few common signs that indicate it might be time to replace your bathroom fan timer switch. These include:

- The timer doesn’t turn off the fan: If the fan continues running after the set time has passed, it could indicate a faulty timer switch.
- No response when adjusting the timer: If turning the dial or pressing buttons on the timer switch does nothing, it could be a sign of an electrical issue within the switch.
- Physical damage: Cracked or broken timer switches can cause electrical hazards or prevent the fan from operating as intended.
- Unusual buzzing or humming sounds: If the timer switch emits a buzzing or humming sound, it could be malfunctioning.
Replacing the timer switch will restore the automatic functionality of your fan, helping to prevent excess moisture and reduce the risk of mold and mildew growth in your bathroom.
Tools and Materials You’ll Need
Before you begin, gather the necessary tools and materials to replace your bathroom fan timer switch. Here’s a list of what you’ll need:
- Replacement timer switch (make sure it’s compatible with your bathroom fan model)
- Screwdriver (typically a flathead or Phillips, depending on your switch)
- Voltage tester or multimeter
- Wire strippers
- Wire nuts
- Electrical tape (optional)
- Safety gloves (optional but recommended)
- Flashlight (if you need extra lighting in your work area)
Ensure you purchase a timer switch that is designed for bathroom use. Some switches are rated for high moisture environments and have extra protection against water damage.
Steps to Replace the Bathroom Fan Timer Switch
Now that you have your tools and replacement parts, let’s get started with the step-by-step process to replace the bathroom fan timer switch.
Turn Off the Power
This is the most important step in any electrical repair. Always make sure to cut the power to the bathroom fan circuit to avoid any electrical accidents.
- Go to your electrical panel and locate the circuit breaker for the bathroom fan. Turn it off to cut the power to the fan and timer switch.
- Use a voltage tester to ensure that there is no electricity running to the switch. Test the wires in the switch box before proceeding to the next steps.
Remove the Timer Switch Cover
- Use a screwdriver to remove the screws holding the timer switch cover in place. Set the cover aside to avoid losing the screws.
- If your timer switch has a knob, pull it off gently to expose the mounting screws.
Unscrew the Timer Switch from the Electrical Box
- With the cover removed, you’ll see the timer switch itself mounted to the electrical box. Use your screwdriver to remove the screws that secure the timer switch to the box.
- Carefully pull the timer switch away from the wall, exposing the wires behind it.
Take Note of the Wiring Connections
Before disconnecting any wires, it’s essential to take note of how the old timer switch is wired. Most timer switches have three main terminals: one for the live wire (hot), one for the neutral wire, and one for the fan wire.
- Take a picture or make a diagram of the wire connections for reference. This will help ensure you connect the new timer switch correctly.
- If the wiring isn’t color-coded or labeled, use electrical tape to mark each wire (e.g., black for the hot wire, white for neutral) to avoid confusion.
Disconnect the Old Timer Switch
- Using your screwdriver, loosen the terminal screws holding the wires in place.
- Carefully remove the wires from the old timer switch. If the wires are tightly secured, use wire strippers to remove a small section of insulation, exposing fresh wire.
- Remove the old timer switch and set it aside.
Prepare the New Timer Switch
- Strip the wires: If necessary, use wire strippers to remove about 1/2 inch of insulation from the ends of the wires. Be careful not to cut or damage the wires in the process.
- Inspect the new timer switch: Verify that the new switch has the same number of terminals and is compatible with your wiring setup.
Connect the New Timer Switch
- Connect the wires to the new switch: Following the diagram or picture you made earlier, connect the wires to the corresponding terminals on the new timer switch.
- Tighten the terminal screws: Make sure the wires are securely attached to the new switch by tightening the terminal screws with your screwdriver.
Mount the New Timer Switch
- Carefully push the wired timer switch back into the electrical box, making sure the wires are not pinched or stressed.
- Secure the switch in place with the screws provided.
Reattach the Switch Cover
- Place the cover plate over the timer switch and secure it with the screws you removed earlier.
- If your switch has a knob, slide it onto the switch’s shaft.
Test the New Timer Switch
- Turn the power back on by flipping the circuit breaker back to the “on” position.
- Test the timer switch by turning the fan on and setting the timer to see if it turns off automatically after the set time.
If the timer works as expected, congratulations, you’ve successfully replaced your bathroom fan timer switch!
Where To Find Us
If you need any replacement parts for your appliances, you can enter your model number at AppliancePartsPros.com to locate and order them quickly. Most orders arrive in just two business days, and we have tons of great information in our repair help section and YouTube videos to help you troubleshoot.
Stay connected with the latest DIY tips, tutorial videos, and repair guides by following us on Facebook, Instagram, and Twitter. We love hearing about your repair stories and successes. If you need more help or want personalized guidance, feel free to reach out. We’re ready to help you take on your next project with confidence!
The information in this article may not apply to your specific appliance model.
- Disconnect power before you start — unplug it or switch off the breaker, and confirm it’s dead.
- Follow your local electrical code.
- Anything involving household wiring, outlets, or the breaker panel itself is licensed-electrician territory.
 https://www.appliancepartspros.com/b/wp-content/uploads/2025/06/20250602_0949_Farmhouse-Bathroom-Fan_simple_compose_01jwredw40ez2rwepk8ybry7e4.png
1024
1536
Steven E
https://www.appliancepartspros.com/b/wp-content/uploads/2020/11/app-logo-std.png
Steven E2025-06-02 06:56:132026-07-14 12:25:28Replacing Broan Bath Fan Motor and Blower Wheel S97017062
https://www.appliancepartspros.com/b/wp-content/uploads/2025/06/20250602_0949_Farmhouse-Bathroom-Fan_simple_compose_01jwredw40ez2rwepk8ybry7e4.png
1024
1536
Steven E
https://www.appliancepartspros.com/b/wp-content/uploads/2020/11/app-logo-std.png
Steven E2025-06-02 06:56:132026-07-14 12:25:28Replacing Broan Bath Fan Motor and Blower Wheel S97017062With nearly a decade of experience in providing top-notch customer service regarding appliance parts and repair, Steven enjoys sharing practical advice, troubleshooting tips, and interesting information to help readers stay informed.