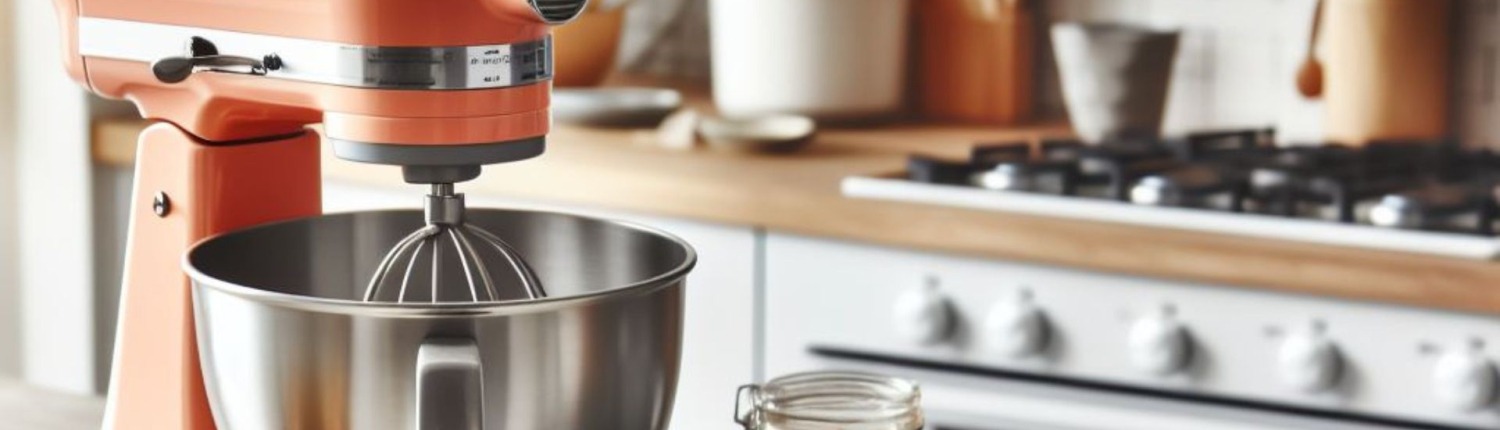
How to troubleshoot a stand mixer that isn’t spinning
Steven E / Tuesday April 16, 2024
When your trusty stand mixer grinds to a halt and the beater refuses to spin, it’s a frustrating situation that can derail your baking plans. But before you consider a costly replacement, there are a few things you can check yourself to find out what went wrong.
Let’s dig into your mixer to find out what’s going on so you can get back to whipping up your favorite recipes.
If you find out that you need any replacement parts for your stand mixer while you’re troubleshooting, you can enter your model number at AppliancePartsPros.com to order them. Most orders arrive in just two business days, and we have thousands of free guides to show you how to install your new parts.
Disclaimer: The troubleshooting information provided in this article is based on general service manuals and may not apply to your specific appliance model. While we strive to offer helpful advice for DIY appliance repairs, variations in models and configurations can lead to differences in troubleshooting steps, error codes and part replacements. For the most accurate guidance, we strongly recommend consulting the technical sheet for your specific appliance model.

Possible causes behind a stand mixer that won’t spin
A bad worm gear or a damaged planetary gear assembly can prevent a stand mixer from spinning. These parts help the mixer’s beater rotate.
The worm gear is a cylindrical gear that engages with the motor gear to drive the rotation of the beater. Over time, the teeth on the worm gear can wear out or become damaged, which can prevent it from transferring power to the beater. If the beater doesn’t move at all when the motor is running, then the worm gear might be stripped.
If the beater moves around the inside of the mixing bowl but doesn’t spin, the issue may lie with the pinion gear inside the planetary gear assembly. The planetary gear assembly transmits power from the motor to the beater. Within the assembly, the pinion gear meshes with the ring gear so the beater can rotate. If the pinion gear is stripped or damaged, it can’t engage with the ring gear, so the beater won’t spin.
Read more: How To Clean And Maintain Your Stand Mixer
Safety precautions
When working on any appliance, remember to keep safety first. Here are some tips to keep in mind:
- Always power off and unplug your appliance or switch off the circuit breaker before attempting any maintenance or replacement work. This keeps you safe by preventing any risk of injury from electric shock.
- Wear insulated work gloves to protect your hands from sharp metal parts, pinching hazards and debris.
- Don’t test wiring with a multimeter for live voltage if you’re unfamiliar with how to prevent short-circuiting when testing.
- When working with wires, avoid touching any exposed wires or terminals. If you need to touch a wire, use a non-conductive tool or wear insulating gloves to prevent electrical shock.
- Take your time and don’t rush while working to prevent accidents and personal injuries.
- Work in a well-lit area so you can clearly see and access the interior parts.
- Clear your workspace of clutter and other obstacles. Keep children and pets away from the work area.
- Check your user manual to see if there are specific installation or safety instructions for your part or appliance.
- Be gentle when handling or removing parts. Excessive force might damage the appliance or cause injury.
- If the appliance has recently been used, give it plenty of time for any heating parts to cool down before working on it.
Read more: How To Replace A Mixer Speed Control Plate
How to troubleshoot a stand mixer that won’t spin
Follow these steps so you can troubleshoot a stand mixer that won’t spin.
Step 1: Check the worm gear
- Unplug the stand mixer from the power source.
- Find the worm gear, which is typically near the motor assembly, beneath the mixer’s head.
- Inspect the worm gear for signs of damage or stripping. If the worm gear is stripped, use a screwdriver or pliers to remove the retaining clip or screw that holds it in place.
How to replace the worm gear
- Place the new worm gear in the same position as the old one and secure it with the retaining clip or screw.
- Check that the new gear is correctly aligned and engaged with the motor assembly.
- Reassemble any other parts that you removed.
- Plug in the stand mixer and test to see if the beater spins correctly.
Step 2: Check the planetary gear assembly
- Find the planetary gear assembly, which is typically situated near the beater attachment.
- Remove any attachments, including the beater and dough hook, from the mixer.
- Depending on your specific mixer model, you may need to remove a retaining clip or unscrew a cover to access the planetary gear assembly.
- Carefully detach the planetary gear assembly from the mixer.
- Inspect the pinion gear inside the planetary gear assembly for any signs of damage or stripping. If the pinion gear is damaged, remove the old planetary gear assembly.
How to replace the planetary gear assembly
- Attach the new planetary gear assembly to the mixer.
- Check that the new assembly is aligned and securely fastened.
- Reattach any covers or retaining clips that were removed.
- Reattach the beater or other attachments.
- Plug in the stand mixer and test the beater to see if it spins.
Read more: How to replace KitchenAid mixer worm gear WP9709231
FAQs
Q: How often should I service my mixer?
A: If you’re a casual mixer user, it’s recommended to have your machine serviced every 3-5 years. But if you use your mixer very often or for professional purposes, you’ll need to service it more frequently. Regular service should include cleaning, re-greasing and checking for worn or damaged parts.
Q: How do I clean my stand mixer?
A: Always unplug the mixer and remove any attachments before cleaning it. The mixing bowl, beater, and other removable parts can usually be washed with warm, soapy water. Some attachments may be dishwasher safe, but check your model’s manual for any specific cleaning recommendations. You can wipe down the mixer base with a damp cloth. Make sure to thoroughly dry all the parts before reassembling the mixer.
Q: How do I adjust the beater height for bowl clearance?
A: The beater’s height can affect how your stand mixer mixes foods. To adjust the clearance, find the screw just under the head of the mixer. Turn the screw slightly to the left to lower the beater, and turn it to the right to raise it.
Q: Why does my mixer shut off while I’m using it?
A: This might be happening if the motor is overheating. It’s more likely to happen when you’re mixing large or heavy batches of ingredients or running the mixer at high speeds for an extended period. You should unplug the mixer and allow it to cool down for at least 30 minutes before using it again.
Additional information
Thank you for reading! We hope this guide helped you get your stand mixer working again.
If you have any other appliance repair needs or projects, don’t hesitate to explore our other troubleshooting guides and videos.
If you need replacement parts or some extra help with ordering them, grab your model number and head over to AppliancePartsPros.com, where you can chat with a pro, read our DIY blog and more.
Don’t forget to subscribe to us on YouTube and follow us on Facebook, Twitter and Instagram!
With nearly a decade of experience in providing top-notch customer service regarding appliance parts and repair, Steven enjoys sharing practical advice, troubleshooting tips, and interesting information to help readers stay informed.