Installing Stack Kit W10869845 on a Whirlpool Washer and Dryer
Steven E / Friday June 6, 2025
Is your cramped laundry room in need of a makeover? Learn how to stack your washer and dryer to free up valuable space and avoid the expense of hiring a professional. Watch our step-by-step video just below and discover how easy it can be to create a sleek, space-saving laundry setup all on your own!
Looking for the right part? Enter your appliance model number below to find the exact match and get your appliance running like new again!
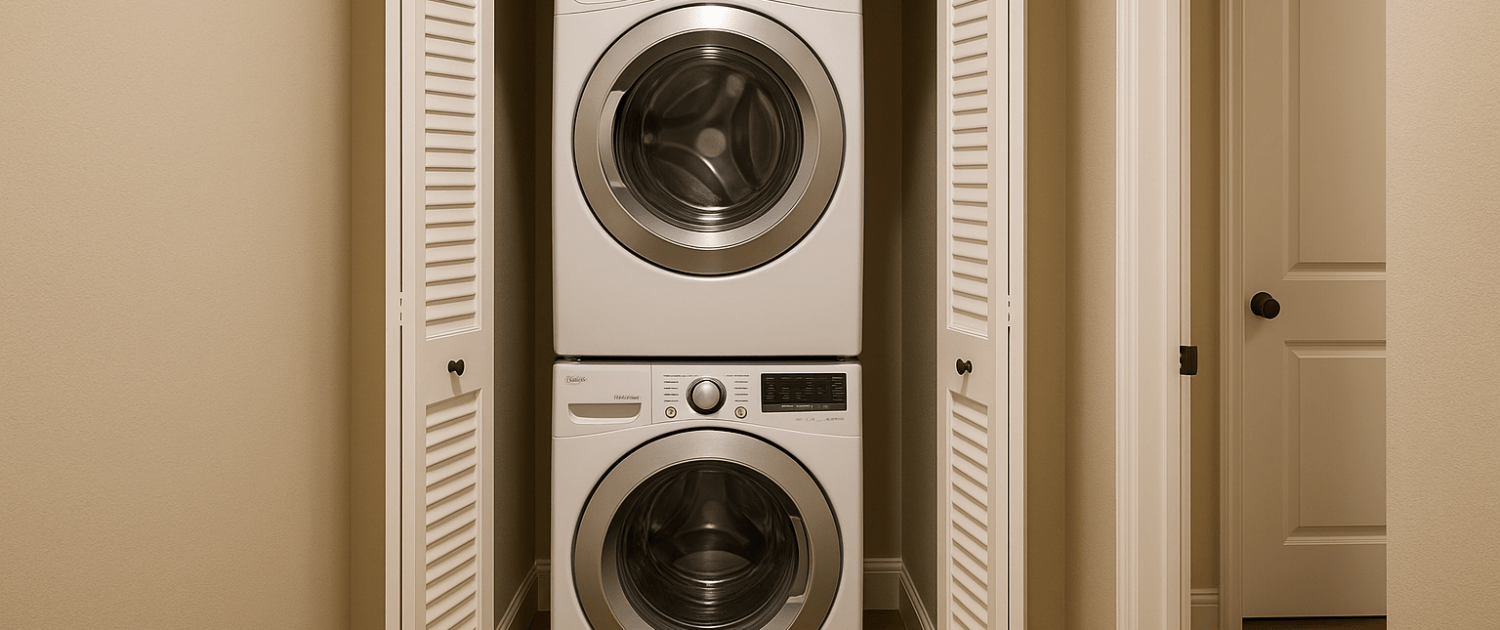
By using a stacking kit, you can make the most of your space by stacking your washer and dryer vertically. If you’re dealing with a tight laundry room or trying to free up space in your apartment, learning to DIY this project can save you from shelling out for an appliance technician. It might sound tricky, but with the right tools and following instructions, installing a washer-dryer stack kit can be a simple weekend project.

Watch the repair here: How to install stacking kit
The information in this article may not apply to your specific appliance model. We recommend consulting your manufacturer’s documentation or contact us with any questions.
Tools and materials needed
Before getting started, make sure you have all the required stack kit parts and tools readily available:
- Large pliers
- Flat blade screwdriver
- Phillips head screwdriver
Part W10869845 includes:
- 4 foot brackets
- 2 hooked brackets
- 2 clips
- 4 screws
You’ll also want to have your washer and dryer manuals on hand for reference. Take your model number to AppliancePartsPros.com to make sure this stack kit will work for your unit.
Safety first
When working on any appliance, always keep safety first to avoid personal injury or damage to the appliance or parts. Here are some safety tips to keep in mind:
- Always power off and unplug your appliance or switch off the circuit breaker before attempting any maintenance or replacement work. This keeps you safe by preventing any risk of electric shock.
- If the appliance has recently been used, give it plenty of time to cool down before working on it.
- Take your time and don’t rush while working to prevent accidents and personal injuries.
- Work in a well-lit area so you can clearly see and access appliance parts.
- Keep your workspace free of clutter and other obstacles. Keep children and pets away from the work area.
- Never work on internal parts with wet hands. Make sure the work area is completely dry.
- Check the user manual to see if there are specific installation or safety instructions related to your appliance or replacement part.
- Be gentle when handling or removing parts. Excessive force might damage the appliance or cause personal injury.
- Wear insulated work gloves to protect your hands from sharp metal parts and debris.
- When working with wires, avoid touching any exposed wires or terminals. If you need to touch a wire, use a non-conductive tool or wear insulating gloves to prevent electrical shock.
- Don’t test live voltage with a multimeter if you’re unfamiliar with how to prevent short-circuiting.
- Consider wearing safety glasses and/or a dust mask when working with chemicals, dust or a large amount of debris to prevent irritation or injury.
Step 1: Uninstall the washer and dryer
Before installing the stack kit, you first need to uninstall your existing side-by-side washer and dryer:
- Unplug both the washer and dryer from their power sources.
- Turn off the water supply to both appliances.
- Disconnect the hot and cold water lines from the back of the washer along with the drain hose.
- Disconnect the exhaust vent, gas line (if applicable) from the back of the dryer.
- Turn off the gas supply to the dryer at the shut-off valve.
Step 2: Replace dryer feet with stack kit feet
The existing feet on your dryer likely won’t line up properly with the top of the washer. So you’ll need to swap them out with the specialized feet that come with your Whirlpool stack kit:
- Carefully place the dryer on its side on top of a blanket or piece of cardboard to prevent scratches.
- Use the large pliers to unscrew and fully remove all 4 original dryer feet. Set them aside in case you ever want to revert the dryer to a standalone unit.
- Take the new stack kit feet and begin threading them into the empty foot holes by hand in a clockwise direction.
- Use the pliers to tighten down each foot bracket the rest of the way for a snug fit.
Step 3: Stack the dryer on top of the washer
Having a helper makes lifting and positioning the dryer much easier. If lifting solo, take precautions not to injure your back.
- Carefully lift the dryer and align the back edge with the back of the washer. Slide the dryer back so all 4 updated feet are planted firmly on the washer top.
- Install the 2 plastic clips included with the Whirlpool stack kit on the back bottom corners of the dryer.
- Attach the 2 hooked brackets over the clips on the bottom rear of the dryer using the flat blade screwdriver to help seat them properly.
- Use the Phillips head screwdriver and provided screws to securely fasten the brackets to the washer.
Step 4: Reconnect washer and dryer
- Reattach the hot and cold water lines, drain hose, gas line and exhaust vent to the rear of the appliances.
- Turn the shutoff valves to restore water and gas supply.
- Verify no leaks exist before plugging appliances back into separate grounded outlets.
Run the washer and dryer through test cycles individually before placing laundry inside to confirm proper operation. Congratulations! You now have a professional-looking, space-saving washer dryer stack ready for laundry.
More information
Thanks for reading! If you have any other appliance repair needs or projects, you can find more resources including our DIY blog at AppliancePartsPros.com. There, you can enter your model number to order the exact parts you need. Most orders arrive in two business days.
You can also reach our award-winning customer service team at 1-877-477-7278, chat with a pro on our website and watch thousands of free video tutorials on our YouTube channel.
 https://www.appliancepartspros.com/b/wp-content/uploads/2023/08/Dryer-that-does-not-tumble.png
609
1086
Steven E
https://www.appliancepartspros.com/b/wp-content/uploads/2020/11/app-logo-std.png
Steven E2023-08-07 11:02:462023-08-07 11:02:55Troubleshooting Tips for a Dryer Drum That Does Not Turn
https://www.appliancepartspros.com/b/wp-content/uploads/2023/08/Dryer-that-does-not-tumble.png
609
1086
Steven E
https://www.appliancepartspros.com/b/wp-content/uploads/2020/11/app-logo-std.png
Steven E2023-08-07 11:02:462023-08-07 11:02:55Troubleshooting Tips for a Dryer Drum That Does Not Turn https://www.appliancepartspros.com/b/wp-content/uploads/2023/08/How-to-level-a-refrigerator.png
572
1020
Steven E
https://www.appliancepartspros.com/b/wp-content/uploads/2020/11/app-logo-std.png
Steven E2023-08-04 14:29:542024-06-20 07:40:46How to level a refrigerator in 5 easy steps
https://www.appliancepartspros.com/b/wp-content/uploads/2023/08/How-to-level-a-refrigerator.png
572
1020
Steven E
https://www.appliancepartspros.com/b/wp-content/uploads/2020/11/app-logo-std.png
Steven E2023-08-04 14:29:542024-06-20 07:40:46How to level a refrigerator in 5 easy steps https://www.appliancepartspros.com/b/wp-content/uploads/2023/08/tracybeard_photo_camera_35mm_film_photo_depth_of_field_detailed_4a0511b2-f4a3-4713-bf13-00d2bc703079.png
572
1020
Steven E
https://www.appliancepartspros.com/b/wp-content/uploads/2020/11/app-logo-std.png
Steven E2023-08-04 11:30:162023-08-04 11:30:23F09 Whirlpool Washer Error Code: A Troubleshooting Guide
https://www.appliancepartspros.com/b/wp-content/uploads/2023/08/tracybeard_photo_camera_35mm_film_photo_depth_of_field_detailed_4a0511b2-f4a3-4713-bf13-00d2bc703079.png
572
1020
Steven E
https://www.appliancepartspros.com/b/wp-content/uploads/2020/11/app-logo-std.png
Steven E2023-08-04 11:30:162023-08-04 11:30:23F09 Whirlpool Washer Error Code: A Troubleshooting GuideWith nearly a decade of experience in providing top-notch customer service regarding appliance parts and repair, Steven enjoys sharing practical advice, troubleshooting tips, and interesting information to help readers stay informed.