KitchenAid Mixer Stuck on High Speed? Here’s How To Fix It
Steven E / Wednesday May 7, 2025
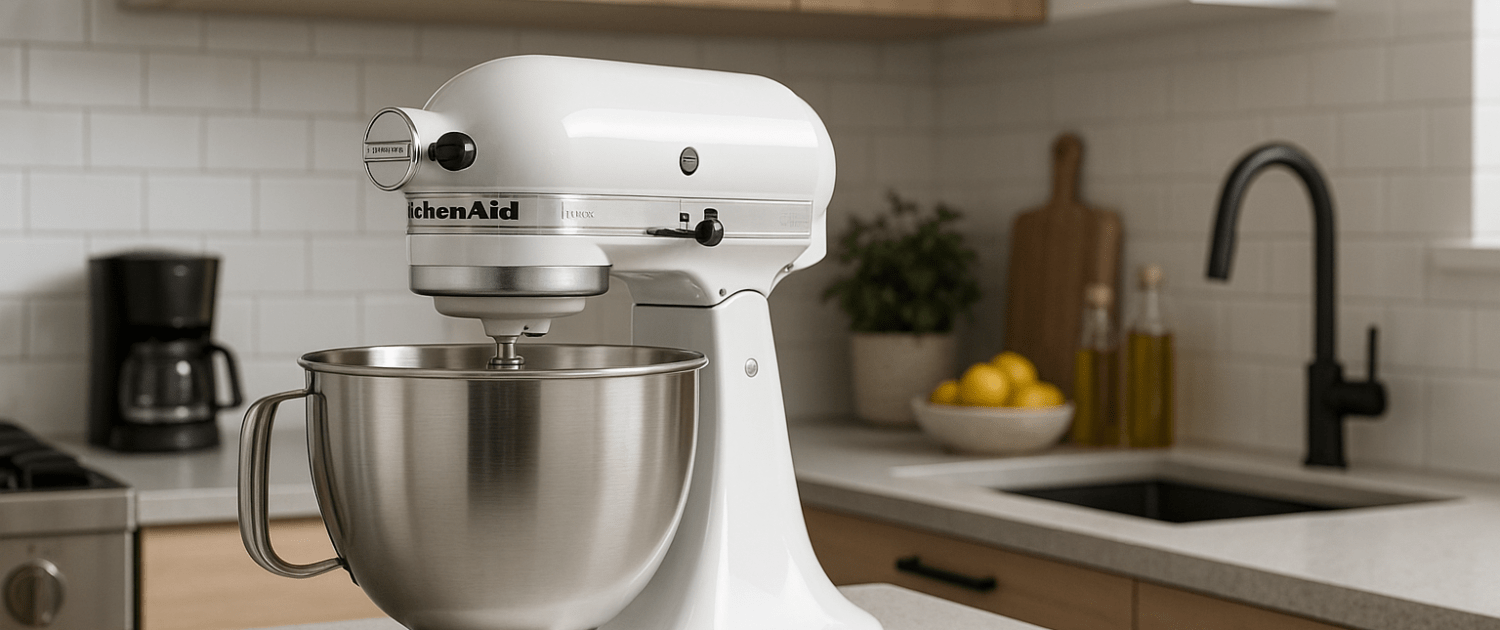
Are you struggling with a KitchenAid mixer that seems to be stuck at high speed? Don’t panic! This common issue can often be resolved with a little troubleshooting and the right guidance. We’ll dive deep into the potential causes, safety precautions, tools you’ll need, and a step-by-step guide to fixing your KitchenAid mixer that’s stuck at high speed.
If you need any replacement parts for your KitchenAid stand mixer, you can enter your model number at AppliancePartsPros.com to order them. Most orders arrive in just two business days, and we have thousands of free guides to show you how to install your new parts.
The information in this article may not apply to your specific appliance model. We recommend consulting your manufacturer’s documentation or contact us with any questions.
How does a KitchenAid mixer work?
Before we jump into fixing it, let’s make sure you’ve got the basics of how your KitchenAid mixer operates. These handy kitchen gadgets can tackle a variety of tasks, like mixing dough, whipping cream, and more. But, like any appliance, they can act up over time.

Key parts
A KitchenAid mixer consists of several key components that work together seamlessly:
- The motor is the heart of the mixer, providing the power to turn the mixing bowl and beaters.
- The bowl is where all the ingredients are placed and mixed.
- The attachments are used for mixing, blending, and whipping ingredients.
- The speed control lever allows you to adjust the speed of the mixer.
Safety first
When working on any appliance, remember to keep safety first. Here are some tips to keep in mind:
- Always power off and unplug your appliance or switch off the circuit breaker before you attempt any maintenance or replacement work. This keeps you safe by preventing any risk of electric shock.
- If the appliance has recently been used, give it plenty of time to cool down before working on it.
- Take your time while working to prevent accidents and personal injuries. Rushing is the enemy of precision.
- Work in a well-lit area so you can clearly see and access appliance parts.
- Keep your workspace free of clutter and other obstacles. Keep children and pets away from the work area.
- Never work on internal parts with wet hands. Make sure the work area is completely dry.
- Check the user manual to see if there are specific installation or safety instructions related to your appliance or replacement part.
- Be gentle when handling or removing parts. Excessive force might damage the appliance or cause personal injury.
- Wear insulated work gloves to protect your hands from sharp metal parts and debris.
- When working with wires, avoid touching any exposed wires or terminals. If you need to touch a wire, use a non-conductive tool or wear insulating gloves to prevent electrical shock.
- Don’t test live voltage with a multimeter if you’re unfamiliar with how to prevent short-circuiting.
- Consider wearing safety glasses and/or a dust mask when working with chemicals, dust or a large amount of debris to prevent irritation or injury.
Step-by-step guide
Step 1- Unplug and open the mixer
- Unplug the mixer from the power source.
- Remove the bowl and any attachments from the mixer.
- Remove the screw at the back of the mixer head and lift the top cover off to access the speed control mechanism
Step 2- Inspect the speed control mechanism
- Open the mixer
- Inspect the speed control mechanism for visible signs of damage or wear and tear
- Check for loose or disconnected wires, broken gears, or any other damage indicators
- If damage is found, consider replacing the affected parts
Step 3- Adjust or replace parts
- If there’s no visible damage, try adjusting the parts.
- Check the speed control plate. If loose, tighten it with a screwdriver. If damaged, you will need to replace it.
- Inspect the speed control lever. Adjust if loose or misaligned. Replace it if it’s damaged.
Step 4- Reassemble the mixer
Adjust or replace necessary parts.
Reassemble the mixer:
- Place the top cover back on the mixer and secure it with the screw.
- Reattach the bowl and any attachments.
- Plug the mixer back in.
- Test to ensure it’s working properly.
By following these simple steps, you should be able to fix the high-speed issue with your KitchenAid mixer and get back to cooking and baking with ease. If you need to order parts, take your model number to AppliancePartsPros.com to locate the correct part for your unit.
Test the mixer
After fixing your KitchenAid mixer, it’s essential to test it to ensure it’s working correctly. Here are a few steps to test the mixer:
- Plug in the mixer and turn it on. The mixer should start at a low speed.
- Change the speed to high. The mixer should operate at high speed without any issues.
- To test the mixer further, add some ingredients to the bowl. The mixer should be able to handle the ingredients without any problems.
- While the mixer is running, listen for any unusual noises. If there are no strange sounds, the mixer is working correctly.
- Finally, check for any leaks from the mixer. If there are no leaks, the mixer is ready to use.
Testing the mixer after fixing it is crucial to ensure it’s functioning correctly. If you encounter any issues during the testing process, it’s best to address them before using the mixer for any recipes.
More information
Thank you for reading! We hope this guide helped you get your mixer working again.
If you have any other appliance repair needs or projects, don’t hesitate to explore our other troubleshooting guides and videos.
If you need replacement parts or some extra help with ordering them, grab your model number and head over to AppliancePartsPros.com, where you can chat with a pro, read our DIY blog and more.
Be sure to subscribe to us on YouTube and follow us on Facebook, Twitter and Instagram!
 https://www.appliancepartspros.com/b/wp-content/uploads/2025/09/20250709_1340_Modern-Kitchen-Setup_simple_compose_01jzr47f29eta8qkm70jtkda7v.png
1024
1536
Steven E
https://www.appliancepartspros.com/b/wp-content/uploads/2020/11/app-logo-std.png
Steven E2025-09-05 10:48:472025-09-05 10:48:54How to Clean KitchenAid Mixer Attachments Without Damaging Them
https://www.appliancepartspros.com/b/wp-content/uploads/2025/09/20250709_1340_Modern-Kitchen-Setup_simple_compose_01jzr47f29eta8qkm70jtkda7v.png
1024
1536
Steven E
https://www.appliancepartspros.com/b/wp-content/uploads/2020/11/app-logo-std.png
Steven E2025-09-05 10:48:472025-09-05 10:48:54How to Clean KitchenAid Mixer Attachments Without Damaging Them https://www.appliancepartspros.com/b/wp-content/uploads/2025/09/20250709_1340_Modern-Kitchen-Setup_simple_compose_01jzr47f2cenv9y2rk00bw2z7x.png
1024
1536
Steven E
https://www.appliancepartspros.com/b/wp-content/uploads/2020/11/app-logo-std.png
Steven E2025-09-05 10:44:172025-09-05 10:44:25Keep Your KitchenAid Stand Mixer Fresh: Daily Cleaning Guide
https://www.appliancepartspros.com/b/wp-content/uploads/2025/09/20250709_1340_Modern-Kitchen-Setup_simple_compose_01jzr47f2cenv9y2rk00bw2z7x.png
1024
1536
Steven E
https://www.appliancepartspros.com/b/wp-content/uploads/2020/11/app-logo-std.png
Steven E2025-09-05 10:44:172025-09-05 10:44:25Keep Your KitchenAid Stand Mixer Fresh: Daily Cleaning Guide https://www.appliancepartspros.com/b/wp-content/uploads/2025/09/20250709_1336_Luxury-Kitchen-Baking-Scene_simple_compose_01jzr40p6pe09bgx9cmjyb2agj.png
1024
1536
Steven E
https://www.appliancepartspros.com/b/wp-content/uploads/2020/11/app-logo-std.png
Steven E2025-09-05 08:53:312025-09-05 08:53:41KitchenAid Stand Mixers: Classic vs. Digital Comparison
https://www.appliancepartspros.com/b/wp-content/uploads/2025/09/20250709_1336_Luxury-Kitchen-Baking-Scene_simple_compose_01jzr40p6pe09bgx9cmjyb2agj.png
1024
1536
Steven E
https://www.appliancepartspros.com/b/wp-content/uploads/2020/11/app-logo-std.png
Steven E2025-09-05 08:53:312025-09-05 08:53:41KitchenAid Stand Mixers: Classic vs. Digital ComparisonWith nearly a decade of experience in providing top-notch customer service regarding appliance parts and repair, Steven enjoys sharing practical advice, troubleshooting tips, and interesting information to help readers stay informed.