Laundry Steam Closet Keeps Shutting Off Mid-Cycle? How To Fix It
Steven E / Thursday July 3, 2025
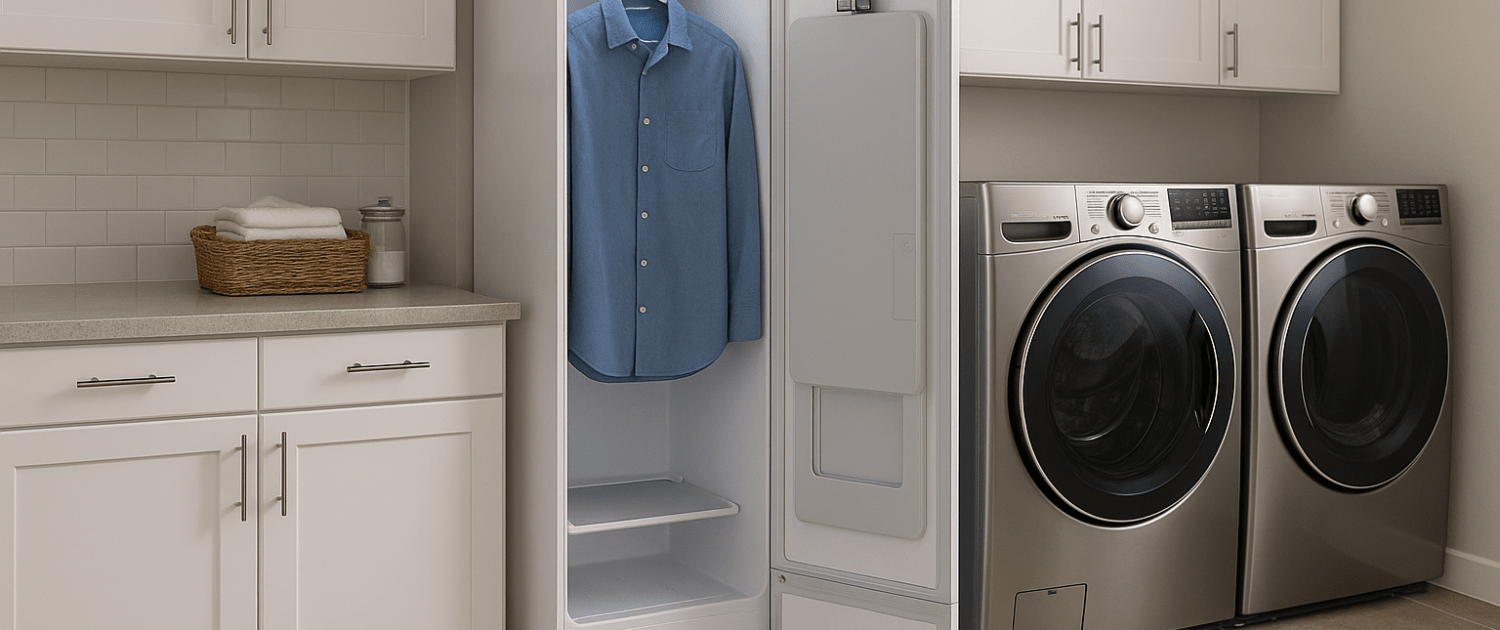
Nothing’s more frustrating than loading up your steam closet, pressing start, and watching it begin, only to shut off halfway through the cycle. If your laundry steam closet keeps shutting off mid-cycle, don’t worry. You can fix it yourself, and we’re here to help you do exactly that.
The information in this article may not apply to your specific appliance model. We recommend consulting your manufacturer’s documentation or contact us with any questions.
Common Causes of Mid-Cycle Shutdowns
- Overheating or blocked ventilation
- A faulty thermostat or thermal fuse
- Water supply problems
- Control board errors
- Door latch or sensor failure
- Electrical power fluctuations
- Clogged steam generator or mineral buildup
Identifying which of these is your culprit is the first step. Let’s walk through the troubleshooting process step by step.
Step 1: Make Sure It’s Not a Power Issue
Start by ruling out any basic electrical problems:

- Make sure the plug is securely connected to the outlet and that the outlet is supplying power.
- Check the circuit breaker and reset it if it has tripped.
- Avoid using extension cords; plug the unit directly into a dedicated outlet.
- Inspect the power cord for any signs of fraying or damage.
- If the unit loses power intermittently, test the outlet by plugging in another appliance. If the outlet works properly, proceed to the next step.
Step 2: Inspect the Door Latch and Sensor
Steam closets are designed not to operate if the door isn’t fully closed and locked. If the latch is loose or the door sensor isn’t detecting a proper seal, it might start the cycle and then shut off mid-way.
How to Fix:
- Clean the latch and sensor area with a microfiber cloth and isopropyl alcohol.
- Tighten screws on the latch if they’re loose.
- Make sure the door is properly aligned with the cabinet.
- If the sensor still doesn’t respond, you can test it with a multimeter for continuity and replace it if it’s faulty.
Step 3: Check the Water Supply
Your steam closet needs water to create steam; if it can’t draw water properly, it may abort the cycle.
- Check the water reservoir (if your model has one) and refill it.
- Inspect the inlet hose for kinks, clogs, or leaks.
- Ensure the water supply valve is fully open.
- Clean the inlet filter screen of any sediment buildup.
If you hear the pump trying to work but no water enters, replacing the inlet valve may solve the problem.
Step 4: Clean the Steam Generator
Hard water can leave mineral deposits inside the steam generator, restricting water flow and heating efficiency. If the system senses a problem, it may shut off mid-cycle.
- Turn off and unplug the unit.
- Remove the steam generator cover (refer to your manual for exact location).
- Drain any remaining water from the reservoir.
- Fill with a 50/50 mixture of white vinegar and water. Let sit for 30 minutes.
- Drain and flush with clean water.
Regular cleaning of the steam generator every few months can prevent this problem from returning.
Step 5: Inspect the Thermostat and Thermal Fuse
Steam closets have built-in safety devices to prevent overheating. If the thermostat is malfunctioning or the thermal fuse has tripped, the closet may shut down unexpectedly.
How to Test:
- Unplug the unit and remove the back panel.
- Locate the thermostat and thermal fuse near the heating element or steam generator.
- Use a multimeter to check for continuity. If the thermostat reads open, replace it.
Step 6: Examine the Control Board
If none of the mechanical parts seem to be the issue, the problem could be with the control board. This is the “brain” of the steam closet, and a failing board can cause erratic behavior, like shutting off mid-cycle or error codes.
How to Replace:
- Order the correct replacement board based on your model number.
- Disconnect power, remove the access panel, and locate the board.
- Take a picture of all wire connections before removing.
- Disconnect wires, remove screws, and replace with the new board.
- Reconnect wires, secure the panel, and test.
Step 7: Check for Blocked Ventilation
Steam closets have fans and vents that circulate air during a cycle. If vents are blocked by dust, lint, or debris, the system can overheat or fail to maintain proper airflow.
What to Do:
- Open the back or side panels and locate the ventilation fan.
- Clean any dust buildup using a vacuum or compressed air.
- Inspect the exhaust path and make sure nothing is blocking airflow.
If the fan isn’t spinning freely, you can replace it, it’s usually mounted with a couple of screws and connected with a simple plug.
Where To Find Us
If you need any replacement parts for your appliances, you can enter your model number at AppliancePartsPros.com to locate and order them quickly. Most orders arrive in just two business days, and we have tons of great information in our repair help section and YouTube videos to help you troubleshoot.
Stay connected with the latest DIY tips, tutorial videos, and repair guides by following us on Facebook, Instagram, and Twitter. We love hearing about your repair stories and successes. If you need more help or want personalized guidance, feel free to reach out. We’re ready to help you take on your next project with confidence!
 https://www.appliancepartspros.com/b/wp-content/uploads/2025/09/20250902_1620_Mediterranean-Laundry-Room_simple_compose_01k461a5xaepn9q640rf4pvg76.png
1024
1536
Steven E
https://www.appliancepartspros.com/b/wp-content/uploads/2020/11/app-logo-std.png
Steven E2025-09-04 07:33:372025-09-04 07:33:48How to Buy a Steam Closet: A Practical Buyer’s Guide
https://www.appliancepartspros.com/b/wp-content/uploads/2025/09/20250902_1620_Mediterranean-Laundry-Room_simple_compose_01k461a5xaepn9q640rf4pvg76.png
1024
1536
Steven E
https://www.appliancepartspros.com/b/wp-content/uploads/2020/11/app-logo-std.png
Steven E2025-09-04 07:33:372025-09-04 07:33:48How to Buy a Steam Closet: A Practical Buyer’s Guide https://www.appliancepartspros.com/b/wp-content/uploads/2025/08/20250715_1042_Country-Laundry-Room_simple_compose_01k078dy79ew9swg0w117kw2kt.png
1024
1536
Steven E
https://www.appliancepartspros.com/b/wp-content/uploads/2020/11/app-logo-std.png
Steven E2025-09-03 05:30:572025-09-03 05:31:09What Not to Put in Your Laundry Steam Closet: 15 Things to Avoid
https://www.appliancepartspros.com/b/wp-content/uploads/2025/08/20250715_1042_Country-Laundry-Room_simple_compose_01k078dy79ew9swg0w117kw2kt.png
1024
1536
Steven E
https://www.appliancepartspros.com/b/wp-content/uploads/2020/11/app-logo-std.png
Steven E2025-09-03 05:30:572025-09-03 05:31:09What Not to Put in Your Laundry Steam Closet: 15 Things to Avoid https://www.appliancepartspros.com/b/wp-content/uploads/2025/08/20250708_1036_Rustic-Laundry-Serenity_simple_compose_01jzn79cstfhqraym99s4mb8gv.png
1024
1536
Steven E
https://www.appliancepartspros.com/b/wp-content/uploads/2020/11/app-logo-std.png
Steven E2025-09-03 05:26:082025-09-03 05:26:42How Steam Closets Help You Kick Allergens and Germs to Breathe Easy
https://www.appliancepartspros.com/b/wp-content/uploads/2025/08/20250708_1036_Rustic-Laundry-Serenity_simple_compose_01jzn79cstfhqraym99s4mb8gv.png
1024
1536
Steven E
https://www.appliancepartspros.com/b/wp-content/uploads/2020/11/app-logo-std.png
Steven E2025-09-03 05:26:082025-09-03 05:26:42How Steam Closets Help You Kick Allergens and Germs to Breathe EasyWith nearly a decade of experience in providing top-notch customer service regarding appliance parts and repair, Steven enjoys sharing practical advice, troubleshooting tips, and interesting information to help readers stay informed.