Laundry Steam Closet Not Producing Steam? Here’s What to Do
Steven E / Tuesday July 8, 2025
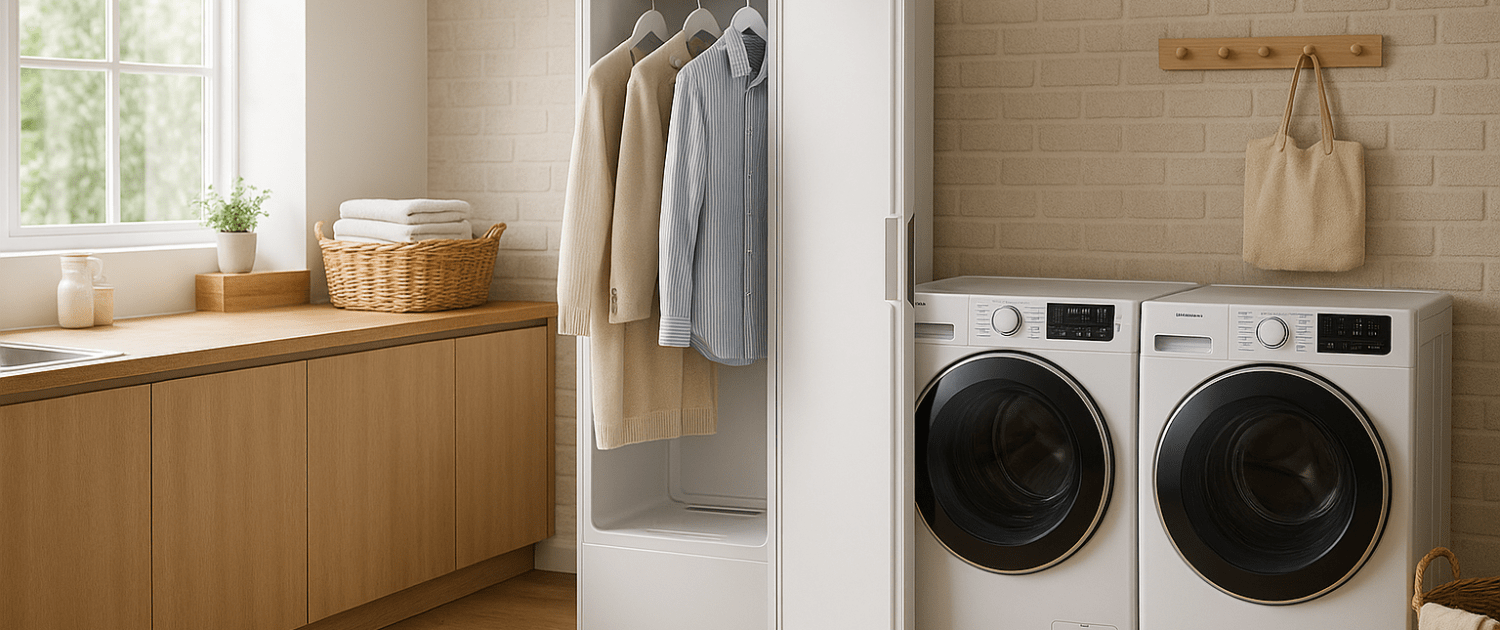
Your laundry steam closet is supposed to refresh your clothes with a gentle cloud of steam, but what if nothing’s coming out? Don’t worry. A steam closet that stops producing steam is a common issue, usually caused by something simple. Here’s how to figure out what’s wrong and get your steam closet working like new again.
The information in this article may not apply to your specific appliance model. We recommend consulting your manufacturer’s documentation or contact us with any questions.
How Does a Laundry Steam Closet Produce Steam?
Inside your unit is a steam generator, essentially a small, enclosed boiler. When you start a cycle, the closet draws water from its reservoir or water line, sends it into the generator, and heats it up. The hot steam is then released through vents to fill the chamber and treat your clothes.
If any part of this process is interrupted, no water gets to the generator, and you won’t see any steam.

Common Reasons Your Steam Closet Stops Producing Steam
There are several possible culprits, here are the most common causes:
- Water supply issues (empty tank, blocked line, clogged filter)
- Mineral buildup inside the steam generator
- Malfunctioning heating element
- Blocked steam vents or nozzles
- Faulty sensors or control board errors
Luckily, these can be diagnosed and repaired with basic tools and a little patience.
What You’ll Need
Before you dive in, gather these items:
- Microfiber cloths
- Warm, soapy water
- White vinegar (for descaling)
- Soft brush or pipe cleaner
- Screwdrivers (Phillips and flathead)
- Multimeter (to test electrical components)
- Replacement heating element, if needed
- Flashlight
Step 1: Check the Water Supply
The most obvious place to start is the water. If the steam generator isn’t getting water, it can’t produce steam.
Here’s what to check:
- Make sure the water reservoir is full. If your model connects directly to a water line, verify the valve is open and supplying water.
- Remove the reservoir and inspect it for cracks, leaks, or clogs.
- Check the water inlet filter for sediment or debris. If it’s dirty, rinse it under running water until it’s clean.
If you refill or clean the reservoir and still don’t get steam, move on to the next step.
Step 2: Inspect and Clean the Steam Generator
If the water supply is fine, the issue may be inside the steam generator itself. Over time, minerals in the water can accumulate and block the heating chamber.
How to clean it:
- Unplug your steam closet.
- Remove the back or side panel to access the steam generator (check your manual if needed).
- Drain any remaining water from the generator into a bucket.
- Fill the generator with a 50/50 mixture of white vinegar and water. Let it sit for 30 minutes to break up deposits.
- Drain the mixture and rinse the chamber with clean water several times.
- Reassemble the unit and run a short cycle to test.
This simple descaling often solves the problem and should be done regularly to keep your steam closet in top shape.
Step 3: Check the Steam Vents
Sometimes the generator is working just fine, but the steam can’t get out because the vents or nozzles are blocked. Lint, dust, or even mineral residue can clog the openings.
What to do:
- Open the steam closet and locate the vents or nozzles inside the chamber.
- Use a flashlight to inspect them.
- Clean the vents with a soft brush or pipe cleaner to remove buildup.
- Wipe down the entire interior with a damp microfiber cloth.
- Run another test cycle to see if the steam flows properly.
Step 4: Test and Replace the Heating Element
If you’ve cleaned the water supply, generator, and vents but still have no steam, the heating element may be failing. This is the part that actually heats the water to create steam.
How to test it:
- Unplug the steam closet and access the heating element.
- Disconnect the wiring from the element.
- Set your multimeter to the ohms (Ω) setting and touch the probes to the element terminals.
- You should get a reading that matches the specification in your manual (usually between 10–50 ohms).
- If the reading is infinite (open circuit) or zero (short circuit), the element is bad and needs to be replaced.
How to replace the heating element:
- Unscrew the mounting bracket holding the element in place.
- Remove the old element and install the new one, making sure it’s properly sealed and connected.
- Reassemble and test the unit.
Step 5: Check the Sensors and Control Board
If all the mechanical parts seem fine, the issue could lie with one of the sensors or even the control board. Faulty sensors can prevent the unit from initiating the steam cycle, even if everything else is working.
What to look for:
- Temperature sensors: Test for continuity with a multimeter. Replace if readings are outside the normal range.
- Water level sensors: Clean them with a damp cloth and retest. Replace if faulty.
- Control board: Inspect visually for burn marks, loose connections, or swollen capacitors.
Run a Full Test Cycle
Once you’ve cleaned, tested, and replaced any faulty parts, plug the steam closet back in and run a full cycle with no clothes inside. If everything works as it should, your repair was a success.
Where To Find Us
If you need any replacement parts for your appliances, you can enter your model number at AppliancePartsPros.com to locate and order them quickly. Most orders arrive in just two business days, and we have tons of great information in our repair help section and YouTube videos to help you troubleshoot.
Stay connected with the latest DIY tips, tutorial videos, and repair guides by following us on Facebook, Instagram, and Twitter. We love hearing about your repair stories and successes. If you need more help or want personalized guidance, feel free to reach out. We’re ready to help you take on your next project with confidence!
 https://www.appliancepartspros.com/b/wp-content/uploads/2025/07/20250708_0934_Luxurious-Laundry-Oasis_simple_compose_01jzn3pt94e51a1wsx2t3zcykn.png
1024
1536
Steven E
https://www.appliancepartspros.com/b/wp-content/uploads/2020/11/app-logo-std.png
Steven E2025-07-11 11:59:182025-07-11 11:59:27How to Replace the Steam Generator in Your Laundry Closet
https://www.appliancepartspros.com/b/wp-content/uploads/2025/07/20250708_0934_Luxurious-Laundry-Oasis_simple_compose_01jzn3pt94e51a1wsx2t3zcykn.png
1024
1536
Steven E
https://www.appliancepartspros.com/b/wp-content/uploads/2020/11/app-logo-std.png
Steven E2025-07-11 11:59:182025-07-11 11:59:27How to Replace the Steam Generator in Your Laundry Closet https://www.appliancepartspros.com/b/wp-content/uploads/2025/07/20250709_1250_Cozy-Laundry-Closet_simple_compose_01jzr1eg3wf7x8jweybfkrttne.png
1024
1536
Steven E
https://www.appliancepartspros.com/b/wp-content/uploads/2020/11/app-logo-std.png
Steven E2025-07-11 11:50:222025-07-11 11:50:30How to Replace the Clothes Rack or Hangers in Your Steam Closet
https://www.appliancepartspros.com/b/wp-content/uploads/2025/07/20250709_1250_Cozy-Laundry-Closet_simple_compose_01jzr1eg3wf7x8jweybfkrttne.png
1024
1536
Steven E
https://www.appliancepartspros.com/b/wp-content/uploads/2020/11/app-logo-std.png
Steven E2025-07-11 11:50:222025-07-11 11:50:30How to Replace the Clothes Rack or Hangers in Your Steam Closet https://www.appliancepartspros.com/b/wp-content/uploads/2025/07/20250709_1250_Cozy-Laundry-Closet_simple_compose_01jzr1eg3sfydszhx7t42hjqme.png
1024
1536
Steven E
https://www.appliancepartspros.com/b/wp-content/uploads/2020/11/app-logo-std.png
Steven E2025-07-11 11:24:432025-07-11 11:24:53How to Repair a Broken Door Latch on a Laundry Steam Closet
https://www.appliancepartspros.com/b/wp-content/uploads/2025/07/20250709_1250_Cozy-Laundry-Closet_simple_compose_01jzr1eg3sfydszhx7t42hjqme.png
1024
1536
Steven E
https://www.appliancepartspros.com/b/wp-content/uploads/2020/11/app-logo-std.png
Steven E2025-07-11 11:24:432025-07-11 11:24:53How to Repair a Broken Door Latch on a Laundry Steam ClosetWith nearly a decade of experience in providing top-notch customer service regarding appliance parts and repair, Steven enjoys sharing practical advice, troubleshooting tips, and interesting information to help readers stay informed.