Leaf blower smokes: What it means and how to repair it
Steven E / Friday November 22, 2024
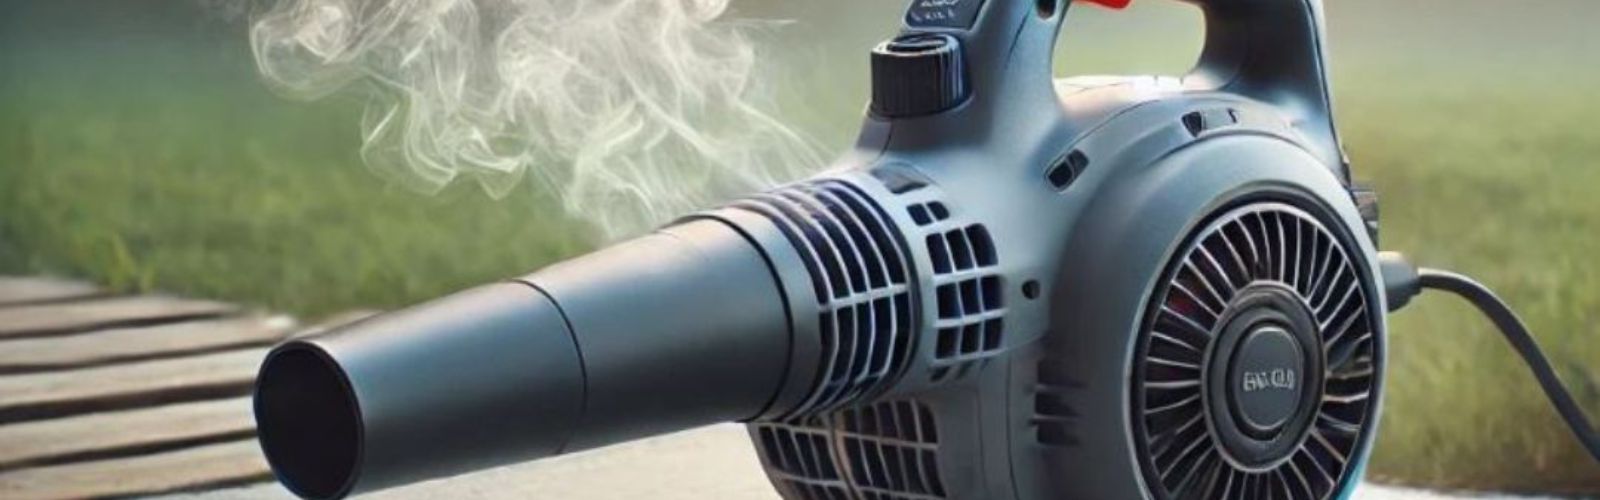
There’s nothing like a smoking leaf blower to throw a wrench in your yard work plans. Not only is it a nuisance, but it could also be a clue that your machine needs some attention. Figuring out why your leaf blower is puffing smoke can help you sort things out fast and get back to tidying up your yard.
Heads up: The tips we’re sharing might not fit every single model out there. We aim to offer helpful advice for all sorts of DIY appliance fixes, but different models can have their own quirks, like unique troubleshooting steps, error codes, or parts. For spot-on guidance, it’s best to check your manufacturer’s manual or give us a shout if you’ve got questions.
Safety precautions
When working on any appliance, remember to keep safety first. Here are some tips to keep in mind:
- If working indoors, make sure there is adequate ventilation to prevent the buildup of exhaust fumes. Carbon monoxide poisoning can be a serious risk.
- Wear insulated work gloves to protect your hands from sharp metal parts, pinching hazards and debris.
- Never attempt to service or repair while it is running or when the engine is still warm. Wait for all moving parts to come to a complete stop.
- Exercise extreme caution when working near blades, augers, or any other moving parts. Keep your hands, fingers, and clothing clear of these areas at all times.
- If the appliance has recently been used, give it plenty of time for any hot parts to cool down before working on it.
- Empty the gas tank before beginning any work. Refill using fresh fuel.
- When working with wires, avoid touching any exposed wires or terminals. If you need to touch a wire, use a non-conductive tool or wear insulating gloves to prevent electrical shock.
- Take your time and don’t rush while working to prevent accidents and personal injuries.
- Work in a well-lit area so you can clearly see and access the interior parts.
- Clear your workspace of clutter and other obstacles. Keep children and pets away from the work area.
- Be gentle when handling or removing parts. Excessive force might damage the appliance or cause injury.
- Wear safety glasses when working with chemicals, dust or cleaning large debris to prevent injury.
- When not in use, store the machine in a safe and dry location.
Read more: How to fix a leaf blower that starts and then stalls

Top causes for gas-powered leaf blowers
Incorrect fuel mixture
Two-stroke engines rely on a precise mix of gasoline and oil. If there’s too much oil in the mixture, it can lead to excessive smoke as the oil burns in the engine.
Steps to troubleshoot and fix:
- Check the fuel mixture in the tank. If you suspect the ratio is off, drain the tank completely. Dispose of the fuel properly following local regulations.
- Mix a fresh batch of fuel, following the manufacturer’s recommended gas-to-oil ratio (e.g., 50:1 or 40:1). Use a measuring cup or oil ratio bottle for accuracy.
- Shake the fuel container well before refilling the blower to ensure the oil is evenly distributed.
Dirty spark arrestor
The spark arrestor, a small screen in the muffler, traps sparks to prevent them from exiting the exhaust. Over time, soot and carbon deposits can clog this screen, restricting exhaust flow and causing smoke.
Steps to troubleshoot and fix:
- Locate the muffler, where the spark arrestor is housed.
- Remove the spark arrestor screen carefully. Refer to the manual if you’re unsure how to access it.
- Inspect the screen for soot buildup or clogging. If it’s dirty, clean it with a wire brush. For stubborn buildup, soak the screen in carburetor cleaner for 10-15 minutes, then scrub it again.
- Reinstall the cleaned screen and secure any covers or screws.
Worn piston rings
Worn piston rings allow engine oil to enter the combustion chamber, where it burns with the fuel-air mixture, producing blue smoke.
Steps to troubleshoot and fix:
- Remove the spark plug, insert a compression tester, and pull the starter cord. Low compression indicates worn piston rings.
- Disassemble the engine to access the piston.
- Remove and replace the worn rings with new ones compatible with your blower.
- Clean the piston and cylinder, then reassemble the engine.
Top causes for electric (corded) leaf blowers
Burning debris in vents
Dust, leaves, or other debris can get sucked into the air intake or motor vents. If this debris comes into contact with hot motor components, it can burn, creating smoke or a burning smell.
Steps to troubleshoot and fix:
- Turn off the blower and unplug it from the power source to ensure safety.
- Inspect the air intake and motor vents for any visible debris. Look for signs of burning, such as scorch marks or a smoky odor near the vent area.
- Use a soft brush or compressed air to carefully remove any debris from the vents and surrounding areas. Avoid using sharp tools that could damage the blower.
- If you suspect debris has made its way inside the housing, carefully disassemble the blower to check the motor compartment for additional blockages.
Overheated motor
Prolonged use or blocked airflow can cause the electric motor to overheat. This often results in smoke or a burning smell, especially if internal components like bearings are under strain.
Steps to troubleshoot and fix:
- Turn off the blower, unplug it, and allow it to cool completely before handling.
- Inspect the air vents for dirt or obstructions. Clean them with a brush or compressed air to ensure proper airflow.
- Avoid running the blower for long periods without breaks. For future use, adhere to the manufacturer’s guidelines for runtime and cooling periods.
Electrical short
A short circuit within the motor or wiring can cause overheating and smoke. This is often accompanied by a burning plastic smell or sudden shutdown.
Steps to troubleshoot and fix:
- Inspect the power cord and plug for visible damage, such as frayed wires, melted insulation, or bent prongs. Replace the cord or plug if necessary.
- If accessible, open the housing to check the internal wiring and motor for signs of burning or short circuits. Look for discolored wires, melted components, or loose connections. Replace any damaged wires or components.
Top causes for battery-powered leaf blowers
Overheating battery
An overheating battery can emit smoke or fumes, often caused by prolonged use, overcharging, or a defective battery.
Steps to troubleshoot and fix:
- Turn off the blower and remove the battery immediately. Place the battery in a safe, non-flammable area, away from direct sunlight or heat sources.
- Inspect the battery for signs of damage, such as swelling, leaking, or burn marks.
- Allow the battery to cool completely. Do not attempt to charge or use it until it is fully cool and inspected.
- If the battery shows physical damage or continues to overheat during normal use, replace it with a new, manufacturer-approved battery.
- To prevent future issues, use only the charger specified by the manufacturer and avoid overcharging the battery.
Motor overheating
Running the blower for extended periods without breaks can overheat the motor. Overheating may cause internal components to emit smoke or odors.
Steps to troubleshoot and fix:
- Turn off the blower and allow it to cool for at least 20 minutes.
- Check the user manual for recommended runtime limits.
- Ensure the air vents are clear to improve motor cooling.
- Avoid continuous operation; give the blower periodic breaks during use.
Overloaded impeller
An overloaded or jammed impeller (fan) can strain the motor, leading to overheating and smoke.
Steps to troubleshoot and fix:
- Turn off the blower and remove the battery.
- Inspect the impeller for blockages, such as twigs or leaves, and remove them.
- Check the impeller for cracks or misalignment and replace it if damaged.
- Reassemble and test the blower.
Top causes common to all types of leaf blowers
Dirty or blocked air vents
Air vents are essential for cooling and proper airflow. When these vents are clogged with dust, dirt, or debris, the blower’s motor or engine can overheat, potentially emitting smoke or a burning odor.
Steps to troubleshoot and fix:
- Inspect all air vents on the blower for visible debris or dirt buildup.
- Use a soft brush, vacuum cleaner, or compressed air to clean the vents thoroughly. Be careful not to push debris further inside the blower.
- If the vents appear clear but overheating continues, disassemble the blower to inspect for blockages within the internal components.
- Reassemble the blower and test it. Clean the vents regularly after each use to prevent future overheating.
Overheating from prolonged use
Running a leaf blower continuously without breaks can lead to overheating, especially in warm conditions or with heavy workloads. Overheating can produce smoke or a burnt smell as internal components struggle to dissipate heat.
Steps to troubleshoot and fix:
- Check the user manual for recommended runtime limits and adhere to these guidelines in the future.
- Inspect the blower’s air vents and internal components to ensure proper cooling and airflow. Clean them as necessary.
- Avoid using the blower in extreme heat or for extended periods without giving it breaks to cool down.
Damaged internal components
Worn-out or damaged parts, such as bearings, wiring, or motor components, can fail under normal operation, producing smoke or strange odors. This is often a sign of advanced wear and tear or improper maintenance.
Steps to troubleshoot and fix:
- Turn off the blower and disconnect it from the power source to ensure safety.
- Disassemble the housing to inspect internal components, such as the motor, impeller, wiring, and bearings. Look for signs of damage, such as melted parts, burnt wires, or misaligned components.
- Replace any damaged parts with manufacturer-approved replacements. Tighten loose screws or connections during reassembly.
Read more: Troubleshooting and Fixing a Leaf Blower that Won’t Start
Need more help?
If you’re scratching your head over a step or need spare parts, our repair help section has detailed guides and support. Remember, knowing your leaf blower’s exact model is key to finding the right parts and instructions. Learn how to find your model number to make sure everything lines up.
If you’ve got more questions or need to find parts, swing by AppliancePartsPros.com. We’re here to back you up on your DIY repair journey every step of the way.
Stay connected with us for more tips and updates:
If you need a hand with anything else, don’t hesitate to reach out. Our team is ready to help you get your appliances back in tip-top shape.
With nearly a decade of experience in providing top-notch customer service regarding appliance parts and repair, Steven enjoys sharing practical advice, troubleshooting tips, and interesting information to help readers stay informed.