LG Washer Won’t Start Filling? Watch This!
Steven E / Wednesday October 1, 2025
Looking for the right part? Enter your appliance model number below to find the exact match and get your appliance running like new again!
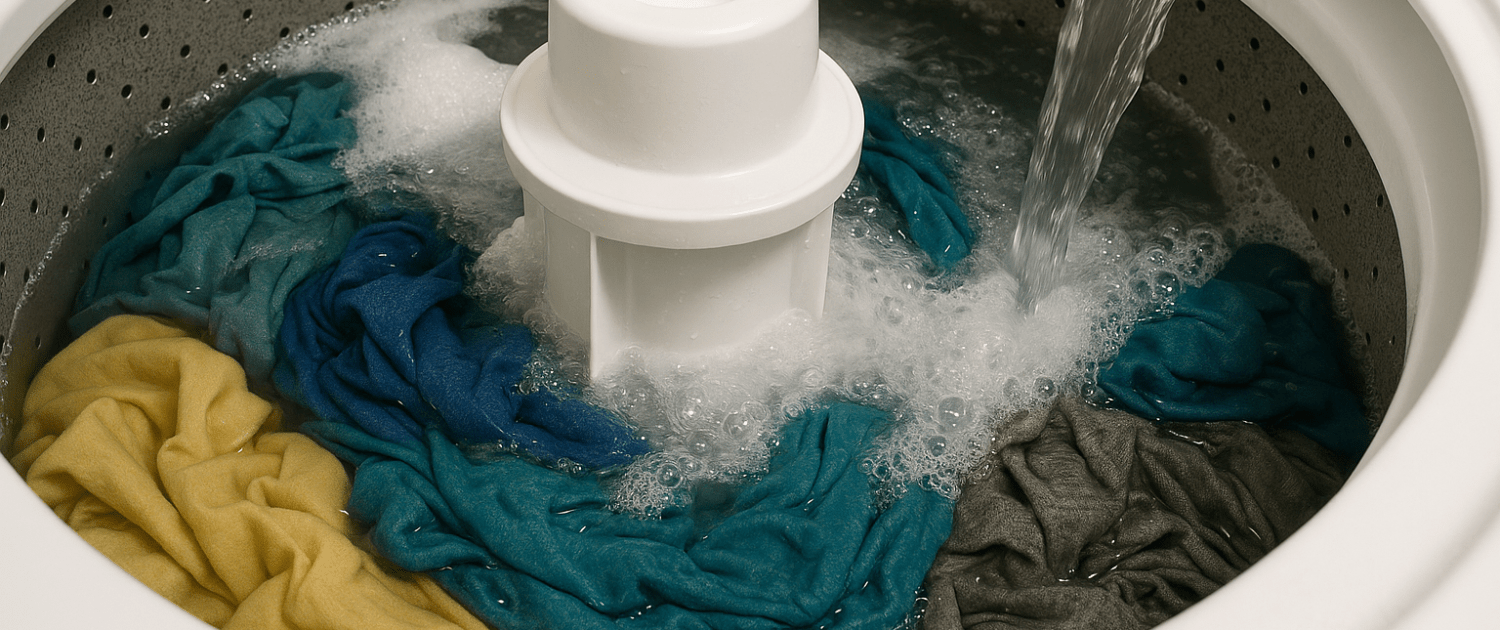
If your LG front-load washer won’t fill with water or is flashing the 1E error code, it can bring your laundry day to a standstill. This problem usually points to a faulty inlet valve, a bad pressure sensor, or an issue with the main control board. Fortunately, with some basic tools and a bit of troubleshooting, you can figure out which part is the culprit and replace it yourself. We’ll break the repair into easy-to-follow steps so you can restore your washer’s performance and get back to clean clothes without waiting on a costly service call.
Why Your Washer Isn’t Filling
When an LG washer won’t fill or throws a 1E error, the problem usually comes down to one of three things:

- Inlet valve failure – The washer isn’t letting water flow in even when power is supplied.
- Pressure sensor failure – The sensor isn’t registering water levels correctly.
- Main control issue – If the other parts test fine, the control board may not be signaling the fill process.
Understanding how each of these works will help you troubleshoot more confidently.
Why Inlet Valves and Sensors Fail
Understanding why these parts fail can help prevent future issues.
- Inlet valves wear down from constant exposure to water and mineral deposits, which can block flow or damage the internal seals.
- Pressure sensors may fail due to electrical wear, moisture damage, or clogged air tubes.
- Control boards are more vulnerable to power surges, heat, and general aging of electronic components.
Tools You’ll Need
For this repair, gather the following:
- Multimeter
- Phillips screwdriver
- Flathead screwdriver
- Pliers
Safety First
Always unplug your washer or turn off the breaker before working on it. The only time you’ll reconnect power is during live voltage testing, and if you’re uncomfortable with that, skip the live test and rely on resistance checks instead.
Step 1: Removing the Top Panel
Before you can test or replace parts, you’ll need to remove the washer’s top panel.
- Use a Phillips screwdriver to remove the two screws located at the back corners.
- Slide the top panel toward the rear of the washer.
- Lift it up and set it aside.
This gives you access to both the inlet valve and the pressure sensor.
Step 2: Testing the Inlet Valve
The inlet valve controls the flow of hot and cold water into your washer. If it fails, the machine won’t fill even when it receives the correct electrical signal.
Live Voltage Test (Optional but Accurate)
- Plug the washer back in.
- Start a wash cycle.
- Set your multimeter to AC volts (V with a squiggly line).
- Test the solenoids on the inlet valve while switching between hot and cold water settings.
What to look for:
- If 120 volts AC is present but water isn’t flowing, the inlet valve has failed and must be replaced.
- If no voltage is present, the issue is further upstream (pressure sensor or control board).
Note: If you’re not comfortable with live voltage testing, skip ahead to sensor testing and process of elimination.
Step 3: Testing the Pressure Sensor
If the inlet valve tests fine or shows no issues, the next step is to check the pressure sensor.
- Unplug the washer.
- Disconnect the wires from the pressure sensor.
- Set your multimeter to resistance (Ω).
- Test between pin 1 and pin 3.
Expected reading:
- Between 21–24 ohms at room temperature.
If your reading falls outside this range, the pressure sensor has failed.
Step 4: Identifying the Main Control
If both the inlet valve and pressure sensor pass their tests, the main control board is the most likely problem. While less common, failures in the control board prevent it from sending the proper signals to start the fill process.
Since control boards are more expensive, it’s always best to test the valve and sensor first to rule them out.
Step 5: Replacing the Inlet Valve
Let’s walk through replacing the inlet valve, since this is the most common repair for fill issues and the 1E error. The process is the same whether it’s the hot or cold valve.
- Turn off the water supply and disconnect the supply hose from the back of the washer.
- Disconnect the wires from the valve.
- Use pliers to release the retainer rings on the dispenser hose, then disconnect the hose from the valve.
- With a Phillips screwdriver, remove the mounting screws near the threaded water inlet.
- Pull the faulty valve out of the washer.
Now compare your old valve to the new replacement to ensure it’s the correct match.
Step 6: Installing the New Inlet Valve
- Mount the new valve onto the back panel using the screws you removed earlier.
- Reattach the dispenser hose and secure it with the retainer ring.
- Reconnect the wiring harness to the valve terminals.
- Reinstall the washer’s top panel, sliding it into place and securing it with the two screws at the back.
- Reconnect the supply hoses, turn the water back on, and plug the washer back in.
Step 7: Testing the Repair
- Start a wash cycle.
- Watch for water filling smoothly without errors.
- If the washer fills correctly and the 1E code doesn’t appear, the repair is complete.
Tips for a Successful DIY Repair
- Replace both valves together if one has failed—this prevents future problems.
- Label wires or take photos before disconnecting them.
- Check hoses for clogs or leaks while you have the washer open.
- Keep screws in a small container to avoid losing them.
Preventing Washer Fill Problems
While you can’t prevent every part failure, you can extend your washer’s life with a few habits:
- Use water softeners if your home has hard water.
- Clean inlet screens on hoses periodically to prevent blockages.
- Avoid overloading the washer, which can put stress on multiple components.
- Keep your laundry area well-ventilated to reduce moisture buildup around electronics.
Where To Find Us
If you need any replacement parts for your appliances, you can enter your model number at AppliancePartsPros.com to locate and order them quickly. Most orders arrive in just two business days, and we have tons of great information in our repair help section and YouTube videos to help you troubleshoot.
Stay connected with the latest DIY tips, tutorial videos, and repair guides by following us on Facebook, Instagram, and Twitter. We love hearing about your repair stories and successes. If you need more help or want personalized guidance, feel free to contact or call us at 877-477-7278. We’re ready to help you take on your next project with confidence!
Since 1999, AppliancePartsPros.com has helped millions of people repair their broken appliances by providing high-quality original parts at well below retail prices, free support and troubleshooting, and award-winning customer service from an expert, friendly, US-based customer support team!
 https://www.appliancepartspros.com/b/wp-content/uploads/2025/12/20250421_1329_Modern-Earthy-Laundry-Room_simple_compose_01jscp8j11fcybbjrf866fwzna.png
1024
1536
Steven E
https://www.appliancepartspros.com/b/wp-content/uploads/2020/11/app-logo-std.png
Steven E2025-12-18 12:21:192025-12-18 12:21:25Samsung Washer Not Filling? How to Diagnose and Fix the Problem Yourself
https://www.appliancepartspros.com/b/wp-content/uploads/2025/12/20250421_1329_Modern-Earthy-Laundry-Room_simple_compose_01jscp8j11fcybbjrf866fwzna.png
1024
1536
Steven E
https://www.appliancepartspros.com/b/wp-content/uploads/2020/11/app-logo-std.png
Steven E2025-12-18 12:21:192025-12-18 12:21:25Samsung Washer Not Filling? How to Diagnose and Fix the Problem Yourself https://www.appliancepartspros.com/b/wp-content/uploads/2025/12/20250418_1140_Compact-Laundry-Setup_simple_compose_01js4rvt4ge4bv2ffq8fmsfkgb.png
1024
1536
Steven E
https://www.appliancepartspros.com/b/wp-content/uploads/2020/11/app-logo-std.png
Steven E2025-12-17 12:26:552025-12-17 12:27:02Why Your LG Front Load Washer Is Damaging Clothes (And How to Fix It)
https://www.appliancepartspros.com/b/wp-content/uploads/2025/12/20250418_1140_Compact-Laundry-Setup_simple_compose_01js4rvt4ge4bv2ffq8fmsfkgb.png
1024
1536
Steven E
https://www.appliancepartspros.com/b/wp-content/uploads/2020/11/app-logo-std.png
Steven E2025-12-17 12:26:552025-12-17 12:27:02Why Your LG Front Load Washer Is Damaging Clothes (And How to Fix It)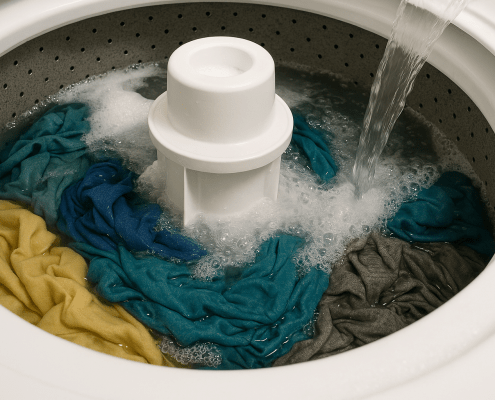 https://www.appliancepartspros.com/b/wp-content/uploads/2025/10/20250616_1418_Overflowing-Washer-Scene_simple_compose_01jxwzahqhf89t78s5f50308cs.png
1024
1536
Steven E
https://www.appliancepartspros.com/b/wp-content/uploads/2020/11/app-logo-std.png
Steven E2025-10-01 13:08:432025-10-01 13:09:16LG Washer Won’t Start Filling? Watch This!
https://www.appliancepartspros.com/b/wp-content/uploads/2025/10/20250616_1418_Overflowing-Washer-Scene_simple_compose_01jxwzahqhf89t78s5f50308cs.png
1024
1536
Steven E
https://www.appliancepartspros.com/b/wp-content/uploads/2020/11/app-logo-std.png
Steven E2025-10-01 13:08:432025-10-01 13:09:16LG Washer Won’t Start Filling? Watch This!With nearly a decade of experience in providing top-notch customer service regarding appliance parts and repair, Steven enjoys sharing practical advice, troubleshooting tips, and interesting information to help readers stay informed.
Leave a Reply
Want to join the discussion?Feel free to contribute!