Repair a cracked refrigerator interior cabinet liner with these pro tips
Steven E / Wednesday June 19, 2024
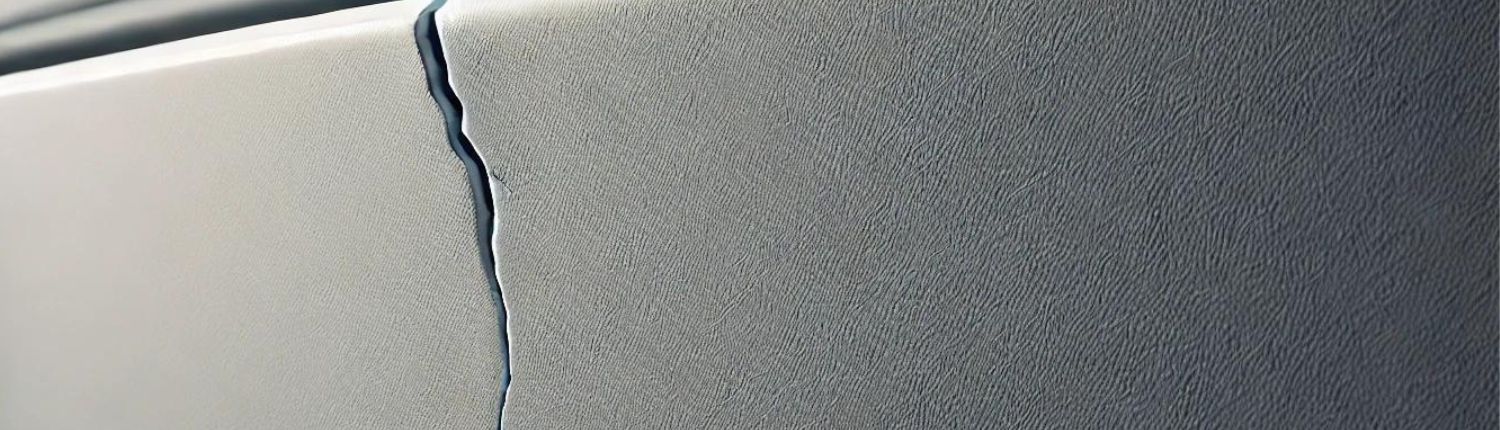
Discovering a cracked interior cabinet liner in your refrigerator can be concerning since it’s not a part that can be easily replaced and can also be a safety hazard as well as an eyesore. Fortunately, you can repair a cracked liner with the right knowledge and tools, minus the cost of an expensive service call.
Let’s get your unit back in top shape!
If you find out that you need any replacement parts for your refrigerator while you’re working, you can enter your model number at AppliancePartsPros.com to order them. You can search by brand, part type and more. Most orders arrive in just two business days, and we have thousands of free guides to show you how to install your new parts.
Important: The repair information provided in this article may not apply to your specific appliance model. While we strive to offer helpful advice for DIY appliance repairs, variations in models and configurations can lead to differences in troubleshooting steps, error codes and part replacements. For the most accurate guidance, we strongly recommend consulting the technical sheet for your specific appliance model.

What you need
- Gloves
- Hair dryer
- Wet rags
- Liner repair kit (see available options below)
Important: The specific tools required may vary depending on the model of your appliance and the type of fasteners used on it. Always consult the user manual or refer to any specific instructions provided by the manufacturer for the recommended tools for your appliance model.
Available liner kits
There are three different kits available that can be used on any brand of refrigerator, though the repair material may not match the exact original color of the interior you’re working on. Depending on the size and location of the crack you will need:
Whirlpool liner repair kit 8212572
- Includes a 22 x 35-inch panel, which is suitable for a large, even surface area
- Includes epoxy, tape and an instruction sheet
Whirlpool two-part epoxy repair kit 8201700
- Best for repairing small cracks up to 12 square inches
- Used for cracks on curved or uneven areas
- Can be used for surfaces that extend out to the painted cabinet
- Not intended to support weight
- Includes epoxy and vinyl tape
Whirlpool vinyl repair tape kit 482395
- Suitable for repairing larger cracks up to 24 inches long
- Can be used to repair both the interior and exterior of the liner
- Not intended to support weight
Read more: What Temperature Should A Refrigerator Be Set To?
Safety precautions
When working on any appliance, remember to keep safety first. Here are some tips to keep in mind:
- Always power off and unplug your appliance or switch off the circuit breaker before you attempt any maintenance or replacement work. This keeps you safe by eliminating any risk of electric shock.
- If the appliance has recently been used, give it plenty of time to cool down before working on it.
- Turn off the water supply at the outlet before beginning repairs. Keep towels ready to catch any residual water in the system when removing parts.
- Take your time while working to prevent accidents and personal injuries. Rushing is the enemy of precision.
- Work in a well-lit area so you can see and access appliance parts.
- Keep your workspace free of clutter and other obstacles. Keep children and pets away from the work area.
- Never work on internal parts with wet hands. Make sure the work area is completely dry.
- Check the user manual to see if there are specific installation or safety instructions related to your appliance or replacement part.
- Be gentle when handling or removing parts. Excessive force might damage the appliance or cause personal injury.
- Wear insulated work gloves to protect your hands from sharp metal parts and debris.
- When working with wires, avoid touching any exposed wires or terminals. If you need to touch a wire, use a non-conductive tool or wear insulating gloves to prevent electrical shock.
- Always take photos or make a note of wiring terminals or other connections before disconnecting them to make reassembly easier.
How to install a new liner kit
Regardless of which kit you choose, the process for repairing the crack is similar.
- Unplug the refrigerator from the power outlet.
- Remove all food items from the refrigerator.
- Remove all shelves and drawers from the interior.
- Clean the affected area with warm water and mild detergent. Dry it thoroughly.
- If you’re using putty or epoxy, mix it according to the instructions. Make sure you wear gloves when handling any type of adhesive.
- Apply the tape and epoxy or adhesive patch to cover the crack by following the instructions provided in the kit.
- Use a hair dryer to apply heat to the area. Keep a distance of 18 inches for no longer than 60 seconds to prevent overheating, which can cause the epoxy to bubble.
- Dampen your finger and gently smooth the epoxy edges for the desired appearance. Keep your finger clean and damp throughout the process.
- Leave the refrigerator open for around 30 minutes to keep the temperature above 60°F (16°C) so the epoxy can set.
- Once the epoxy has been set, reinstall the shelves and food. Don’t let anything touch the area with the epoxy for at least 24 hours so it can completely cure.
- Plug the refrigerator back in.
Important: Different kits have different curing times, so make sure to read and follow the instructions carefully.
Read more: How to clean and maintain your refrigerator’s water dispenser
Tips for preventing interior cabinet liner cracks
By preventing cracks in the refrigerator liner, you can extend the life of your appliance, which can save you a significant amount of time and money in the long run.
- Don’t place heavy or sharp objects directly on the shelves or against the walls of the refrigerator. Use a shelf liner or place a protective barrier between the object and the liner to prevent damage.
- Don’t overload the refrigerator. Too much weight can cause the liner to bend or warp, which can cause cracks over time.
- Keep the refrigerator in a cool, dry place away from direct sunlight or heat sources. Excess heat or sunlight can cause the liner to expand and contract, which can lead to cracks over time.
- Clean up spills and leaks immediately to prevent water from seeping into any cracks or imperfections in the liner and causing further damage.
Read more: 5 Common Mistakes That Shorten The Lifespan Of Appliances
More information
Thanks for stopping by! We hope this guide helped you repair the interior cabinet liner in your refrigerator.
If you run into any issues, just give us a call at 1-877-477-7278 or start a chat with a pro on our website so we can help you through it. We’ve got many more troubleshooting and repair guides on our DIY blog and YouTube channel, plus all the parts you need to do it yourself at AppliancePartsPros.com.
Connect with us on Facebook, Twitter and Instagram to see our latest repair guides!
With nearly a decade of experience in providing top-notch customer service regarding appliance parts and repair, Steven enjoys sharing practical advice, troubleshooting tips, and interesting information to help readers stay informed.