Replace Frigidaire dishwasher vent blower assembly 5304523304
Steven E / Friday May 16, 2025
Is your Frigidaire dishwasher leaving your dishes damp and frustratingly wet? It might be time to replace the vent blower assembly, a crucial component that helps your dishwasher dry efficiently. Don’t let this problem ruin your routine—scroll down to watch our expert-guided how-to video and learn how to tackle this repair easily on your own!
Looking for the right part? Enter your appliance model number below to find the exact match and get your appliance running like new again!
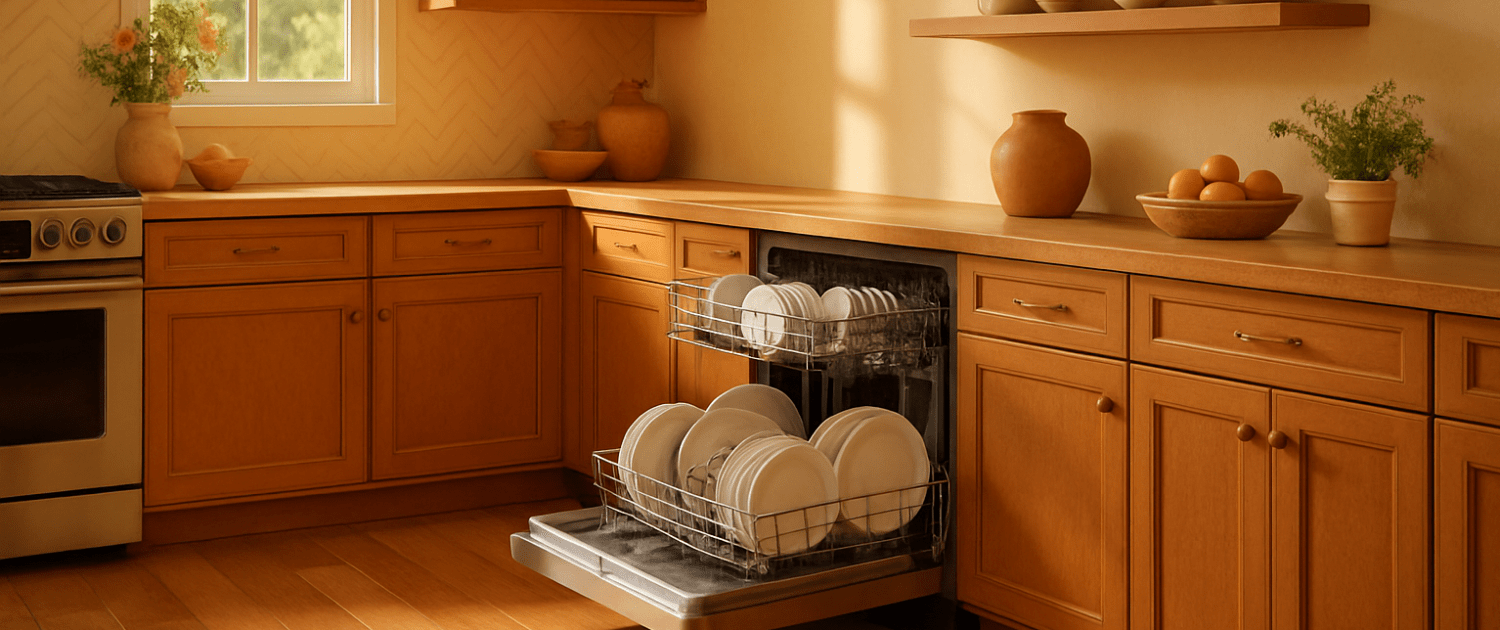
Noticed your Frigidaire dishwasher leaving dishes damp? Odds are the vent blower assembly, part number 5304523304, isn’t doing its job. The good news? Replacing it is easier than you’d think. We’ll show you how to swap out that faulty blower and get your dishwasher drying like new again!

The information in this article may not apply to your specific appliance model. We recommend consulting your manufacturer’s documentation or contact us with any questions.
What is it?
The vent blower assembly in a dishwasher serves an important purpose – it helps vent all of the hot steam out of the unit after the wash cycle completes. Without a functioning vent blower, the moisture has nowhere to escape, which can lead to operational issues.
Signs that your vent blower may need replacing include the dishwasher stopping mid-cycle, not draining properly, or showing an error code specifically pointing to the vent blower. Replacing this part is a fairly straightforward repair that you can likely tackle yourself in just a small amount of time, as long as you follow some safety precautions.
Materials needed
Before diving into the task of fixing the vent blower, make sure you have the necessary tools at hand:
- Phillips and flathead screwdriver.
- Pliers.
- 5/8 inch wrench.
- 5/16 inch nut driver.
- Replacement vent blower assembly (5304523304)
Now, with the power and water disconnected and the required tools gathered, you’re ready to fix the vent blower.
Safety precautions
Safety should always be a priority when working on any appliance. Here are a few practical tips to help you stay safe:
- Turn off the power to the appliance by unplugging it or switching off the circuit breaker before starting any maintenance or repairs. This protects you from the risk of electric shock.
- Wear insulated gloves to shield your hands from sharp edges, pinching hazards, or debris.
- Work at a steady pace and take your time to avoid accidents or injuries.
- Make sure your workspace is well-lit so you can clearly see and access the parts you’re working on.
- Keep the area clear of clutter, and ensure children and pets stay out of the workspace.
- Never handle internal parts with wet hands. Check that both your hands and the work area are completely dry.
- Refer to your appliance’s user manual for any specific instructions or safety guidelines related to the part or repair.
- Handle parts gently to avoid damage to the appliance or potential injuries from applying too much force.
- Use safety glasses when dealing with chemicals, dust, or large debris to protect your eyes from harm.
- If the appliance was recently used, give it enough time to cool down before working on any heated components.
- Take photos or notes of wiring connections and terminals before disconnecting anything to make reassembly easier.
- Avoid touching exposed wires or terminals. If you must handle wires, use non-conductive tools or wear insulated gloves to minimize the risk of electrical shock.
Before starting, make sure to unplug the dishwasher or turn off the circuit breaker to cut off power. Shut off the water supply line underneath the sink to prevent water leaks when detaching hoses later on. Lay towels beneath the dishwasher to catch any drips from the supply lines.
Removing the dishwasher door
- Open up the dishwasher door and remove the components that give you access to the back of the unit.
- Gently pull out the rails of the upper dish rack to pop off the end caps.
- Press the small catch on the underside of each cap and slide the caps off.
- Once the end caps are detached, fully extend the rails.
- Slide the upper rack completely out and set it aside for now.
- Removing the rack gets it out of your way so you can reach the back of the dishwasher.
Detaching the locking nut
With the upper rack removed, you need to detach a locking nut located in the upper right corner of the back of the dishwasher.
- Reach into the unit and use a Phillips screwdriver to unscrew this nut.
- Once it’s detached, pull it out and set it aside with the end caps.
Loosening this nut is necessary so you can separate the dishwasher from the cabinet later on.
Disconnecting the water lines
Now that the locking nut is off, it’s time to pull the entire dishwasher unit out of the cabinet so you can access the vent blower assembly.
- Before pulling the dishwasher out, detach the water lines running to it to avoid damaging them.
- Start by lying on the floor and locating the water lines under the sink.
- One line brings water into the dishwasher, while the other drains away water.
- Ensure that the hot water valve connected to the incoming line is completely turned off.
- Use a 5/8-inch wrench to loosen the water line from the valve, then unscrew it the rest of the way by hand.
- Next, locate the drain hose that runs from the dishwasher to either an air gap or the garbage disposal.
- Loosen the clamp securing the drain hose using a 5/16-inch nut driver.
- Once loosened, detach both hoses and set them aside.
Removing the dishwasher from the cabinet
- Start by opening the cabinet doors beneath the dishwasher – this gives you some working room.
- Use a Phillips screwdriver to remove the screws holding the dishwasher frame to the underside of the countertop.
- With the screws out, gently pull out the dishwasher door.
- This will let you slide the unit out of the cabinet.
- Pull carefully to avoid snagging the hoses you just disconnected.
- Once about halfway out, grab the dishwasher frame for stability.
- Pull the entire unit the rest of the way out.
Detaching the vent blower
- Lay the dishwasher down on its back to expose the base where the vent blower is located.
- Lift off the small plastic cover protecting the wiring harness clip.
- Use a flathead screwdriver to detach the clip so you can remove the wiring harness from the old vent blower.
- With the wiring harness free, you can now detach the faulty vent blower assembly from the dishwasher housing.
- Take a moment to observe how the old part was installed before proceeding.
Installing the new vent blower
Now you’re ready for the new replacement vent blower.
- Start by connecting its wiring harness – push it on securely until it clicks into place.
- Flip the vent blower over and reattach the plastic protective cover.
- Carefully align the new vent blower assembly into the opening on the dishwasher’s base, making sure the sound-dampening material isn’t obstructing it from sitting flush.
Once properly seated, you’re ready to put the dishwasher back together.
Reinstalling the dishwasher
- Slide the dishwasher back into the cabinet, guiding the hoses through as you push.
- Once about halfway in, reach beneath and pull on the hoses to make sure they aren’t snagged.
- With the hoses straight, push the dishwasher fully back into the cabinet.
- Reconnect the drain hose to the air gap or disposal and tighten the hose clamp with the nut driver.
- Then reconnect the incoming water line to the hot water valve, tightening firmly with the wrench.
- Turn the water back on and check for leaks before moving on.
Securing the dishwasher into place
- Open the dishwasher door.
- Replace the screws you removed earlier to anchor the unit back under the countertop.
- Close the door.
- Open the cabinet beneath to verify the dishwasher is solidly in place.
Replacing the door components
- Put all the door components back in the dishwasher.
- Insert the upper rack into the rails.
- Extend the rails out to reattach the end caps by sliding them into place.
- Push the upper rack back in.
- Close the door.
Restoring power and testing
- With everything back in place, you can plug the dishwasher back in or turn the circuit breaker back on.
- Turn on the water supply and verify no leaks.
- Run the dishwasher through a test cycle to ensure the new vent blower is functioning properly and venting out steam.
And that’s it! With a few basic tools and following these steps, you were able to replace the vent blower assembly in your Frigidaire or Electrolux dishwasher yourself.
More information
Thanks for reading! If you have any other appliance repair needs or projects, you can find more resources including our DIY blog at AppliancePartsPros.com. There, you can enter your model number to order the exact parts you need. Most orders arrive in two business days.
You can also reach our award-winning customer service team at 1-877-477-7278, chat with a pro on our website, and watch thousands of free video tutorials on our YouTube channel.
 https://www.appliancepartspros.com/b/wp-content/uploads/2024/06/Copy-of-Copy-of-Copy-of-Copy-of-Copy-of-app-blog-square-11.jpg
1080
1080
Steven E
https://www.appliancepartspros.com/b/wp-content/uploads/2020/11/app-logo-std.png
Steven E2024-06-12 11:49:172024-06-12 11:49:25Clear the F144 error on a GE dishwasher with this troubleshooting guide
https://www.appliancepartspros.com/b/wp-content/uploads/2024/06/Copy-of-Copy-of-Copy-of-Copy-of-Copy-of-app-blog-square-11.jpg
1080
1080
Steven E
https://www.appliancepartspros.com/b/wp-content/uploads/2020/11/app-logo-std.png
Steven E2024-06-12 11:49:172024-06-12 11:49:25Clear the F144 error on a GE dishwasher with this troubleshooting guide https://www.appliancepartspros.com/b/wp-content/uploads/2024/06/Copy-of-Copy-of-Copy-of-Copy-of-Copy-of-app-blog-square-10.jpg
1080
1080
Steven E
https://www.appliancepartspros.com/b/wp-content/uploads/2020/11/app-logo-std.png
Steven E2024-06-12 11:05:042024-06-12 11:05:14How to troubleshoot an F16 error on a GE dishwasher
https://www.appliancepartspros.com/b/wp-content/uploads/2024/06/Copy-of-Copy-of-Copy-of-Copy-of-Copy-of-app-blog-square-10.jpg
1080
1080
Steven E
https://www.appliancepartspros.com/b/wp-content/uploads/2020/11/app-logo-std.png
Steven E2024-06-12 11:05:042024-06-12 11:05:14How to troubleshoot an F16 error on a GE dishwasher https://www.appliancepartspros.com/b/wp-content/uploads/2024/06/Copy-of-Copy-of-Copy-of-Copy-of-Copy-of-app-blog-square-6.jpg
1080
1080
Steven E
https://www.appliancepartspros.com/b/wp-content/uploads/2020/11/app-logo-std.png
Steven E2024-06-12 08:29:332024-06-12 08:29:43How to troubleshoot an E3 error on a Bosch dishwasher
https://www.appliancepartspros.com/b/wp-content/uploads/2024/06/Copy-of-Copy-of-Copy-of-Copy-of-Copy-of-app-blog-square-6.jpg
1080
1080
Steven E
https://www.appliancepartspros.com/b/wp-content/uploads/2020/11/app-logo-std.png
Steven E2024-06-12 08:29:332024-06-12 08:29:43How to troubleshoot an E3 error on a Bosch dishwasherWith nearly a decade of experience in providing top-notch customer service regarding appliance parts and repair, Steven enjoys sharing practical advice, troubleshooting tips, and interesting information to help readers stay informed.