Step-by-Step Under-Counter Ice Maker Installation Guide
Steven E / Wednesday May 14, 2025
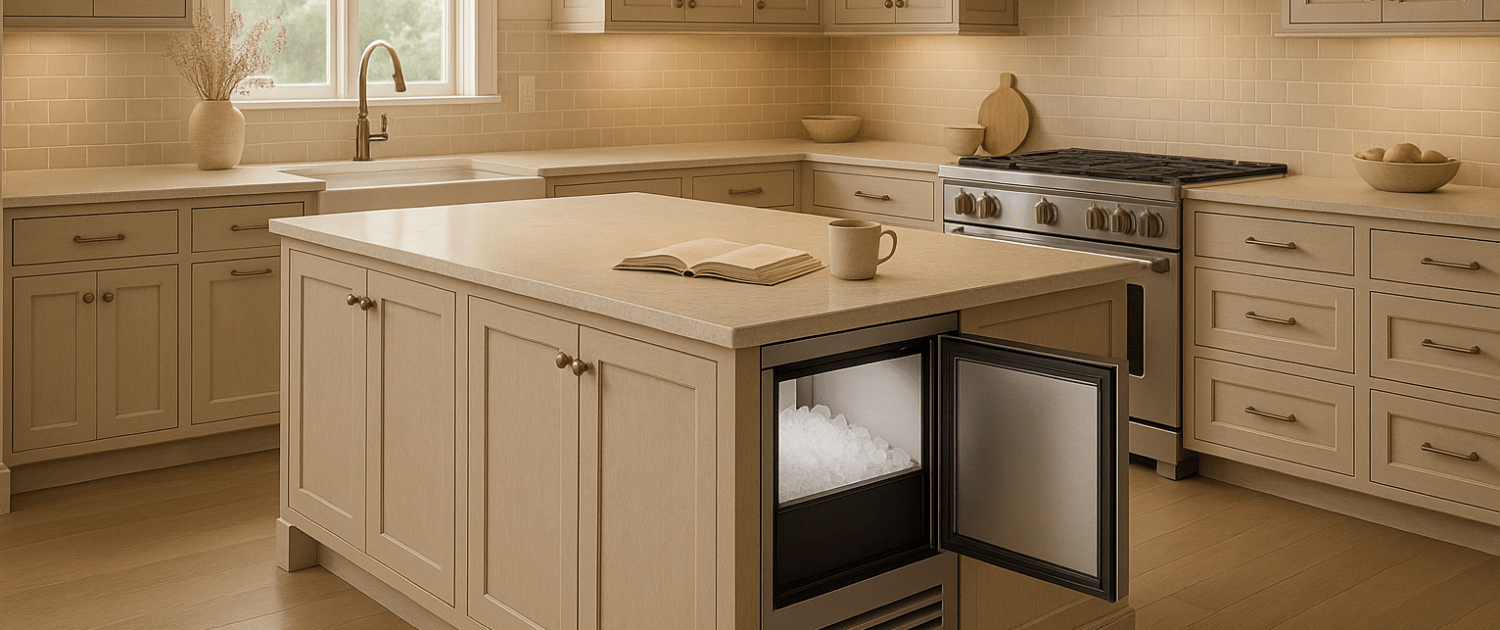
Thinking about adding an under-counter ice machine to your kitchen, bar, or outdoor setup? Great call, nothing says convenience like having fresh ice on demand. But before you start drilling or connecting water lines, let’s walk through what it really takes to install one of these sleek units the right way. With the right setup and a little planning, you’ll be chilling in no time.
The information in this article may not apply to your specific appliance model. We recommend consulting your manufacturer’s documentation or contact us with any questions.
Why Install an under-counter Ice machine?
Under-counter ice machines provide a number of benefits that make them a popular choice for many homes:
- Endless Ice Supply: Unlike traditional ice trays that only make a limited amount at a time, under-counter ice machines can produce pounds of ice per day and store it for on-demand use. You’ll never run out of ice for drinks, chilling food, medical uses, and more.
- Space Saving: Under-counter ice machines are compact and installed directly in your kitchen cabinetry. This frees up room in your refrigerator and freezer that would otherwise be taken up by ice cube trays.
- Convenience: With an under-counter ice machine, you have access to fresh ice any time of day without having to open the freezer and dig around. Simply open the cabinet door and fill up whenever needed.
- Quiet Operation: Under-counter ice machines produce ice quietly and discretely without interrupting conversations or activities in the kitchen. Models with fully enclosed bins help dampen operational sounds.
- Water Filtration: Many under-counter ice machine models include built-in water filtration to remove impurities, odors, chlorine, and lead for better-tasting ice cubes.
If these benefits sound appealing, then read on to learn the step-by-step process for installing your own under-counter ice machine!

Ice machine Installation – Preparation
The first part of the ice machine installation process is to get set up and prepared. This involves picking the right location, gathering the necessary materials, and unpacking your new appliance.
Pick an Installation Spot
When determining where to install your under-counter ice machine, there are a few factors to consider:
- Proximity to Water Line – Select a location that’s near an existing water line so that connecting the ice machine’s water supply is simplified. This is often along the kitchen wall where the sink is installed.
- Electric Outlet – You’ll need access to a grounded electrical outlet to plug in the ice machine. Make sure there’s an outlet within reach of the installation area.
- Ventilation – Under-counter ice machines require proper airflow and ventilation to operate correctly. Leave at least a few inches of clearance around the sides and top of the unit.
- Convenience – Pick an installation spot where you can easily access ice when needed, such as next to the refrigerator or close to countertops.
- Cabinet Dimensions – Measure to make sure you have adequate cabinet space for the ice machine’s width, height, and depth requirements.
Gather the Necessary Materials
These items are needed to complete the installation:
- Under-counter ice machine – The model you selected for purchase. Make sure it’s designed for under-counter installation.
- Water supply line – You’ll need a water line to connect from the ice machine to your home’s water supply. Make sure it’s long enough for the installation location.
- Shut-off valve – Used to control water flow to the ice machine and for easy disconnecting. Get a compatible valve for your water line size.
- Drain line – Removes waste water from the unit as ice melts. Use plastic tubing or drain hose.
- Electrical cord – For plugging in the ice machine. An existing kitchen outlet is typically used.
- Basic tools – Such as a wrench, pliers, screwdriver, hole saw, level, etc. For connecting lines, securing, and adjusting.
- Teflon tape – For wrapping threaded fittings to prevent leaks.
With the prep work complete, it’s time to move on to the installation and connections!
Connecting the Water Supply Line
Connecting the water supply line provides the water source necessary for the under-counter ice machine to function. This involves shutting off the water, attaching the supply line, and opening the water supply.
- To start, turn off the water supply valve that will connect to the ice machine. This is typically located under the kitchen sink or behind the refrigerator. Turning off the water first prevents leaks during the installation process.
- Run the water supply line you purchased from the ice machine location to the shut-off valve on the water supply. Make sure to cut the line to the appropriate length using the included fittings. Use Teflon tape to wrap all threaded connections to prevent leaks. Tighten by hand first then finish tightening with a wrench.
- Once the water line is securely connected, slowly turn the shut-off valve back on. Check carefully along the water line and fittings for any water drops or leaks. If leaks appear, turn off the water and tighten joints further or re-tape threads as needed. Small drips can be dried and sealed with waterproof caulk.
With no leaks present, you’re ready to move on to the drain line connection.
Connecting the Drain Line
An important part of the ice machine installation process is connecting a drain line. This provides an outlet for water to exit the unit as ice melts during the freeze cycle.
- Look under cabinets or the sink base for an existing PVC drain pipe. You can also drill a hole through cabinets for routing the drain line. Just make sure there is adequate space for drilling.
- The under-counter ice machine will have a drain outlet, usually at the rear of the unit. Attach a plastic drain hose to this outlet using a hose clamp. Hand tighten the clamp first then finish tightening with a screwdriver. Make sure the connection is secure.
- Run the drain hose from the ice machine discharge outlet to the sink drain pipe or a floor drain. Use the shortest route possible without kinks. Secure the hose in place with zip ties, brackets or by drilling holes through cabinets for routing. Place a pan under joints to catch drips if needed.
With the drain setup complete, you’re ready for the fun part – installing the ice machine!
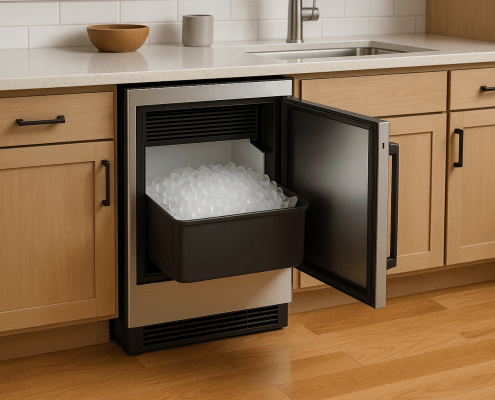
Sliding the Ice machine into Position
Once connections are handled, it’s time to slide the under-counter ice machine into place and secure it.
- Remove any shelves, drawers, or other obstructions from the base cabinet where the ice machine will be installed. The space should be empty and ready to receive the appliance.
- Carefully lift the ice machine into position, tilting it if needed to fit through the cabinet opening. Slide it all the way to the back wall until the control panel aligns with the cabinet face frame.
- Use a level tool placed along the top of the unit to check if the ice machine is perfectly level side-to-side and front-to-back. If not, use the adjustable leveling legs underneath the unit to level it until even.
- Open the ice machine door and locate the mounting bracket and screws. Drill holes into the cabinet walls through the bracket holes. Insert mounting screws and tighten to secure the unit firmly in place within the cabinet.
Hooking Up the Electrical Connection
With the ice machine installed, the water line connected, and the drain line in place, next up is connecting the power.
- Find an existing 120V grounded electrical outlet under the sink base, behind the unit, or on an adjacent wall for connecting the ice machine. The outlet should be within reach of the electrical cord’s length when routed cleanly without pulling.
- With the outlet switched off, plug in the electrical cord to provide power to the ice machine. Arrange the cord neatly using zip ties to prevent catching or pulling.
Once everything is hooked up securely, turn the outlet switch on. The ice machine will power up. Make sure not to trap or pinch the cord to avoid damage.
Where To Find Us
If you need any replacement parts for your appliances, you can enter your model number at AppliancePartsPros.com to locate and order them quickly. Most orders arrive in just two business days, and we have tons of great information in our repair help section and YouTube videos to help you troubleshoot.
Stay connected with the latest DIY tips, tutorial videos, and repair guides by following us on Facebook, Instagram, and Twitter. We love hearing about your repair stories and successes. If you need more help or want personalized guidance, feel free to reach out. We’re ready to help you take on your next project with confidence!
 https://www.appliancepartspros.com/b/wp-content/uploads/2025/11/20251113_1357_Under-Counter-Ice-Machine_simple_compose_01k9z94teee5gb2kf2g4zemkmx.png
1024
1536
Steven E
https://www.appliancepartspros.com/b/wp-content/uploads/2020/11/app-logo-std.png
Steven E2025-11-13 11:23:132025-11-13 11:23:23Fix Your KitchenAid Ice Machine with These Simple Water Valve Tests
https://www.appliancepartspros.com/b/wp-content/uploads/2025/11/20251113_1357_Under-Counter-Ice-Machine_simple_compose_01k9z94teee5gb2kf2g4zemkmx.png
1024
1536
Steven E
https://www.appliancepartspros.com/b/wp-content/uploads/2020/11/app-logo-std.png
Steven E2025-11-13 11:23:132025-11-13 11:23:23Fix Your KitchenAid Ice Machine with These Simple Water Valve Tests https://www.appliancepartspros.com/b/wp-content/uploads/2025/05/20250514_1026_Cozy-Kitchen-Corner_simple_compose_01jv7jyc5dfdebzqk4xsj0pd5e.png
1024
1536
Steven E
https://www.appliancepartspros.com/b/wp-content/uploads/2020/11/app-logo-std.png
Steven E2025-05-14 07:34:472025-05-14 07:34:54Step-by-Step Under-Counter Ice Maker Installation Guide
https://www.appliancepartspros.com/b/wp-content/uploads/2025/05/20250514_1026_Cozy-Kitchen-Corner_simple_compose_01jv7jyc5dfdebzqk4xsj0pd5e.png
1024
1536
Steven E
https://www.appliancepartspros.com/b/wp-content/uploads/2020/11/app-logo-std.png
Steven E2025-05-14 07:34:472025-05-14 07:34:54Step-by-Step Under-Counter Ice Maker Installation Guide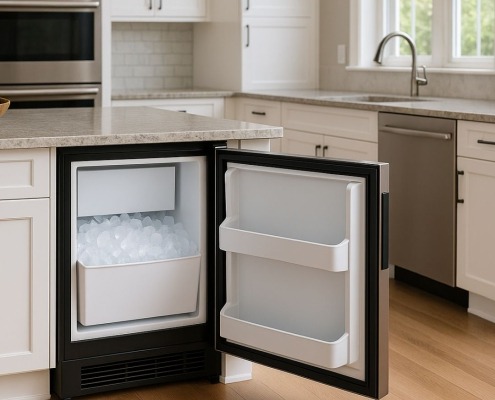 https://www.appliancepartspros.com/b/wp-content/uploads/2025/04/APP-blog-square-233.jpg
1080
1080
Steven E
https://www.appliancepartspros.com/b/wp-content/uploads/2020/11/app-logo-std.png
Steven E2025-05-05 06:25:342025-05-05 06:25:41Fixing Bad-Tasting Ice from a Freestanding Whirlpool Ice Machine
https://www.appliancepartspros.com/b/wp-content/uploads/2025/04/APP-blog-square-233.jpg
1080
1080
Steven E
https://www.appliancepartspros.com/b/wp-content/uploads/2020/11/app-logo-std.png
Steven E2025-05-05 06:25:342025-05-05 06:25:41Fixing Bad-Tasting Ice from a Freestanding Whirlpool Ice MachineWith nearly a decade of experience in providing top-notch customer service regarding appliance parts and repair, Steven enjoys sharing practical advice, troubleshooting tips, and interesting information to help readers stay informed.