Steps to fix start-up problems in Whirlpool washers
Steven E / Thursday March 13, 2025
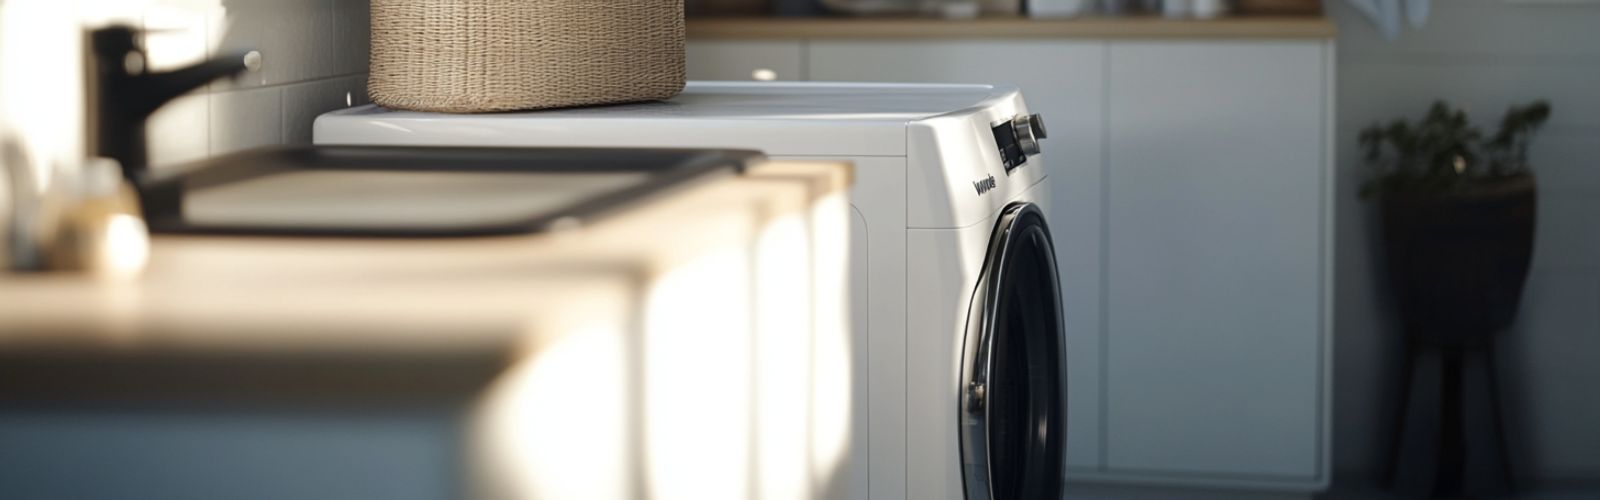
Is your Whirlpool washer refusing to start when you need it most? Before considering a service call, try these troubleshooting steps to get your washer back in action.
The information provided may not apply to your specific appliance model. For the most accurate guidance, consult the manufacturer documentation for your model or contact us with any questions.
Safety precautions
Safety should always be a priority when working on any appliance. Here are a few practical tips to help you stay safe:
- Turn off the power to the appliance by unplugging it or switching off the circuit breaker before starting any maintenance or repairs. This protects you from the risk of electric shock.
- Wear insulated gloves to shield your hands from sharp edges, pinching hazards, or debris.
- Work at a steady pace and take your time to avoid accidents or injuries.
- Make sure your workspace is well-lit so you can clearly see and access the parts you’re working on.
- Keep the area clear of clutter, and ensure children and pets stay out of the workspace.
- Never handle internal parts with wet hands. Check that both your hands and the work area are completely dry.
- Refer to your appliance’s user manual for any specific instructions or safety guidelines related to the part or repair.
- Handle parts gently to avoid damage to the appliance or potential injuries from applying too much force.
- Use safety glasses when dealing with chemicals, dust, or large debris to protect your eyes from harm.
- If the appliance was recently used, give it enough time to cool down before working on any heated components.
- Take photos or notes of wiring connections and terminals before disconnecting anything to make reassembly easier.
- Avoid touching exposed wires or terminals. If you must handle wires, use non-conductive tools or wear insulated gloves to minimize the risk of electrical shock.
Troubleshooting steps
Check the power supply
A washing machine needs a reliable power source to operate. Sometimes, the problem is as simple as a loose plug or a tripped circuit breaker.

- Inspect the power cord for any visible damage.
- Ensure the plug is fully inserted into the outlet.
- Test the outlet by plugging in another appliance to see if it works.
- Locate your home’s electrical panel.
- Identify the circuit breaker linked to your laundry area.
- If the breaker has tripped, reset it by switching it off and then on again.
Review the user settings
Sometimes, incorrect settings can cause the washer not to start.
- Check if the Delay Start is activated and cancel it if necessary.
- Look for a Child Lock indicator and deactivate it following your manual’s instructions.
Reset the washer controls
- Disconnect the washer from the power outlet.
- Wait about one minute.
- Plug the washer back in.
- Try starting a new wash cycle.
Examine the lid or door switch
Whirlpool washers are designed not to operate if the lid or door isn’t properly closed. The lid switch acts as a safety feature.
- Open and close the lid or door firmly.
- Ensure there are no obstructions preventing it from closing fully.
Test the lid switch for continuity
A faulty lid switch can prevent the washer from starting. You’ll need a multimeter to test it.
- Unplug the washer from the power outlet.
- Access the lid switch, usually located under the top panel.
- Set your multimeter to the continuity setting.
- Place the multimeter probes on the lid switch terminals.
- If the multimeter beeps or shows zero resistance, the switch has continuity. If not, it may need replacement.
If the lid switch lacks continuity:
- Order a compatible lid switch from Whirlpool washer parts.
- Install the new switch by reversing the removal steps.
- Test the washer to see if it starts.
Check the wiring connections
Loose or damaged wiring can disrupt electrical flow, preventing the washer from starting. Carefully examine the washer’s internal wiring.
- Disconnect power to the washer.
- Open the control panel and access internal parts.
- Look for loose connectors, frayed wires, or burnt spots.
- Secure any loose connections.
- Replace damaged wires or connectors.
Examine the drive belt
In belt-driven models, the drive belt transfers motion from the motor to the drum. A broken belt can halt operations.
- Unplug the washer and access the back panel.
- Locate the drive belt around the motor and drum pulleys.
- Check for signs of fraying, cracking, or breakage.
Replace the drive belt if needed
If the belt shows damage:
- Remove the old belt from the pulleys.
- Match it with a new belt from Whirlpool washer parts.
- Install the new belt by looping it over the motor and drum pulleys.
- Ensure proper tension and alignment.
Inspect the washer timer
The timer controls the sequence of operations in your washer. A malfunctioning timer can halt the start-up process. Signs of a faulty timer include the washer not advancing through cycles or not starting at all.
- Listen for unusual ticking or buzzing sounds.
- Attempt to manually advance the timer knob.
- Observe if any cycles start when advancing manually.
Test the timer with a multimeter
- Ensure the washer is unplugged.
- Access the timer by removing the control panel.
- Refer to the timer’s wiring diagram for terminal identification.
- Set the multimeter to the resistance (ohms) setting.
- Place the probes on the appropriate terminals as indicated in the wiring diagram.
- Measure the resistance and compare it to the specifications in your manual.
- If the resistance is outside the normal range or infinite, the timer may be defective.
Replace the washer timer
- Purchase a new timer from Whirlpool washer parts.
- Follow the steps in our guide on How to Replace a Washer Timer.
- Reconnect the washer and test its functionality.
Verify the water level control (pressure switch)
The washer’s pressure switch detects water levels and can prevent the washer from starting if malfunctioning. A faulty pressure switch might misread the water level, stopping operations.
- Unplug the washer before starting.
- Locate the pressure switch inside the control panel.
- Inspect the air tube connected to it for blockages or damages.
- Set your multimeter to the resistance (ohms) setting.
- Place the probes on the switch terminals as per the wiring diagram.
- While gently blowing into the air tube, observe if the resistance changes.
- If the resistance does not change or is outside the expected range, the switch may need replacement.
Additional information
Thank you for reading! If you have any other appliance repair needs or projects, don’t hesitate to explore our other troubleshooting guides and videos.
If you need replacement parts or some extra help with ordering them, grab your model number and head over to AppliancePartsPros.com, where you can chat with a pro, read our DIY blog and more.
Be sure to subscribe to us on YouTube and follow us on Facebook, Twitter and Instagram!
With nearly a decade of experience in providing top-notch customer service regarding appliance parts and repair, Steven enjoys sharing practical advice, troubleshooting tips, and interesting information to help readers stay informed.