The Right Way to Clean Your KitchenAid Stand Mixer at Home
Steven E / Tuesday April 22, 2025
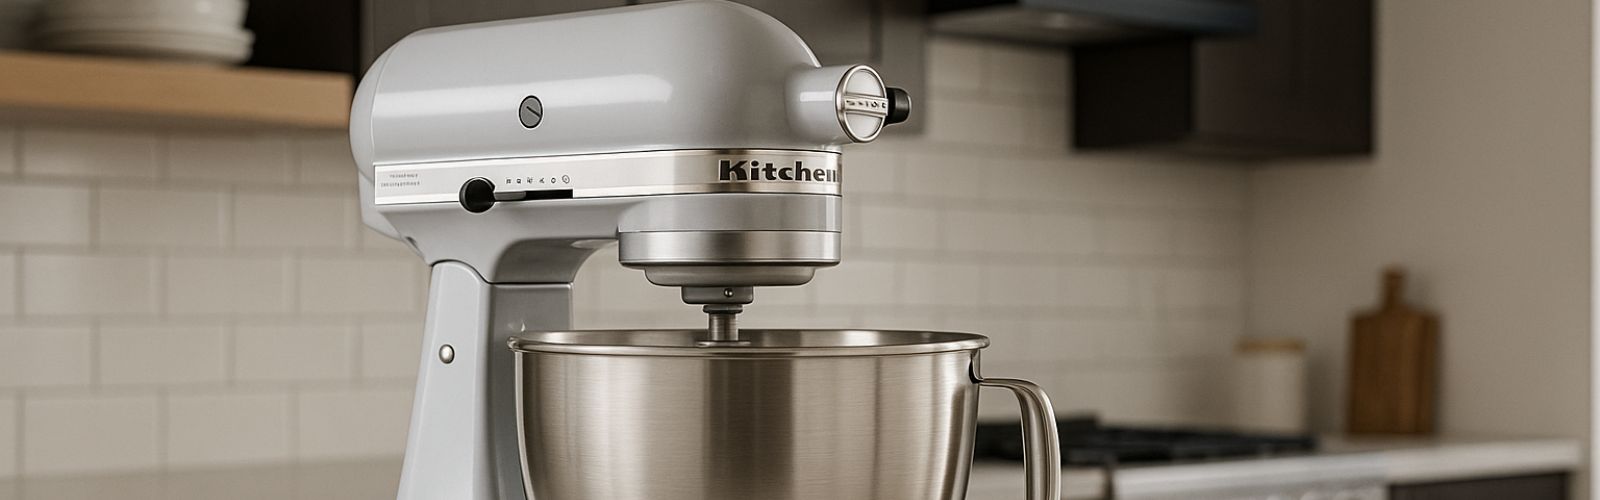
Using your Kitchenaid mixer can save time and effort, even if it means a splatter of batter here or a dusting of flour there. Discover the essential steps and tips to keep your KitchenAid stand mixer sparkling and in prime condition for all your baking and cooking needs.
If you need any replacement parts for your Kitchenaid stand mixer, you can enter your model number at AppliancePartsPros.com to order them. Most orders arrive in just two business days, and we have thousands of free guides to show you how to install your new parts.
The information in this article may not apply to your specific appliance model. We recommend consulting your manufacturer’s documentation or contact us with any questions.
Safety considerations
When working on any appliance, remember to keep safety first. Here are some tips to keep in mind:

- Always power off and unplug your appliance or switch off the circuit breaker before attempting any maintenance or replacement work. This keeps you safe by preventing any risk of injury from electric shock.
- Wear insulated work gloves to protect your hands from sharp metal parts, pinching hazards and debris.
- Take your time and don’t rush while working to prevent accidents and personal injuries.
- Work in a well-lit area so you can clearly see and access the interior parts.
- Clear your workspace of clutter and other obstacles. Keep children and pets away from the work area.
- Check your user manual to see if there are specific installation or safety instructions for your part or appliance.
- Be gentle when handling or removing parts. Excessive force might damage the appliance or cause injury.
- Wear safety glasses when working with chemicals, dust or cleaning large debris to prevent injury.
- If the appliance has recently been used, give it plenty of time for any heating parts to cool down before working on it.
Cleaning the exterior
The exterior of your KitchenAid stand mixer can accumulate dirt, grime, and food residue over time. Here’s how you can clean the exterior of your stand mixer:
- Before you start cleaning, always unplug the stand mixer from the power source. This prevents any accidental activation of the mixer while you’re working on it, reducing the risk of injury.
- Take off any attachments or accessories from the stand mixer. This includes the mixing bowl, beaters, dough hook, and any other attachments you may have used. Detaching these components makes it easier to clean each part individually.
- Start by using a clean, damp cloth or sponge to wipe down the entire exterior surface of the stand mixer. This helps remove any loose dirt, spills, or splatters. For stubborn stains or dried-on residue, you can dampen the cloth with a mild dish soap solution.
- Take extra care cleaning seams, crevices, and any hard-to-reach areas where dirt and grime may accumulate. Use a soft-bristled brush or a toothbrush dipped in the cleaning solution to gently scrub these areas.
- The control knobs and switches on your stand mixer can also collect dirt and food particles. Use a damp cloth or a small brush to clean them, being careful not to saturate them with water. If needed, you can use a mild dish soap solution for tougher stains, but make sure to wipe them dry afterward.
- After cleaning, use a clean, dry cloth to thoroughly dry the exterior of the mixer. This helps prevent water spots and moisture damage on the surface.
Cleaning the bowl and attachments
The mixing bowl and attachments of your KitchenAid stand mixer come into direct contact with food ingredients, making them prone to stains, residue, and lingering odors. A clean bowl and attachments provide to better-tasting results and prevent any cross-contamination of flavors between different recipes. Follow these steps to clean the bowl and attachments:
Hand-washing the mixing bowl:
- Remove the mixing bowl from the stand mixer.
- Fill the sink with warm water and add a mild dish soap.
- Submerge the bowl in the soapy water and use a soft sponge or cloth to clean its interior and exterior surfaces.
- Pay extra attention to any stubborn residue or stains and gently scrub them.
- Rinse the bowl thoroughly with clean water to remove any soap residue.
- Dry the bowl completely before reattaching it to the stand mixer or storing it.
Removing and cleaning the beater, dough hook, and whisk:
- Detach the attachments from the stand mixer by lifting and twisting them counterclockwise.
- If the attachments have excess food residue, scrape off the larger chunks with a spatula or your fingers.
- Wash the attachments in warm, soapy water using a sponge or brush.
- Rinse the attachments under running water to remove any soap residue.
- Dry the attachments completely before reattaching them to the stand mixer or storing them.
Some KitchenAid stand mixer attachments, such as the stainless steel bowl and certain beaters, may be dishwasher-safe. Refer to the user manual or check the labeling on the attachments to determine if they are dishwasher-safe. If so, place them in the dishwasher’s designated section and run a gentle cycle. Certain attachments, such as those with non-stick coatings or delicate parts, may require specific care instructions.
Addressing hard-to-reach areas
While cleaning the visible surfaces of your KitchenAid stand mixer is important, it’s equally important to pay attention to the hard-to-reach areas that can accumulate debris, residue, and buildup over time. Here’s how you can clean those hard-to-reach areas:
Cleaning the hinge pin and locking mechanism:
- Locate the hinge pin, which connects the head of the stand mixer to the base.
- Use a damp cloth or a small brush to clean around the hinge pin, removing any accumulated dirt or residue.
- Wipe the area dry to prevent moisture from affecting the performance of the hinge pin.
Clearing any debris from the attachment hub:
- The attachment hub is the area where you attach various accessories to the stand mixer.
- Use a small brush or toothbrush to gently remove any food particles or debris that may have accumulated in the attachment hub.
- The hub should be clean and free from any obstructions that could affect the attachment’s secure fit.
Using a toothbrush or small brush for detailed cleaning:
- Dip a toothbrush or a small brush into a mixture of warm water and mild dish soap.
- Gently scrub hard-to-reach areas, such as the crevices between control knobs, buttons, or any other intricate parts.
- Pay attention to any areas where residue or dirt may have built up.
- Rinse the toothbrush or brush periodically to remove loosened debris and continue cleaning until all areas are clean.
- Wipe the cleaned areas dry using a clean cloth or towel.
Cord and plug:
- Use a dry cloth to wipe the cord and plug, removing any dust or debris.
- Pay special attention to any areas where dirt or grime may have accumulated.
- If there are stubborn stains or sticky residue on the cord or plug, dampen a cloth with mild soapy water and gently wipe the affected areas.
- Be careful not to submerge the cord or plug in water or any liquid, as this can damage the electrical components.
- Once cleaned, use a dry cloth to wipe away any moisture or soap residue.
- Ensure that the cord and plug are completely dry before plugging the stand mixer back into the power source.
Cleaning the motor housing
The motor housing of your KitchenAid stand mixer houses the powerful motor that drives the mixer’s operation. While the motor itself does not require direct cleaning, the motor housing can accumulate dust, spills, and debris over time. Here’s how you can clean the motor housing:
- Before you begin, always unplug the stand mixer from the power source for safety.
- Use a soft, dry cloth or a brush with soft bristles to gently dust the exterior of the motor housing. Pay attention to any vents or openings where dust and debris may accumulate. Remove as much loose dust as possible.
- If there are any stains or spills on the motor housing, you can use a mild dish soap solution or a non-abrasive kitchen cleaner. Dampen a cloth with the cleaning solution and gently wipe the affected area. Be careful not to saturate the cloth or allow any liquid to seep into the motor housing.
- After cleaning, use a clean, dry cloth to wipe down the motor housing and remove any moisture. The motor housing should be completely dry before plugging in the stand mixer or using it again.
- Harsh chemicals, abrasive cleaners, or solvents should never be used to clean the motor housing. These substances can damage the finish or internal components of the mixer.
Additional information
Thanks for reading! We hope this article helped you get your Kitchenaid stand mixer looking like new again.
If you need any replacement parts for it, grab your model number and head over to AppliancePartsPros.com. We offer over two million parts and most orders arrive in two business days. If you need some help with finding the right part or placing an order, you can contact our team at 1 (877) 477-7278.
While you’re waiting for your new part to arrive, you can explore our DIY blog and watch thousands of video tutorials on our YouTube channel.
Be sure to follow us on Facebook, Twitter and Instagram to see our latest repair guides!
 https://www.appliancepartspros.com/b/wp-content/uploads/2025/09/20250709_1340_Modern-Kitchen-Setup_simple_compose_01jzr47f29eta8qkm70jtkda7v.png
1024
1536
Steven E
https://www.appliancepartspros.com/b/wp-content/uploads/2020/11/app-logo-std.png
Steven E2025-09-05 10:48:472025-09-05 10:48:54How to Clean KitchenAid Mixer Attachments Without Damaging Them
https://www.appliancepartspros.com/b/wp-content/uploads/2025/09/20250709_1340_Modern-Kitchen-Setup_simple_compose_01jzr47f29eta8qkm70jtkda7v.png
1024
1536
Steven E
https://www.appliancepartspros.com/b/wp-content/uploads/2020/11/app-logo-std.png
Steven E2025-09-05 10:48:472025-09-05 10:48:54How to Clean KitchenAid Mixer Attachments Without Damaging Them https://www.appliancepartspros.com/b/wp-content/uploads/2025/09/20250709_1340_Modern-Kitchen-Setup_simple_compose_01jzr47f2cenv9y2rk00bw2z7x.png
1024
1536
Steven E
https://www.appliancepartspros.com/b/wp-content/uploads/2020/11/app-logo-std.png
Steven E2025-09-05 10:44:172025-09-05 10:44:25Keep Your KitchenAid Stand Mixer Fresh: Daily Cleaning Guide
https://www.appliancepartspros.com/b/wp-content/uploads/2025/09/20250709_1340_Modern-Kitchen-Setup_simple_compose_01jzr47f2cenv9y2rk00bw2z7x.png
1024
1536
Steven E
https://www.appliancepartspros.com/b/wp-content/uploads/2020/11/app-logo-std.png
Steven E2025-09-05 10:44:172025-09-05 10:44:25Keep Your KitchenAid Stand Mixer Fresh: Daily Cleaning Guide https://www.appliancepartspros.com/b/wp-content/uploads/2025/09/20250709_1336_Luxury-Kitchen-Baking-Scene_simple_compose_01jzr40p6pe09bgx9cmjyb2agj.png
1024
1536
Steven E
https://www.appliancepartspros.com/b/wp-content/uploads/2020/11/app-logo-std.png
Steven E2025-09-05 08:53:312025-09-05 08:53:41KitchenAid Stand Mixers: Classic vs. Digital Comparison
https://www.appliancepartspros.com/b/wp-content/uploads/2025/09/20250709_1336_Luxury-Kitchen-Baking-Scene_simple_compose_01jzr40p6pe09bgx9cmjyb2agj.png
1024
1536
Steven E
https://www.appliancepartspros.com/b/wp-content/uploads/2020/11/app-logo-std.png
Steven E2025-09-05 08:53:312025-09-05 08:53:41KitchenAid Stand Mixers: Classic vs. Digital ComparisonWith nearly a decade of experience in providing top-notch customer service regarding appliance parts and repair, Steven enjoys sharing practical advice, troubleshooting tips, and interesting information to help readers stay informed.