Troubleshooting an Unresponsive Whirlpool Washer User Interface
Steven E / Tuesday June 17, 2025
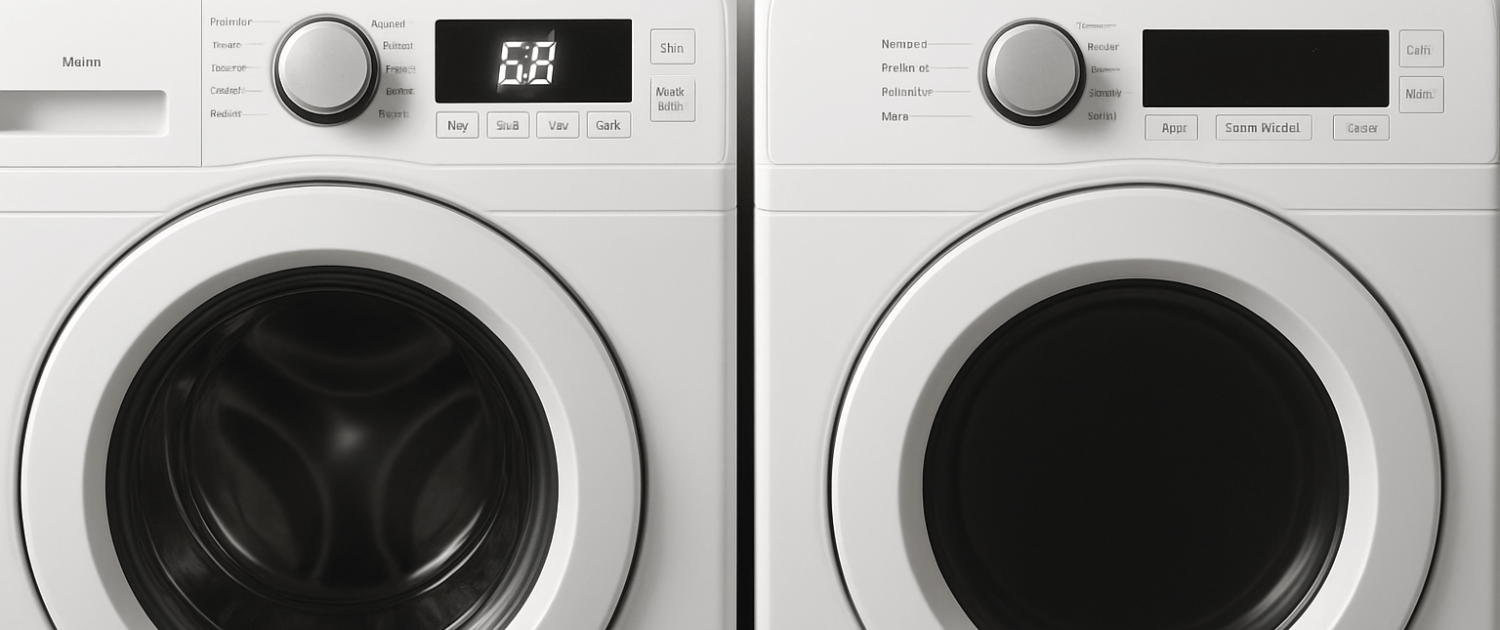
Is your Whirlpool or Maytag washer’s control panel completely unresponsive, leaving you unable to start a cycle? This frustrating issue is often caused by a faulty user interface board that needs to be replaced. Whether you have a gas or electric model, we’ll walk you through the steps to get your washer back up and running.
If you need any replacement parts for your Maytag washer, you can enter your model number at AppliancePartsPros.com to order them. Most orders arrive in just two business days, and we have thousands of free guides to show you how to install your new parts.
The information in this article may not apply to your specific appliance model. We recommend consulting your manufacturer’s documentation or contact us with any questions.
Necessary supplies
- Multimeter
- Putty knife
- 1/4″ nut driver
- Flathead screwdriver
Safety tips
When working on any appliance, always keep safety first to avoid personal injury or damage to the appliance or its parts. Here are some tips to keep in mind:

- Always power off and unplug your appliance or switch off the circuit breaker before you attempt any maintenance or replacement work. This keeps you safe by eliminating any risk of electric shock.
- If the appliance has recently been used, give it plenty of time to cool down before working on it.
- Take your time while working to prevent accidents and personal injuries.
- Work in a well-lit area so you can see and access appliance parts.
- Keep your workspace free of clutter and other obstacles. Keep children and pets away from the work area.
- Never work on internal parts with wet hands. Make sure the work area is completely dry.
- Check the user manual to see if there are specific installation or safety instructions related to your appliance or replacement part.
- Be gentle when handling or removing parts. Excessive force might damage the appliance or cause personal injury.
- Wear insulated work gloves to protect your hands from sharp metal parts and debris.
- When working with wires, avoid touching any exposed wires or terminals. If you need to touch a wire, use a non-conductive tool or wear insulating gloves to prevent electrical shock.
- Always take photos or make a note of wiring terminals or other connections before disconnecting them to make reassembly easier.
- Don’t test live voltage with a multimeter if you’re unfamiliar with how to prevent short-circuiting.
- Consider wearing safety glasses and/or a dust mask when working with chemicals, dust or a large amount of debris to prevent irritation or injury.
- Turn off the water supply at the outlet before beginning repairs. Keep towels ready to catch any residual water in the system when removing parts.
How to fix an unresponsive Whirlpool or Maytag washer user interface
Follow these steps to diagnose and fix issues with the washer’s user interface, whether it’s unresponsive, acting erratically, or displaying an error message.
Step 1. Access the user interface and main control
- Unplug the washer from the power source.
- Remove the two screws at the rear of the console.
- Raise the washer lid.
- Insert a putty knife between the console and the top panel.
- Push the putty knife toward the back while gently lifting the console to release the clips.
- Repeat the previous step on the other side of the console.
- Close the washer lid.
- Tilt the console forward for access to the user interface and main control board.
Step 2. Check and reseat the ribbon harness
- Locate the two white ribbon harnesses connected to the user interface board.
- Disconnect and reseat both ribbon harnesses fully.
- Inspect the ribbon harnesses for any visible damage.
- Replace the user interface if the harnesses are damaged.
- Flip the console back into place.
- Reconnect the washer to power.
- Check if the error message or erratic behavior is resolved.
- If the issue is resolved, reassemble the washer.
- If the washer remains unresponsive, proceed to diagnostic mode.
Step 3. Enter diagnostic mode
- The washer must be in standby mode with no lights on.
- Select three buttons on the user interface and press them in sequence three times (e.g., Spin, Temp, Soil, Spin, Temp, Soil, Spin, Temp, Soil).
- Check if a warning message appears, indicating entry into diagnostic mode.
- If diagnostic mode activates, use the tech sheet for further troubleshooting.
- If the diagnostic mode does not activate, unplug the washer for one minute.
- Plug the washer back in and retry, entering diagnostic mode.
- If the diagnostic mode still does not activate, check the main control board LED.
Step 4. Check the main control board LED
- Plug the washer in and locate the LED on the main control board.
- Observe if the LED is blinking steadily, on solid, or off.
- If the LED is off or solid, unplug the washer.
- Disconnect the three-wire connection from the user interface.
- Plug the washer back in.
- Observe the main control LED again.
- If the LED now blinks steadily, replace the user interface.
- If the LED remains off or solid, continue to voltage testing.
Step 5. Check the voltage to the user interface
- Set a multimeter to DC voltage.
- Place the black lead on the black wire and the red lead on the yellow wire in the user interface harness.
- Check for a voltage reading of 12-13V DC.
- If 12-13V DC is present, replace the user interface.
- If there is no voltage, check the main control board’s incoming power.
Step 6. Check incoming AC voltage at the main control board
- Set the multimeter to AC voltage.
- Locate the J1 connector on the main control board, which has two wires (black and white).
- Measure the voltage at the back of the J1 connector, checking for approximately 120V AC.
- Move the black multimeter lead to a bare metal surface on the washer cabinet and check again.
- If both readings show 120V AC, the incoming power is correct.
- If either reading is incorrect, check the power outlet and wiring.
Step 7. Isolate the faulty component
- Unplug the washer.
- Take a picture of the main control board and its connections.
- Disconnect all harnesses from the main control board except for the J1 power connector.
- Plug the washer back in.
- Observe the main control LED again.
- If the LED now blinks steadily, one of the disconnected loads is faulty.
- If the LED remains off or solid, replace the main control board.
- If a load is faulty, test each disconnected load individually to determine the problem.
- Replace any faulty components as needed.
- Reassemble the washer.
- Plug in the washer and test for proper operation.
Stay connected
Thanks for following along! We hope this guide helped you replace the user interface in your Whirlpool or Maytag washer. If you still need some parts, just grab your model number and head over to AppliancePartsPros.com to search for them. With over two million parts in stock, most orders ship the same day and arrive within just two days.
Need more assistance? Our team is here at 1 (877) 477-7278 or through online chat or email. While your part is on its way, why don’t you check out our DIY blog and YouTube tutorials? And remember to stay in touch by following us on Facebook, X and Instagram!
 https://www.appliancepartspros.com/b/wp-content/uploads/2022/03/20250616_1305_Washing-Machine-Interior_simple_compose_01jxwv53n2fbqtksrjwew69yjz-1.png
1024
1536
APP Expert
https://www.appliancepartspros.com/b/wp-content/uploads/2020/11/app-logo-std.png
APP Expert2022-03-02 13:41:002026-01-22 13:13:49How To Replace A Washer Motor Drive Coupler (With Video!)
https://www.appliancepartspros.com/b/wp-content/uploads/2022/03/20250616_1305_Washing-Machine-Interior_simple_compose_01jxwv53n2fbqtksrjwew69yjz-1.png
1024
1536
APP Expert
https://www.appliancepartspros.com/b/wp-content/uploads/2020/11/app-logo-std.png
APP Expert2022-03-02 13:41:002026-01-22 13:13:49How To Replace A Washer Motor Drive Coupler (With Video!) https://www.appliancepartspros.com/b/wp-content/uploads/2022/02/103_how-to-replace-a-samsung-washer-suspension_bottom.png
640
1536
APP Expert
https://www.appliancepartspros.com/b/wp-content/uploads/2020/11/app-logo-std.png
APP Expert2022-02-28 13:02:002026-01-22 12:53:53How To Replace A Samsung Washer Suspension Support Rod (With Video!)
https://www.appliancepartspros.com/b/wp-content/uploads/2022/02/103_how-to-replace-a-samsung-washer-suspension_bottom.png
640
1536
APP Expert
https://www.appliancepartspros.com/b/wp-content/uploads/2020/11/app-logo-std.png
APP Expert2022-02-28 13:02:002026-01-22 12:53:53How To Replace A Samsung Washer Suspension Support Rod (With Video!) https://www.appliancepartspros.com/b/wp-content/uploads/2022/02/101_how-to-replace-a-washing-machine-drain-hose-with_bottom.png
640
1536
APP Expert
https://www.appliancepartspros.com/b/wp-content/uploads/2020/11/app-logo-std.png
APP Expert2022-02-23 12:46:002026-01-22 12:00:42How To Replace A Washing Machine Drain Hose (With Video!)
https://www.appliancepartspros.com/b/wp-content/uploads/2022/02/101_how-to-replace-a-washing-machine-drain-hose-with_bottom.png
640
1536
APP Expert
https://www.appliancepartspros.com/b/wp-content/uploads/2020/11/app-logo-std.png
APP Expert2022-02-23 12:46:002026-01-22 12:00:42How To Replace A Washing Machine Drain Hose (With Video!)With nearly a decade of experience in providing top-notch customer service regarding appliance parts and repair, Steven enjoys sharing practical advice, troubleshooting tips, and interesting information to help readers stay informed.