Troubleshooting error code F2E1 on a Whirlpool electric range
Steven E / Thursday April 24, 2025
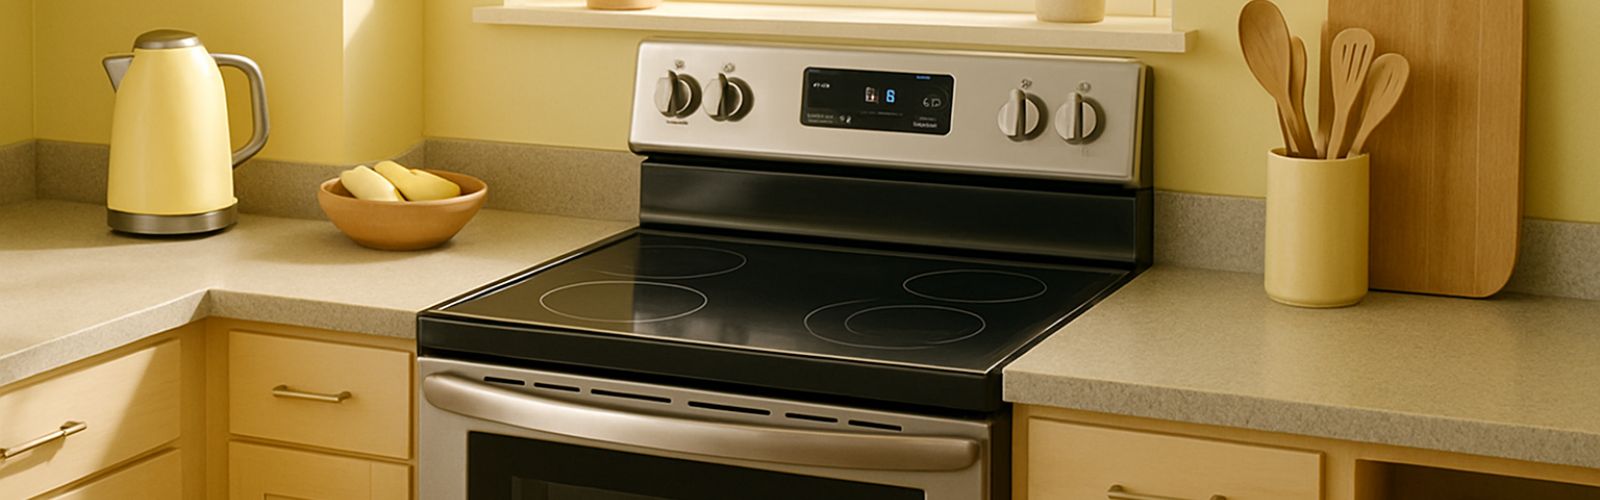
Encountering error codes on our appliances can be frustrating, especially when it disrupts the normal operation of our daily routines. If you own a Whirlpool electric range and have come across the error code F2E1, you’re in the right place. This error code specifically relates to a stuck keypad issue. Understanding the meaning behind this error code and knowing how to troubleshoot it can help you resolve the problem and get your Whirlpool electric range back up and running smoothly.
If you find out that you need any replacement parts for your Whirlpool range while you’re troubleshooting, you can enter your model number at AppliancePartsPros.com to order them. Most orders arrive in just two business days, and we have thousands of free guides to show you how to install your new parts.
The information in this article may not apply to your specific appliance model. We recommend consulting your manufacturer’s documentation or contact us with any questions.
What does the error code mean?
The error “F2E1 stuck keypad” indicates that a keypad on the appliance has been pressed for an extended period of time. This error can occur when a user accidentally presses a keypad for too long, something is leaned against the keypad or when a button becomes stuck or jammed.

The error is triggered when a keypad is pressed and held for more than 120 seconds. This time limit is designed to prevent accidental key presses from causing the control board to become damaged.
Safety precautions
When working on any appliance, remember to keep safety first. Here are some tips to keep in mind:
- Always power off and unplug your appliance or switch off the circuit breaker before attempting any maintenance or replacement work. This keeps you safe by preventing any risk of injury from electric shock.
- Wear insulated work gloves to protect your hands from sharp metal parts, pinching hazards and debris.
- When working with wires, avoid touching any exposed wires or terminals. If you need to touch a wire, use a non-conductive tool or wear insulating gloves to prevent electrical shock.
- Take your time and don’t rush while working to prevent accidents and personal injuries.
- Work in a well-lit area so you can clearly see and access the interior parts.
- Clear your workspace of clutter and other obstacles. Keep children and pets away from the work area.
- Never work on internal parts with bare wet hands. Make sure the work area is completely dry.
- Check your user manual to see if there are specific installation or safety instructions for your part or appliance.
- Be gentle when handling or removing parts. Excessive force might damage the appliance or cause injury.
- Wear safety glasses when working with chemicals, dust or cleaning large debris to prevent injury.
- If the appliance has recently been used, give it plenty of time for any heating parts to cool down before working on it.
- Take pictures or make a note of wiring terminals or other connections before disconnecting to prevent any problems with reassembly.
Troubleshooting steps
Step 1: Clearing the error
- Disconnect the power to the range by unplugging it or switching off the circuit breaker.
- After waiting for 30 seconds, plug in the range or reconnect the power. Check if the error code reappears.
- If the error reoccurs after resetting power and no keys are pressed the keypad will need to be replaced.
Step 2: Removing the control panel to access the keypad for replacement
- Remove all control knobs from the front of the range.
- Open the oven door to access the screws securing the control panel.
- Remove the three screws located at the bottom of the control panel assembly.
- Carefully detach the plastic lower control panel cover.
- Remove one screw from each side of the control panel mounting bracket.
- Gently disconnect the ribbon connector and the multi-wire harness to free the control panel.
- Lift the control panel out and turn it over to access the display assembly and user interface.
- Disconnect the electrical connections to the display assembly and user interface.
- Remove the four mounting screws securing the display assembly.
- Remove the five mounting screws securing the user interface.
- Carefully remove the user interface and replace it with a new one.
Step 3: Reassemble the control panel
- Reattach all parts and panels securely before operating the range. Ensure the display assembly and user interface are properly secured with their respective screws.
- Reconnect the ribbon connector and multi-wire harness.
- Place the control panel back in its position and secure it with the screws on each side.
- Snap the lower control panel cover back into place and secure the bottom with the three screws.
- Reattach all control knobs.
- Plug in the range or reconnect the power. Verify that the range operates normally without displaying any error codes.
Step 4: Clear stored error codes
- Enter the Diagnostic Mode by pressing CANCEL>CANCEL>START within 5 seconds.
- Press the number 3 or 6 keypads until “Faults” appears on the display.
- Press START TIME or DELAY START to clear all error codes.
- After clearing the error codes, test the keypad to check for any problems.
Additional information
Thank you for reading! We hope this guide helped you get your Whirlpool range working again.
If you have any other appliance repair needs or projects, don’t hesitate to explore our other troubleshooting guides and videos.
If you need replacement parts or some extra help with ordering them, grab your model number and head over to AppliancePartsPros.com, where you can chat with a pro, read our DIY blog and more.
Don’t forget to subscribe to us on YouTube and follow us on Facebook, Twitter and Instagram!
 https://www.appliancepartspros.com/b/wp-content/uploads/2023/09/e-17-error-code-Bosch.png
572
1021
Steven E
https://www.appliancepartspros.com/b/wp-content/uploads/2020/11/app-logo-std.png
Steven E2023-09-06 08:20:042023-09-06 08:20:13E17/ E18 Bosch Dryer Error Code Troubleshooting Guide
https://www.appliancepartspros.com/b/wp-content/uploads/2023/09/e-17-error-code-Bosch.png
572
1021
Steven E
https://www.appliancepartspros.com/b/wp-content/uploads/2020/11/app-logo-std.png
Steven E2023-09-06 08:20:042023-09-06 08:20:13E17/ E18 Bosch Dryer Error Code Troubleshooting Guide https://www.appliancepartspros.com/b/wp-content/uploads/2023/08/E09-Bosch-Washer-Error-Code.png
609
1087
Steven E
https://www.appliancepartspros.com/b/wp-content/uploads/2020/11/app-logo-std.png
Steven E2023-08-31 07:20:382023-08-31 07:38:07E09 Bosch Washer Error Code Troubleshooting Guide
https://www.appliancepartspros.com/b/wp-content/uploads/2023/08/E09-Bosch-Washer-Error-Code.png
609
1087
Steven E
https://www.appliancepartspros.com/b/wp-content/uploads/2020/11/app-logo-std.png
Steven E2023-08-31 07:20:382023-08-31 07:38:07E09 Bosch Washer Error Code Troubleshooting Guide https://www.appliancepartspros.com/b/wp-content/uploads/2023/08/tracybeard_A_detailed_close_up_photograph_showing_a_hand_holdin_5357782d-1cd3-40d9-9a30-0099e94df724.png
572
1021
Steven E
https://www.appliancepartspros.com/b/wp-content/uploads/2020/11/app-logo-std.png
Steven E2023-08-28 12:43:462023-08-28 12:43:58Bosch Refrigerator E3 Error Code Troubleshooting Guide
https://www.appliancepartspros.com/b/wp-content/uploads/2023/08/tracybeard_A_detailed_close_up_photograph_showing_a_hand_holdin_5357782d-1cd3-40d9-9a30-0099e94df724.png
572
1021
Steven E
https://www.appliancepartspros.com/b/wp-content/uploads/2020/11/app-logo-std.png
Steven E2023-08-28 12:43:462023-08-28 12:43:58Bosch Refrigerator E3 Error Code Troubleshooting GuideWith nearly a decade of experience in providing top-notch customer service regarding appliance parts and repair, Steven enjoys sharing practical advice, troubleshooting tips, and interesting information to help readers stay informed.