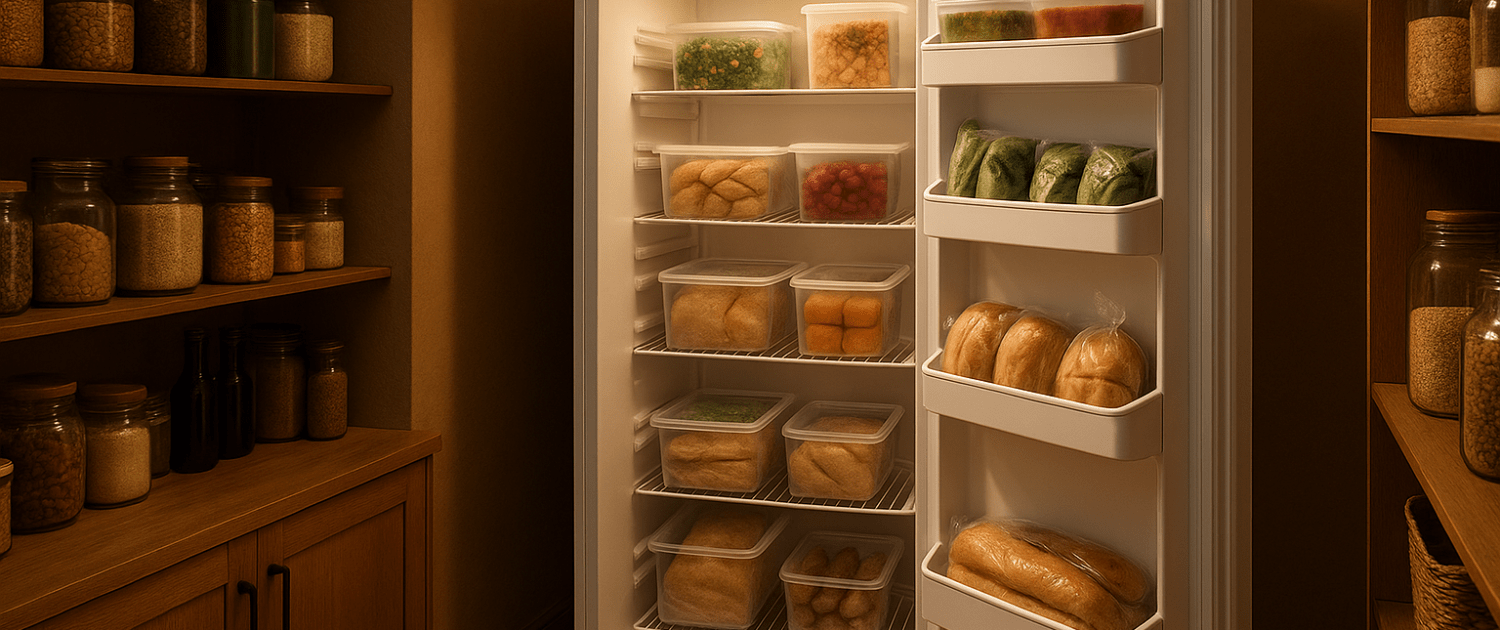
Troubleshooting Frozen Evaporator Coils in an Upright Freezer
Steven E / Tuesday May 20, 2025
Having an upright freezer with frozen coils can be a frustrating problem. But don’t worry – with some troubleshooting, you can likely diagnose and fix the issue on your own. We’ll walk through the top causes of frozen freezer coils and detail the steps to get your appliance back up and running.
The information in this article may not apply to your specific appliance model. We recommend consulting your manufacturer’s documentation or contact us with any questions.
What Causes Freezer Coils to Freeze Over?
Freezer coils are designed to get cold – that’s their job. But when they get too cold and become coated in frost or ice, it’s a sign something isn’t working right. Here are the most common culprits behind frozen freezer coils:
1. Defective Defrost Heater
The defrost heater is responsible for melting away frost buildup on the evaporator coils periodically throughout the day. If the defrost heater stops working properly, frost will accumulate and eventually cause the coils to freeze over.
Defrost Heater Testing
Since a faulty defrost heater is the most likely culprit, let’s go through how to test it in more detail:
- Unplug the freezer – This is for safety when testing electrical components.
- Locate the defrost heater – Refer to your freezer’s service manual to find the specific location. It will be near the evaporator coils.
- Disconnect the heater wires – Remove the wires from the heater terminals so you can take readings.
- Set your multimeter to Ohms setting – For continuity tests, the Ohms setting is usually denoted by the omega (Ω) symbol.
- Touch probes to heater terminals – Place one probe on each terminal. If the heater has continuity, you’ll get a low reading.
- Check for continuity – If you get no reading or an “OL” (open line) error, there is no continuity and the heater is bad.
- Compare to manual specs – Consult the wiring diagram to confirm your readings indicate a faulty heater needing replacement.
- Replace the heater if defective – Order and install a new defrost heater, using diagrams for proper wiring.
2. Faulty Defrost Timer
Older freezer models use a defrost timer to turn the defrost heater on and off in a set time interval – usually every 6 to 12 hours for around 30 minutes. If the defrost timer malfunctions and fails to energize the heater during the defrost cycle, ice can quickly build up on the evaporator coils.
Defrost Timer Testing
To evaluate if the defrost timer is malfunctioning, follow these guidelines:
- Locate timer – Consult the freezer diagram to find the timer, typically in the control housing.
- Manually turn the dial – Rotate the dial slowly to advance the timer into the defrost cycle. Listen for the compressor to turn off.
- Check if the heater activates – The heater should come on a few minutes after the compressor stops. Listen and feel for warmth.
- Let the full cycle run – Note if the timer advances out of defrost after 20-30 minutes.
- Check compressor restarts – The freezer should return to normal cooling after the timer reaches the end of the defrost cycle.
- Replace timer if issues – If the heater didn’t engage, the timer is stuck in defrost, or the compressor didn’t restart – replace the timer.
Replacing a Faulty Defrost Timer
Once diagnosed, replacing a bad defrost timer is a straightforward repair:
- Unplug freezer – Always disconnect power before any repairs for safety.
- Remove the housing panel – Take off the outer panel to access the back of the timer.
- Detach wires – Tag and remove each timer wire connection.
- Remove mounting screws – Take out screws affixing the timer to the housing.
- Install new timer – Secure with mounting screws and reconnect wires matching diagram.
- Replace housing – Reattach outer panels once the timer is installed.
- Plug in the freezer – Restore power and test operation through several defrost cycles.
3. Failed Defrost Thermostat
The defrost thermostat monitors the temperature of the coils and engages the defrost heater when the temperature drops below a preset level. A defective thermostat that stays open can prevent the heater from turning on when needed.
4. Defective Defrost Control Board
Newer freezer models have an electronic defrost control board in place of a mechanical defrost timer. If the control board fails, it may not initiate the defrost cycle to prevent coil icing.
5. Worn/Damaged Door Seals
If the seals around the freezer door have become cracked or warped, warm air can leak into the freezer compartment with each opening. This influx of ambient air leads to quicker frost buildup on the evaporator coils.
More information
Thank you for reading! We hope you found this information useful to get your upright freezer working again.
If you have any other appliance repair needs or projects, don’t hesitate to explore our thousands of free videos and troubleshooting guides available. If you need replacement parts or some extra help, grab your model number and head over to AppliancePartsPros.com, where you can chat with a pro, order parts, read our DIY blog, and more.
Be sure to subscribe to us on YouTube and follow us on Facebook, Twitter, and Instagram!
With nearly a decade of experience in providing top-notch customer service regarding appliance parts and repair, Steven enjoys sharing practical advice, troubleshooting tips, and interesting information to help readers stay informed.


Samsung Washer Not Filling? How to Diagnose and Fix the Problem Yourself
Why Your LG Front Load Washer Is Damaging Clothes (And How to Fix It)
How to Fix a JennAir Slide-In Electric Downdraft Range That Won’t Broil