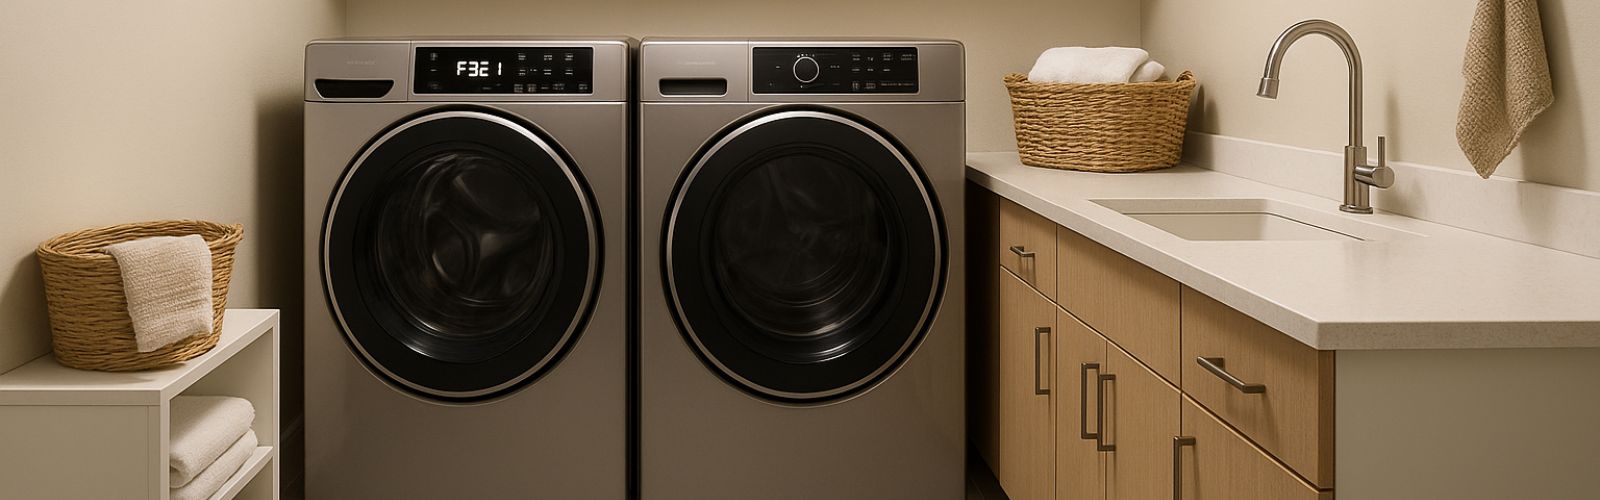
Troubleshooting Whirlpool washing machine error code F3E1
Steven E / Friday April 25, 2025
When using a Whirlpool washer, encountering the F3E1 error code can be frustrating. However, by understanding the potential causes and following a systematic troubleshooting approach, you can effectively resolve the issue and get your Whirlpool washer back up and running smoothly.
If you find out that you need any replacement parts for your Whirlpool washer while you’re troubleshooting, you can enter your model number at AppliancePartsPros.com to order them. Most orders arrive in just two business days, and we have thousands of free guides to show you how to install your new parts.
The information in this article may not apply to your specific appliance model. We recommend consulting your manufacturer’s documentation or contact us with any questions.
Possible causes of the error code
The F3E1 error code on a Whirlpool front load washer indicates a pressure signal that is out of range, as detected by the Appliance Control Unit (ACU). In order to effectively troubleshoot this issue, it is important to consider the following possible causes:

Check the connections from the tub to the air trap, the air trap to the pressure hose, and the pressure hose to the water level sensor. Loose or disconnected connections between these components can result in erratic pressure readings and trigger the F3E1 error code. Make sure all connections are securely attached and in good condition.
Verify if the pressure hose is pinched, kinked, plugged, or leaking air. Any obstruction or damage to the pressure hose can disrupt the functionality of the water level system and cause irregular pressure signals. Thoroughly inspect the pressure hose to ensure it is free from any obstructions, pinches, kinks, or leaks.
Safety precautions
When working on any appliance, remember to keep safety first. Here are some tips to keep in mind:
- Always power off and unplug your appliance or switch off the circuit breaker before attempting any maintenance or replacement work. This keeps you safe by preventing any risk of injury from electric shock.
- Turn off the water supply at the outlet before beginning repairs to any appliance parts that hold water. Have towels ready for any residual water in the system when removing parts.
- Wear insulated work gloves to protect your hands from sharp metal parts, pinching hazards and debris.
- Don’t test wiring with a multimeter for live voltage if you’re unfamiliar with how to prevent short circuiting when testing.
- When working with wires, avoid touching any exposed wires or terminals. If you need to touch a wire, use a non-conductive tool or wear insulating gloves to prevent electrical shock.
- Take your time and don’t rush while working to prevent accidents and personal injuries.
- Work in a well-lit area so you can clearly see and access the interior parts.
- Clear your workspace of clutter and other obstacles. Keep children and pets away from the work area.
- Never work on internal parts with bare wet hands. Make sure the work area is completely dry.
- Check your user manual to see if there are specific installation or safety instructions for your part or appliance.
- Be gentle when handling or removing parts. Excessive force might damage the appliance or cause injury.
- Wear safety glasses when working with chemicals, dust or cleaning large debris to prevent injury.
- If the appliance has recently been used, give it plenty of time for any heating parts to cool down before working on it.
- Take pictures or make a note of wiring terminals or other connections before disconnecting to prevent any problems with reassembly.
Water level sensor testing
To diagnose and troubleshoot the F3E1 error code on your Whirlpool front load washer, it’s important to perform Water Level Sensor Test. This test will help you assess the water level sensor, ACU, and wiring. Follow the steps below:
- Check the water level sensor by running a small load. During this cycle, the valves should automatically turn off after sensing the correct water level in the tub. If the water level sensor functions properly and the error code does not persist, you can skip the remaining steps. However, if the error code persists, proceed to the next step.
- Press the START/PAUSE button to stop the cycle, and then press the POWER button to cancel the cycle and drain the water from the tub.
- Unplug the washer from the power outlet or disconnect the power supply to ensure safety during the troubleshooting process.
- Remove the top and rear panels of the washer to access the tub, air trap, and pressure hose connections. The water level sensor is located at the top right rear of the cabinet.
- Check the connections from the tub to the air trap, air trap to the pressure hose, and pressure hose to the water level sensor. Ensure that all connections are securely attached.
- Verify that there is no water, suds, or debris present in the hose or air trap. Disconnect the hose from the water level sensor, clean the air trap, and remove any water, suds, or debris from the hose by blowing into it.
- Visually check that connector J28 is fully inserted into the ACU. Additionally, ensure that the water level sensor harness is securely connected to the sensor and not damaged. .
- If the error code persists after completing these steps, proceed to the ACU Power Check, which will be covered in the next section of this troubleshooting guide.
Appliance control unit (ACU) check
If you’re still encountering the F3E1 error code on your Whirlpool front load washer after performing the Water Level Sensor test, it’s time to move on to the ACU Power Check. This test will help you identify any power-related problems with the Appliance Control Unit (ACU). Here are the steps to follow:
- Remove the top panel of the washer to access the machine electronics.
- Check that all connections to the interference filter are securely attached. Ensure there are no loose or disconnected wires.
- Examine all connections to the ACU and confirm that they are fully inserted. Make sure each connection is secure and properly seated.
- Plug in the washer or reconnect the power supply to the appliance.
- Use a multimeter set to AC mode to check for line voltage at the input of the interference filter. If you detect line voltage, move on to step 8. If there is no line voltage, verify the continuity of the power cord. If the power cord fails the continuity check, replace it with a new one.
- With the multimeter still set to AC mode, check for line voltage at the output of the interference filter. If you find line voltage, proceed to step 9. If there is no line voltage, replace the interference filter.
- Set the multimeter to AC mode and measure the input line voltage to the ACU across pins 1 and 2 of connector J8 AC In (IF filter). If you observe line voltage, proceed to step 10. If there is no line voltage, inspect the harnesses and connections between the filter and the ACU. Check the inside of the connector housing for any damaged terminals and replace them if necessary.
- Observe the status light on the ACU. After plugging in the ACU, the LED will blink for 10 seconds and then become solidly lit.
- If the LED is not illuminated, it means there is no 5 volts DC supply to the microcontroller. In this case, the ACU needs to be replaced.
- If the LED is not solidly lit after 10 seconds of blinking upon powering up, it indicates that the microcontroller is not responding. Replace the ACU.
- If the LED remains solidly lit during washer operation, it suggests that the ACU is likely functioning correctly, and the issue may lie elsewhere.
- Check the user interface input voltage. Verify that there is 5V between pin 1 and 3 at connector J18 on the board.
- If the results of this test indicate a faulty ACU, it will be necessary to replace it with a new one.
Additional information
Thank you for reading! We hope this guide helped you get your Whirlpool washer working again.
If you have any other appliance repair needs or projects, don’t hesitate to explore our other troubleshooting guides and videos.
If you need replacement parts or some extra help with ordering them, grab your model number and head over to AppliancePartsPros.com, where you can chat with a pro, read our DIY blog and more.
Don’t forget to subscribe to us on YouTube and follow us on Facebook, Twitter and Instagram!
 https://www.appliancepartspros.com/b/wp-content/uploads/2025/04/APP-blog-square-73.jpg
1080
1080
Steven E
https://www.appliancepartspros.com/b/wp-content/uploads/2020/11/app-logo-std.png
Steven E2025-04-11 08:51:032025-04-11 08:51:14How to troubleshoot a Samsung dryer displaying error code dF
https://www.appliancepartspros.com/b/wp-content/uploads/2025/04/APP-blog-square-73.jpg
1080
1080
Steven E
https://www.appliancepartspros.com/b/wp-content/uploads/2020/11/app-logo-std.png
Steven E2025-04-11 08:51:032025-04-11 08:51:14How to troubleshoot a Samsung dryer displaying error code dF https://www.appliancepartspros.com/b/wp-content/uploads/2025/04/APP-blog-square-72.jpg
1080
1080
Steven E
https://www.appliancepartspros.com/b/wp-content/uploads/2020/11/app-logo-std.png
Steven E2025-04-11 08:30:452025-04-11 08:30:55LG Dryer Not Working? Check These Error Codes
https://www.appliancepartspros.com/b/wp-content/uploads/2025/04/APP-blog-square-72.jpg
1080
1080
Steven E
https://www.appliancepartspros.com/b/wp-content/uploads/2020/11/app-logo-std.png
Steven E2025-04-11 08:30:452025-04-11 08:30:55LG Dryer Not Working? Check These Error Codes https://www.appliancepartspros.com/b/wp-content/uploads/2025/04/APP-blog-square-40.jpg
1080
1080
Steven E
https://www.appliancepartspros.com/b/wp-content/uploads/2020/11/app-logo-std.png
Steven E2025-04-07 08:46:362025-04-07 08:46:43Samsung refrigerator error code 5E: Causes and fixes
https://www.appliancepartspros.com/b/wp-content/uploads/2025/04/APP-blog-square-40.jpg
1080
1080
Steven E
https://www.appliancepartspros.com/b/wp-content/uploads/2020/11/app-logo-std.png
Steven E2025-04-07 08:46:362025-04-07 08:46:43Samsung refrigerator error code 5E: Causes and fixesWith nearly a decade of experience in providing top-notch customer service regarding appliance parts and repair, Steven enjoys sharing practical advice, troubleshooting tips, and interesting information to help readers stay informed.