Whirlpool Fridge Evaporator Fan Motor W11396715 Install Guide
Steven E / Thursday June 19, 2025
Is your Whirlpool refrigerator failing to chill or making strange noises? The problem might lie with your evaporator fan motor—a critical component that keeps the air circulating. Don’t worry, you can tackle this common issue yourself, and there’s a step-by-step how-to video just below to guide you through the process!
Looking for the right part? Enter your appliance model number below to find the exact match and get your appliance running like new again!
If your Whirlpool refrigerator is too warm, not cooling evenly, or making strange noises from the freezer area, the evaporator fan motor could be the culprit. This part, W11396715, helps circulate cold air throughout the fridge and freezer compartments. When it stops working, you might notice temperature issues or frost buildup. The good news is that replacing the fan motor is something you can handle with a few tools and a little patience. In this guide, we’ll walk you through how to replace the old motor and get your refrigerator cooling like it should. Let’s get started.

Watch here: How to replace the evaporator fan motor on a refrigerator
The information in this article may not apply to your specific appliance model. We recommend consulting your manufacturer’s documentation or contact us with any questions.
What is the evaporator fan motor?
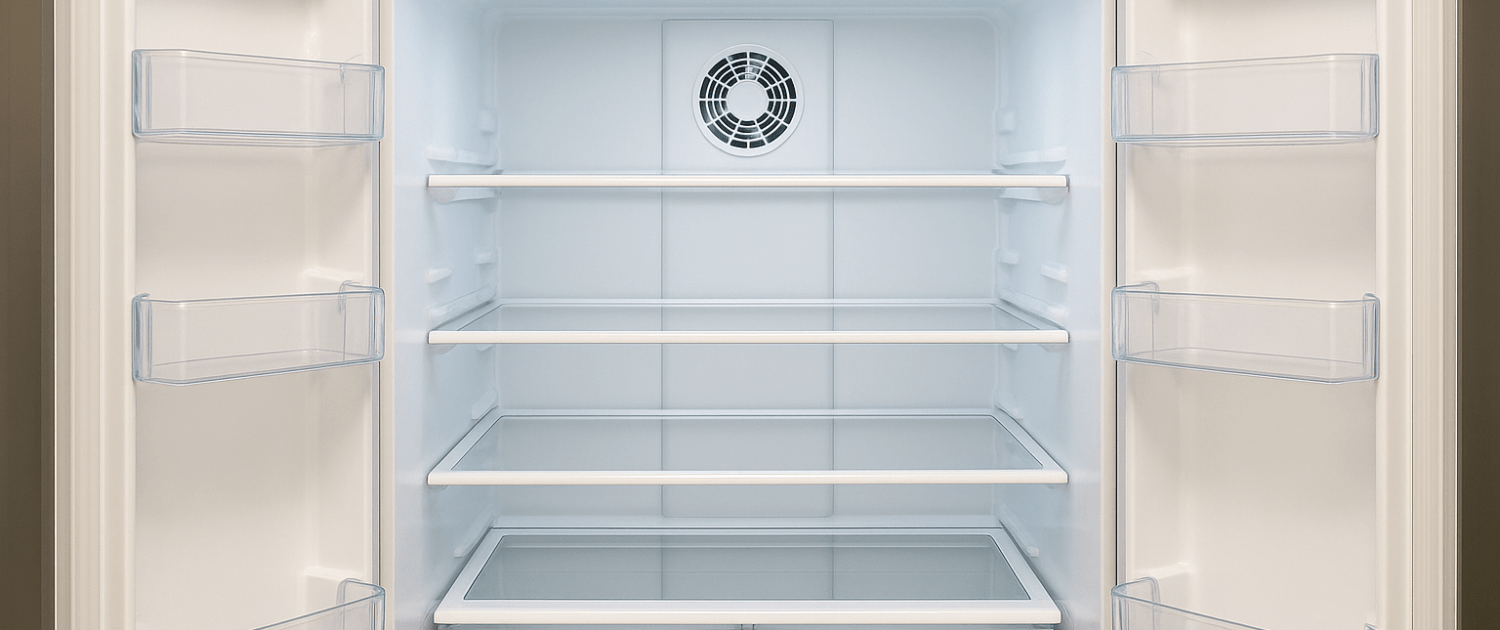
The evaporator fan is located in the freezer portion, however it works to cool both sections. It pulls in and pushes out cold dry air across the evaporator coils. This allows for a steady stream of crisp cold air to maintain set temperatures in the freezer and refrigerator.
Without the consistent air flow from the fan, the cooling system can’t function reliably. Food spoilage occurs pretty rapidly once consistent chill is lost. Some clues your evaporator fan has failed:
- The freezer section not consistently staying below 0°F
- The refrigerator section around 40°F and warmer
- Fan making noisy humming, buzzing, or clicking sounds
- The fan not spinning at all
Confirm the fan is faulty before ordering a replacement unit. Powering off the Whirlpool refrigerator for at least 30 minutes can reset the fan. Turning it back on and listening closely at the vents usually makes it clear if the fan is running properly or not. If the fan still isn’t coming on, seems strained or makes odd noises, replacement is needed.
Safety first
When working on any appliance, always keep safety first to avoid personal injury or damage to the appliance or parts. Here are some safety tips to keep in mind:
- Unplug the refrigerator or switch off the circuit breaker to avoid any electrical risk.
- Keep some towels nearby in case of moisture.
- Have a small tray ready to hold screws and small parts so nothing gets lost.
- If the appliance has recently been used, give it plenty of time to cool down before working on it.
- Take your time while working to prevent accidents and personal injuries. Rushing is the enemy of precision.
- Work in a well-lit area so you can clearly see and access appliance parts.
- Keep your workspace free of clutter and other obstacles. Keep children and pets away from the work area.
- Be gentle when handling or removing parts. Excessive force might damage the appliance or cause personal injury.
- Wear insulated work gloves to protect your hands from sharp metal parts and debris.
- When working with wires, avoid touching any exposed wires or terminals.
Tools and materials needed
- 1/4-inch nut driver
- Flathead screwdriver
- Evaporator fan motor W11396715– Take your model number to AppliancePartsPros.com to locate the correct part.
Replacement Steps
Step 1: Clear Out the Freezer
- Open the freezer door completely.
- Remove all the shelves and drawers to give yourself room to work,
- Lift and slide each shelf out.
- Pull drawers out, lift them, and set everything aside.
Step 2: Remove the Rear Access Panels
- Start with the upper rear plastic cover inside the freezer.
- Use a flat-blade screwdriver to pry it off gently.
- Be ready to catch it—it may pop off quickly.
- Use your 1/4-inch nut driver to remove the screw in the upper left corner of the metal panel behind it.
- Grab the panel by the corner, pull it outward, and then lift it up and out.
- Now remove the lower rear access panel.
- Remove four screws (two at the top, two at the bottom).
- Pull the panel out and set it aside.
Step 3: Disconnect and Remove the Fan Motor Assembly
- Locate the fan motor plug and disconnect it.
- Rotate the assembly to access the back.
- Press the locking tab and gently unplug the wire harness.
- Slide out the motor bracket assembly from its mount inside the freezer.
- Take the entire unit to a table or counter to work on.
Step 4: Remove the Old Evaporator Fan Motor
- Lay the motor assembly flat.
- Use a flat-blade screwdriver to carefully pry off the fan blade from the motor shaft.
- Next, squeeze the bracket sides to release the motor from its mount and remove the rubber grommets.
- Set the old motor aside.
Step 5: Install the New Motor
- Install the rubber grommets onto the new motor.
- Slide the new motor into the bracket, squeezing the sides if needed until it locks in place.
- Reinstall the fan blade onto the motor shaft, make sure it spins freely.
Step 6: Reinstall the Fan Motor Assembly
- Slide the assembled bracket and motor back into the mounting slots inside the freezer.
- Reconnect the motor plug, listen for the “click” to make sure it’s fully seated.
Step 7: Reinstall Rear Access Panels
- Start with the lower access panel.
- Line it up and secure it with the four screws using your nut driver.
- Reinstall the upper rear panel.
- Line up the grooves at the bottom of the panel so they slide over the edge of the lower panel.
- Press the panel in until it snaps into place.
- Secure it with the upper left corner screw.
- Reattach the plastic cover.
- Slide the right side in first, then snap in the left.
Step 8: Reinstall Shelves and Drawers
- Slide the bottom shelf in first, followed by its matching drawer.
- Continue reinstalling all remaining shelves and drawers from bottom to top.
- Make sure everything slides and locks into place correctly.
Step 9: Final Steps
- Close the freezer door.
- Plug the fridge back in or flip the breaker back on.
- Give it a few minutes and listen for the fan to kick on.
- Confirm that the fridge and freezer are cooling properly.
More information
Thanks for reading! We hope this guide helped you replace the evaporator fan motor in your Whirlpool refrigerator.
If you still need some replacement parts, grab your model number and head over to AppliancePartsPros.com. We offer over two million parts and most orders arrive in two business days. If you need some help with finding the right part or placing an order, you can contact our team at 1 (877) 477-7278.
While you’re waiting for your new part to arrive, you can explore our DIY blog and watch thousands of video tutorials on our YouTube channel.
Be sure to follow us on Facebook, Twitter and Instagram to see our latest repair guides!
 https://www.appliancepartspros.com/b/wp-content/uploads/2024/06/Copy-of-Copy-of-Copy-of-Copy-of-Copy-of-Copy-of-Copy-of-Copy-of-Copy-of-app-blog-square-5.jpg
1080
1080
Steven E
https://www.appliancepartspros.com/b/wp-content/uploads/2020/11/app-logo-std.png
Steven E2024-06-27 12:40:582025-08-01 12:20:21How to replace Frigidaire refrigerator power cord 241516904
https://www.appliancepartspros.com/b/wp-content/uploads/2024/06/Copy-of-Copy-of-Copy-of-Copy-of-Copy-of-Copy-of-Copy-of-Copy-of-Copy-of-app-blog-square-5.jpg
1080
1080
Steven E
https://www.appliancepartspros.com/b/wp-content/uploads/2020/11/app-logo-std.png
Steven E2024-06-27 12:40:582025-08-01 12:20:21How to replace Frigidaire refrigerator power cord 241516904 https://www.appliancepartspros.com/b/wp-content/uploads/2024/06/Copy-of-Copy-of-Copy-of-Copy-of-Copy-of-Copy-of-Copy-of-app-blog-square-9.jpg
1080
1080
Steven E
https://www.appliancepartspros.com/b/wp-content/uploads/2020/11/app-logo-std.png
Steven E2024-06-20 11:41:052024-06-20 11:41:14Replace the ice dispenser drum in a Frigidaire refrigerator: A complete guide
https://www.appliancepartspros.com/b/wp-content/uploads/2024/06/Copy-of-Copy-of-Copy-of-Copy-of-Copy-of-Copy-of-Copy-of-app-blog-square-9.jpg
1080
1080
Steven E
https://www.appliancepartspros.com/b/wp-content/uploads/2020/11/app-logo-std.png
Steven E2024-06-20 11:41:052024-06-20 11:41:14Replace the ice dispenser drum in a Frigidaire refrigerator: A complete guide https://www.appliancepartspros.com/b/wp-content/uploads/2024/06/Copy-of-Copy-of-Copy-of-Copy-of-Copy-of-Copy-of-Copy-of-app-blog-square-8.jpg
1080
1080
Steven E
https://www.appliancepartspros.com/b/wp-content/uploads/2020/11/app-logo-std.png
Steven E2024-06-20 11:05:382024-06-20 11:05:49How to replace the start device on a Frigidaire refrigerator that’s not cooling (compressor not running)
https://www.appliancepartspros.com/b/wp-content/uploads/2024/06/Copy-of-Copy-of-Copy-of-Copy-of-Copy-of-Copy-of-Copy-of-app-blog-square-8.jpg
1080
1080
Steven E
https://www.appliancepartspros.com/b/wp-content/uploads/2020/11/app-logo-std.png
Steven E2024-06-20 11:05:382024-06-20 11:05:49How to replace the start device on a Frigidaire refrigerator that’s not cooling (compressor not running)With nearly a decade of experience in providing top-notch customer service regarding appliance parts and repair, Steven enjoys sharing practical advice, troubleshooting tips, and interesting information to help readers stay informed.