Whirlpool Microwave Air Damper W10843943 Replacement Guide
Steven E / Friday May 16, 2025
Is your Whirlpool microwave making strange noises or failing to vent air properly? A malfunctioning air damper could be the culprit, but don’t worry—this common issue is easier to fix than you think. Keep reading to discover how you can effortlessly replace the air damper yourself with just a screwdriver, and be sure to check out our step-by-step how-to video below!
Looking for the right part? Enter your appliance model number below to find the exact match and get your appliance running like new again!
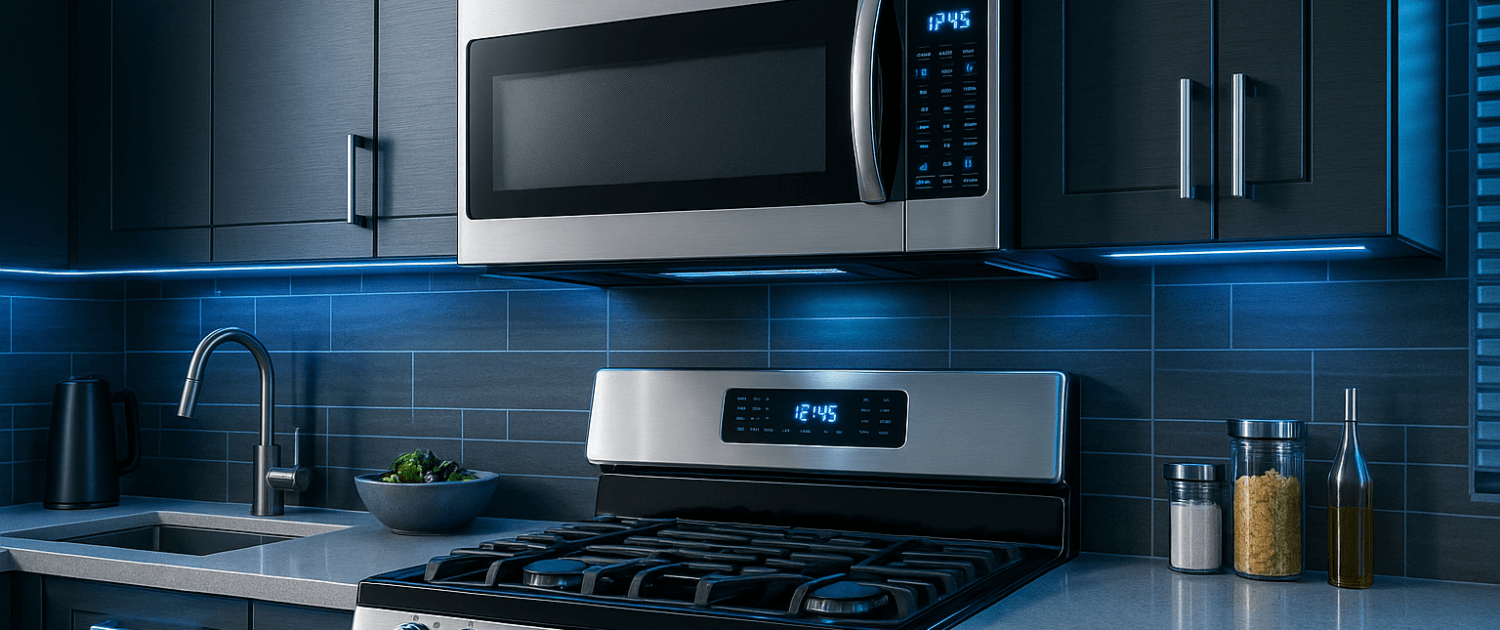
Is your Whirlpool microwave making strange venting noises or not exhausting air properly? You might be dealing with a faulty air damper, the part that helps direct airflow from the microwave to the outside. The good news? Replacing the damper (part number W10843943) is a quick and easy job you can handle yourself with a screwdriver and a few minutes. Let’s go through how to get your microwave venting like new again.
Watch: How to replace the Air Damper
The information in this article may not apply to your specific appliance model. We recommend consulting your manufacturer’s documentation or contact us with any questions.
What is the Air Damper and What Does it Do?
The air damper is a small flap or vent that opens and closes to control air circulation in your microwave. It is located near the main vent fan on the top, back, or side of the unit. When the vent fan turns on, the air damper opens to allow hot air to escape the cooking chamber and be vented outside. This prevents the microwave components from overheating.
Once the cooking cycle ends, the fan shuts off and the air damper closes to contain the heat inside. If the air damper becomes stuck, bent, or damaged over time, it can no longer open properly. This prevents proper ventilation, leading to overheating issues. Replacing the faulty air damper restores normal airflow.
When Should the Air Damper Be Replaced?
There are a few common signs that indicate it’s time to replace your microwave’s air damper:
- The microwave overheats during use and cooking times seem slower
- You notice a burning smell from the vent area
- The vent fan seems weak or does not run when cooking
- You hear abnormal noises when the fan or ventilation turns on
What You’ll Need to Replace the Air Damper
Replacing the microwave’s air damper is a straightforward repair you can do yourself. Here’s what you’ll need:
- Phillips head screwdriver
- Replacement air damper part specifically for your microwave model
- Protective gloves
- Assistant to help remove microwave
Have your model and serial number ready and visit us at AppliancePartsPros.com to purchase the correct part.
Step-by-Step Guide to Replacing the Air Damper
- Shut off the microwave’s power at the circuit breaker and unplug it from the wall outlet to prevent electrical shock.
- Most built-in models are mounted beneath an upper cabinet, often above the oven vent. To uninstall, remove the mounting screws from inside the upper cabinet, detach any connected vent ducts, and carefully lift the microwave out.
- Place it on a soft towel over a table or countertop to avoid damage. Keep all screws and hardware for reinstallation.
- Find the air damper near the fan exhaust—usually on the top, back, or side of the microwave. Remove the Phillips screw holding it in place, then slide the old damper out and discard it.
- Slide the new air damper into the vent slot, ensuring it’s oriented correctly. Reinsert and tighten the Phillips screw securely. Check that the flap opens and closes freely to confirm proper ventilation.
- Lift the microwave back into its original position under the cabinet. Reconnect any venting that was previously detached.
- Reinsert the mounting screws and confirm the microwave is securely fastened before releasing your grip.
- Plug the microwave back in and turn the power on at the breaker.
- Run a short test cycle with a cup of water to ensure the unit operates correctly and the new damper is functioning, improving airflow and ventilation.
Where To Find Us
If you need any replacement parts for your appliances, you can enter your model number at AppliancePartsPros.com to locate and order them quickly. Most orders arrive in just two business days, and we have tons of great information in our repair help section and YouTube videos to help you troubleshoot.
Stay connected with the latest DIY tips, tutorial videos, and repair guides by following us on Facebook, Instagram, and Twitter. We love hearing about your repair stories and successes. If you need more help or want personalized guidance, feel free to reach out. We’re ready to help you take on your next project with confidence!
With nearly a decade of experience in providing top-notch customer service regarding appliance parts and repair, Steven enjoys sharing practical advice, troubleshooting tips, and interesting information to help readers stay informed.
How to Clean Your Oven After a Spill, Naturally and Easily
KitchenAid Stand Mixers: Classic vs. Digital Comparison
KitchenAid Mixer Storage Tips for Small Kitchens and Tight Spaces