Whirlpool Stove Door Hinge Receivers 12002578 Replacement
Steven E / Thursday May 22, 2025
Is your Whirlpool oven door refusing to stay closed or starting to sag? There’s a good chance that worn-out hinge receivers are the culprits, compromising your door’s smooth operation. Fortunately, with our step-by-step guide and included how-to video, you can easily replace these parts yourself and have your oven door functioning like new again in no time!
Looking for the right part? Enter your appliance model number below to find the exact match and get your appliance running like new again!
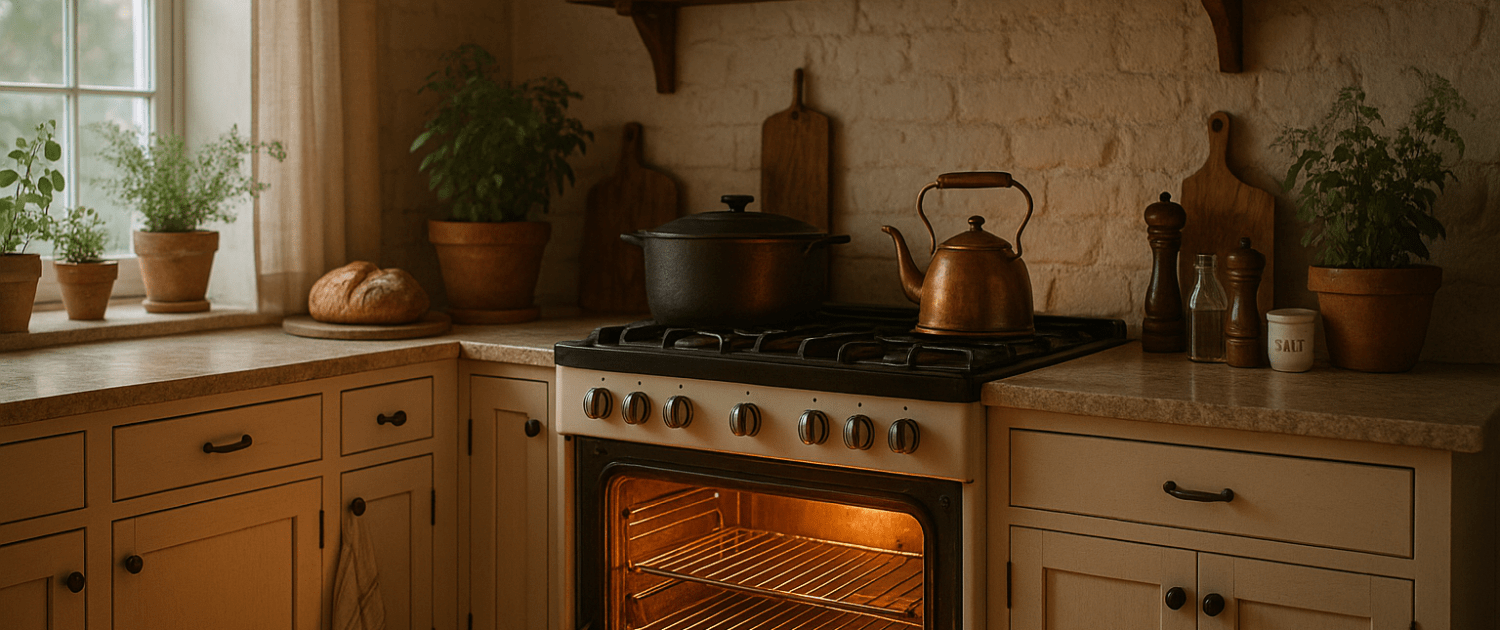
Is your Whirlpool oven door sagging, not staying closed, or just feeling off? It might be time to replace the hinge receivers, part #12002578. These metal brackets anchor the oven door hinges inside the frame, and when they wear out or get damaged, your door loses its alignment or won’t close tightly. The good news? Swapping them out is a simple DIY fix. We’ll walk you through how to replace them and get your oven door working like new again.

Watch: How to replace the door hinge receivers
The information in this article may not apply to your specific appliance model. We recommend consulting your manufacturer’s documentation or contact us with any questions.
Replacing Hinge Receivers
The hinge receivers on a range are the pieces that the oven door hinges attach to. They are mounted to the front frame of the range body. When you open and close the oven door, the hinges rotate inside the hinge receivers.
Over time, these hinge receivers can become damaged or worn out. If the hinge receivers are loose or broken, the oven door will sag and not open or close properly. Replacing them restores the door hinges to smooth operation.
For this guide, we are replacing Whirlpool part #12002578. You will need to use your model number to locate the correct part you will need to use.
Replacing the hinge receivers involves removing the oven door, accessing and detaching the old hinge receivers, installing the new ones, and then replacing the oven door. It’s a straightforward repair that you can do yourself in no time.
Let’s go over what you’ll need to complete this repair job.
Gathering Your Tools and Supplies
Replacing the hinge receivers doesn’t require a lot of specialty tools. Here’s what you’ll need:
- Hinge receiver kit – This contains the two new hinge receivers. The part number we are replacing is #12002578.
- Phillips screwdriver
- Flathead screwdriver
- 1/4″ nut driver
- Gloves
Make sure you have all of these supplies ready before getting started. You don’t want to be stuck mid-repair because you’re missing a tool!
For safety, you’ll also want to turn off power to the range at the circuit breaker. Verify power is off by checking that the display and lights do not turn on when any buttons are pressed.
Okay, with your tools gathered and power off, you’re ready to start!
Remove the Oven Door
The first step in replacing the hinge receivers is to detach and remove the oven door. This gives you open access to the part locations.
Be very careful when removing the door – it’s heavy and fragile. Follow these steps:
- Open the oven door all the way, until it stops and is fully extended outward.
- On each side of the oven cavity, there is a notch behind the hinge.
- Insert a flathead screwdriver into this notch and use it as a lever to rotate the notch forward.
- This locks the hinges in the open position.
- Complete this step on both the left and right hinges. Double-check both are locked.
- With the hinges locked open, you can now lift the oven door straight up. The locked hinges prevent it from swinging closed.
- Carefully lift the door straight up off the hinges. Keep it level as you lift it off.
- Set the oven door aside gently on a soft, padded surface.
- Pull the storage drawer underneath the oven out all the way.
- Lift up the front lip of the drawer to detach it and remove it.
- Set it aside. This allows access to the screws behind it.
- With the drawer removed, you’ll see two screws, one on each side, that hold the top in place.
- Use a Phillips screwdriver to remove these screws. Set them aside.
- There will also be tabs going into slots on the front corners.
- Lift up the front of the top so the tabs are released from the slots.
- You can then lift the top up and off. Set it aside safely.
Removing this front panel provides the necessary access to get the hinge receivers out.
Detach Side Panels
With the oven door and front panel removed, we now need to detach the left and right side panels. This allows us to access the hinge receiver screws.
- On the back of the range, remove the screws holding the access panel in place using a Phillips screwdriver.
- Take this access panel off and set it aside.
- Remove the screws holding the side panels in place, using your Phillips screwdriver.
- There are tabs holding the side panels in place. Carefully but firmly pull the side panels away from the range to detach them.
- Remove both left and right side panels and set them safely aside.
- On each hinge receiver, there will be two screws holding it to the range frame.
- Use a 1/4″ nut driver to remove these screws. Set them aside.
- Once the screws are out, carefully detach the old hinge receivers from the front frame.
- You may need to wiggle them free. But be careful not to damage the surrounding oven frame.
- Remove both old hinge receivers and set them aside.
Thats it! The old hinge receivers are now removed. Time to install the new ones.
Install New Hinge Receivers
You’re in the home stretch now. Just a few steps left to install the new parts:
- Take the new replacement hinge receivers out of the packaging.
- Place one hinge receiver into each of the empty positions on the oven frame.
- Align the screw holes on the new part with the existing holes in the frame.
- Insert the 1/4″ screws into each of the holes. Use your nut driver to tighten them.
- Leave the first screw on each side slightly loose until you have the others aligned. Then tighten all screws down fully.
The new hinge receivers are now securely installed!
Reassemble the Range
- Insert the side panels back into position, aligning the tabs and screw holes.
- Replace the screws to secure the side panels again.
- Put the access panel back and replace its screws.
- Set the top back in place, inserting the tabs into the front slots.
- Replace the side screws to secure the top again.
- Slide the storage drawer back into the opening underneath until it clicks into place.
- Hold the oven door so the hinges align with their receivers.
- Gently lower the door straight down until the hinges are inserted into the openings.
- With the door resting on the new hinge receivers, use a flat-head screwdriver to rotate the hinge locks back into the released position. This allows the hinges to rotate freely again.
- You can now close the oven door! It should move smoothly and shut completely.
Open and close the door a few times to test the operation. The hinges should rotate easily in the new hinge receivers. If not, double-check the receivers are aligned correctly.
Additional information
Thank you for reading! We hope you found this information useful to get your range working again.
If you have any other appliance repair needs or projects, don’t hesitate to explore our thousands of free videos and troubleshooting guides available. If you need replacement parts or some extra help, grab your model number and head over to AppliancePartsPros.com, where you can chat with a pro, order parts, read our DIY blog and more.
Be sure to subscribe to us on YouTube and follow us on Facebook, Twitter and Instagram!
 https://www.appliancepartspros.com/b/wp-content/uploads/2021/11/shutterstock_72200836.jpg
1000
1500
Steven E
https://www.appliancepartspros.com/b/wp-content/uploads/2020/11/app-logo-std.png
Steven E2021-11-02 16:46:002025-07-17 08:23:40Gas Range Smells Like Gas: Top 5 Reasons and Fixes (With Video!)
https://www.appliancepartspros.com/b/wp-content/uploads/2021/11/shutterstock_72200836.jpg
1000
1500
Steven E
https://www.appliancepartspros.com/b/wp-content/uploads/2020/11/app-logo-std.png
Steven E2021-11-02 16:46:002025-07-17 08:23:40Gas Range Smells Like Gas: Top 5 Reasons and Fixes (With Video!) https://www.appliancepartspros.com/b/wp-content/uploads/2021/11/shutterstock_1922299217.jpg
1068
1500
APP Expert
https://www.appliancepartspros.com/b/wp-content/uploads/2020/11/app-logo-std.png
APP Expert2021-10-22 14:22:002025-07-17 07:53:13Electric Range Too Hot: Top 4 Reasons and Fixes (With Video!)
https://www.appliancepartspros.com/b/wp-content/uploads/2021/11/shutterstock_1922299217.jpg
1068
1500
APP Expert
https://www.appliancepartspros.com/b/wp-content/uploads/2020/11/app-logo-std.png
APP Expert2021-10-22 14:22:002025-07-17 07:53:13Electric Range Too Hot: Top 4 Reasons and Fixes (With Video!)With nearly a decade of experience in providing top-notch customer service regarding appliance parts and repair, Steven enjoys sharing practical advice, troubleshooting tips, and interesting information to help readers stay informed.