Why Your Steam Closet Water Smells Bad and How to Easily Fix It
Steven E / Wednesday July 9, 2025
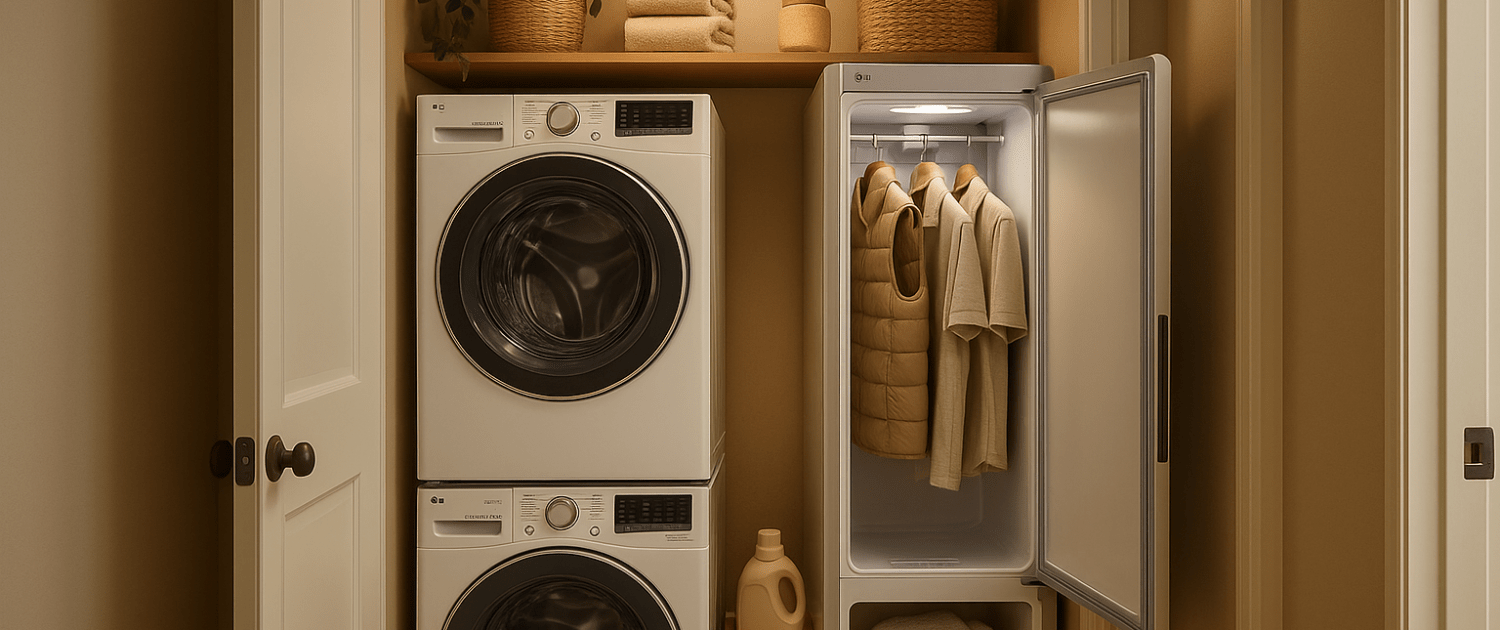
A laundry steam closet is one of those appliances that make life easier, fresh, wrinkle-free, and sanitized clothes, all at the touch of a button. But what happens when the steam smells… off? If you’ve noticed an unusual odor coming from your steam closet, whether it’s musty, metallic, sour, or just unpleasant, it’s usually a sign that something in the system needs cleaning or a simple repair.
The good news? Strange smells from the steam output are almost always caused by mineral buildup, dirty water, or bacterial growth. You can fix the problem yourself, and this guide will walk you through how to diagnose it, clean it, and keep it from coming back.
The information in this article may not apply to your specific appliance model. We recommend consulting your manufacturer’s documentation or contact us with any questions.
Why Does the Steam Smell Bad?
The steam that comes out of your closet should be clean and neutral, just fresh, warm moisture. If it isn’t, there are usually a few common reasons why:

- Mineral buildup: Hard water minerals accumulate in the steam generator, creating a chalky residue that can give off a metallic or sour odor when heated.
- Contaminated water: If the water tank hasn’t been cleaned or drained in a while, bacteria or algae can grow, leading to a musty or foul smell.
- Dirty steam nozzles: Lint and residue in the steam outlets can trap moisture and bacteria.
- Improper drainage: Standing water in the drain tray or a clogged drain line can also contribute to bad smells during a cycle.
What You’ll Need
Before you begin, gather these supplies:
- White vinegar
- Distilled water
- Warm, soapy water
- Microfiber cloths
- Soft brush or old toothbrush
- Pipe cleaner (for nozzles)
- Bucket or towels
- Screwdrivers (if you need to remove panels)
Step 1: Unplug and Cool Down
Always start by turning off and unplugging your steam closet. Let it cool completely before you begin cleaning or disassembly.
Step 2: Empty and Clean the Water Tank
Since water is the source of steam, it’s also the first place bacteria or residue can form.
- Remove the water tank and pour out any remaining water.
- Inspect it for algae, cloudiness, or sediment.
- Wash the tank with warm, soapy water and a microfiber cloth. Use vinegar if you see mineral deposits.
- Rinse thoroughly with clean water.
- Refill the tank with distilled water to prevent future mineral buildup.
Step 3: Descale the Steam Generator
The steam generator is where water is boiled and turned into steam, and also where minerals from hard water can collect over time.
How to descale:
- Drain any remaining water from the steam generator (check your manual for the drain plug or valve).
- Mix a solution of 50/50 white vinegar and water.
- Pour it into the generator and let it sit for 30–45 minutes to dissolve mineral buildup.
- Drain and rinse the generator thoroughly with clean water several times.
- Refill with fresh distilled water.
Step 4: Clean the Steam Nozzles and Vents
Steam nozzles can collect lint, soap residue, and moisture, which traps bacteria.
- Use a damp cloth to wipe the nozzles and surrounding vents.
- Use a pipe cleaner or soft brush to gently clear the openings.
- Wipe down all interior surfaces of the closet to remove residue.
Step 5: Clean the Drain Tray and Drain Line
If water isn’t draining properly, it can stagnate and create a musty smell that gets picked up by the steam.
- Remove the drain tray and empty any standing water.
- Wash the tray with soapy water and rinse well.
- Check the drain hole for clogs and clean it with a pipe cleaner.
- Pour a little vinegar and hot water down the drain hole to clear bacteria.
Step 6: Run a Cleaning Cycle
Once everything is clean and reassembled, run a “cleaning” or regular cycle with no clothes in the closet to flush out the system. Use distilled water with a splash of vinegar in the tank for this cycle.
When finished, wipe down the interior and leave the door slightly open to let it air dry.
Step 7: Switch to Distilled Water
If you haven’t been using distilled water, now is the time to start. Tap water contains minerals that lead to buildup and odors. Distilled water is inexpensive and keeps your system clean longer.
Step 8: Inspect the Door Gasket and Seals
Sometimes bad smells linger in the door gasket if it’s dirty or moldy.
- Wipe down the gasket and door frame with soapy water or a vinegar solution.
- Dry thoroughly.
- Check for cracks or damage, and replace the gasket if it’s worn out.
Where To Find Us
If you need any replacement parts for your appliances, you can enter your model number at AppliancePartsPros.com to locate and order them quickly. Most orders arrive in just two business days, and we have tons of great information in our repair help section and YouTube videos to help you troubleshoot.
Stay connected with the latest DIY tips, tutorial videos, and repair guides by following us on Facebook, Instagram, and Twitter. We love hearing about your repair stories and successes. If you need more help or want personalized guidance, feel free to reach out. We’re ready to help you take on your next project with confidence!
 https://www.appliancepartspros.com/b/wp-content/uploads/2025/09/20250902_1604_Cozy-Country-Laundry_simple_compose_01k460chwnemn9kxzss4s0w8yr.png
1024
1536
Steven E
https://www.appliancepartspros.com/b/wp-content/uploads/2020/11/app-logo-std.png
Steven E2025-09-05 10:33:302025-09-05 10:33:38When and How to Clean Your Steam Closet’s Water Tank
https://www.appliancepartspros.com/b/wp-content/uploads/2025/09/20250902_1604_Cozy-Country-Laundry_simple_compose_01k460chwnemn9kxzss4s0w8yr.png
1024
1536
Steven E
https://www.appliancepartspros.com/b/wp-content/uploads/2020/11/app-logo-std.png
Steven E2025-09-05 10:33:302025-09-05 10:33:38When and How to Clean Your Steam Closet’s Water Tank https://www.appliancepartspros.com/b/wp-content/uploads/2025/09/20250626_1532_Luxury-Laundry-Retreat_simple_compose_01jypvj1sye128rnzdeje9fzse.png
1024
1536
Steven E
https://www.appliancepartspros.com/b/wp-content/uploads/2020/11/app-logo-std.png
Steven E2025-09-05 10:21:462025-09-05 10:21:54How to Fix Lint Buildup in a Laundry Steam Closet
https://www.appliancepartspros.com/b/wp-content/uploads/2025/09/20250626_1532_Luxury-Laundry-Retreat_simple_compose_01jypvj1sye128rnzdeje9fzse.png
1024
1536
Steven E
https://www.appliancepartspros.com/b/wp-content/uploads/2020/11/app-logo-std.png
Steven E2025-09-05 10:21:462025-09-05 10:21:54How to Fix Lint Buildup in a Laundry Steam Closet https://www.appliancepartspros.com/b/wp-content/uploads/2025/09/20250905_1121_Elegant-Laundry-Room_simple_compose_01k4d7e16qe33aqsnbg4pgwtwh.png
1024
1536
Steven E
https://www.appliancepartspros.com/b/wp-content/uploads/2020/11/app-logo-std.png
Steven E2025-09-05 10:13:342025-09-05 10:14:09How to Descale and Flush the Water System in a Steam Closet
https://www.appliancepartspros.com/b/wp-content/uploads/2025/09/20250905_1121_Elegant-Laundry-Room_simple_compose_01k4d7e16qe33aqsnbg4pgwtwh.png
1024
1536
Steven E
https://www.appliancepartspros.com/b/wp-content/uploads/2020/11/app-logo-std.png
Steven E2025-09-05 10:13:342025-09-05 10:14:09How to Descale and Flush the Water System in a Steam ClosetWith nearly a decade of experience in providing top-notch customer service regarding appliance parts and repair, Steven enjoys sharing practical advice, troubleshooting tips, and interesting information to help readers stay informed.